As I’ve laid out in the first article, we now dedicate ourselves to one of the hardware bundles of Max2Play which we want to integrate into our multiroom setup. In this case, the living room is equipped with a Raspberry Pi and a Digi sound card. Here you will learn how to build this bundle and connect it to your audio devices and the TV. I’ll also show you how to set up the Max2Play software and play music and movies with the Kodi media player.
Living Room
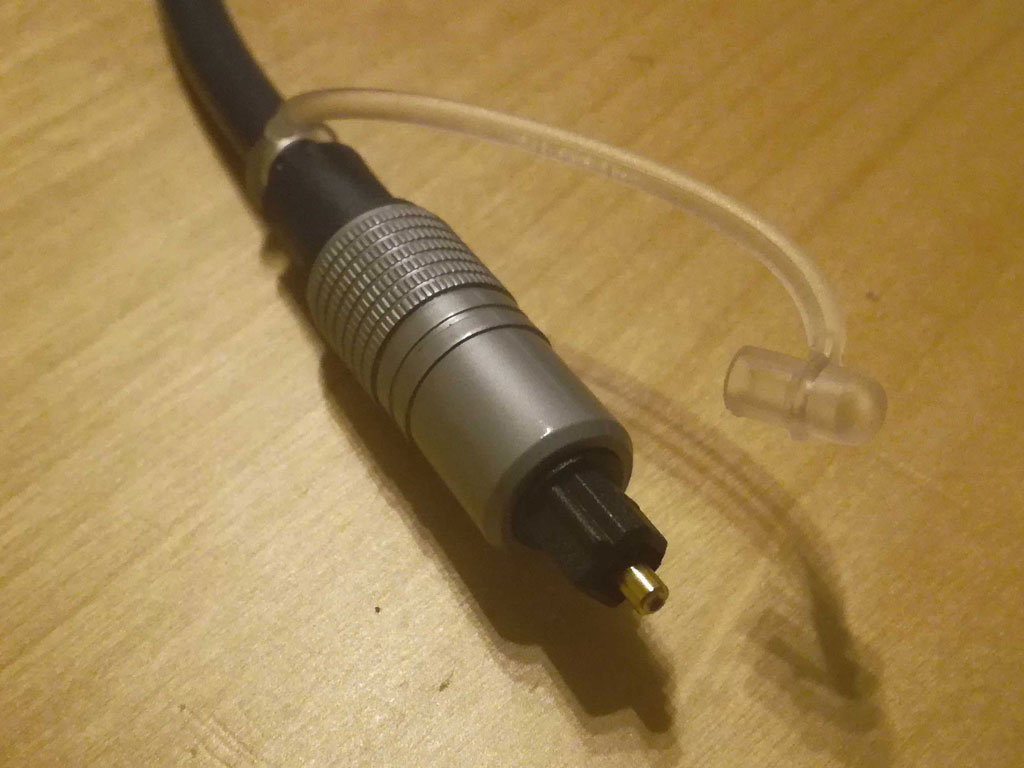
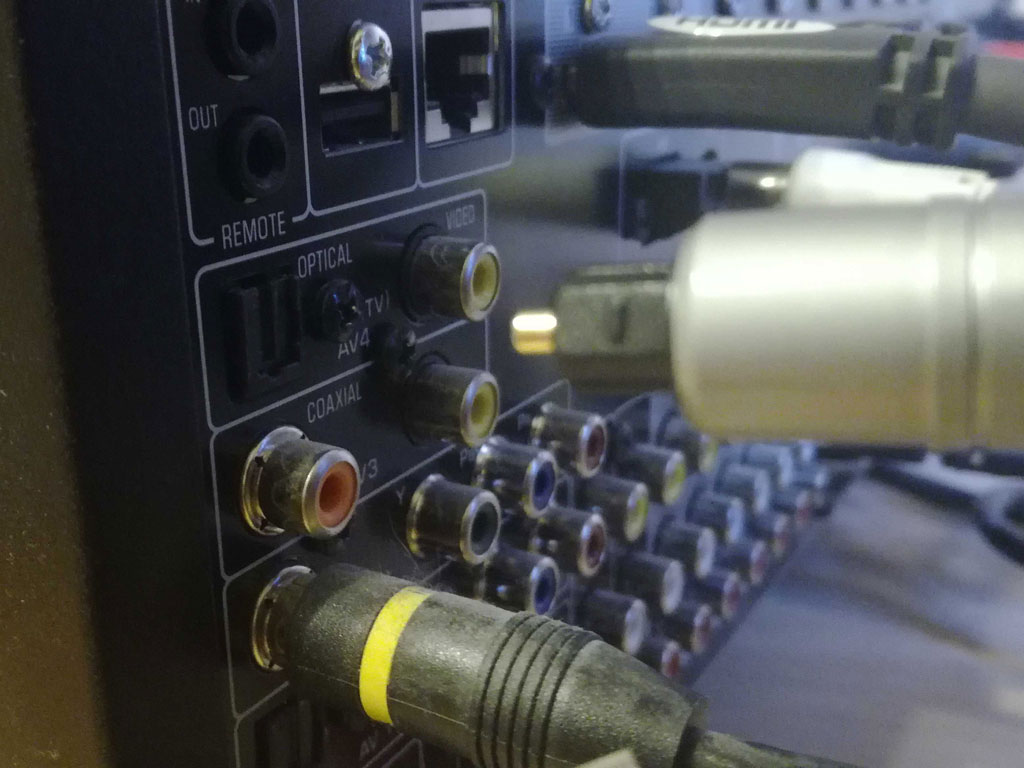
Most people have a TV in the living room, as well as a connected sound system with speakers. Most modern soundbars and AV receivers have a digital input – be it an optical („TOSlink“) or a coaxial input. Therefore, the use of a digital transporter sound card in the living room makes the most sense for the majority of homes.
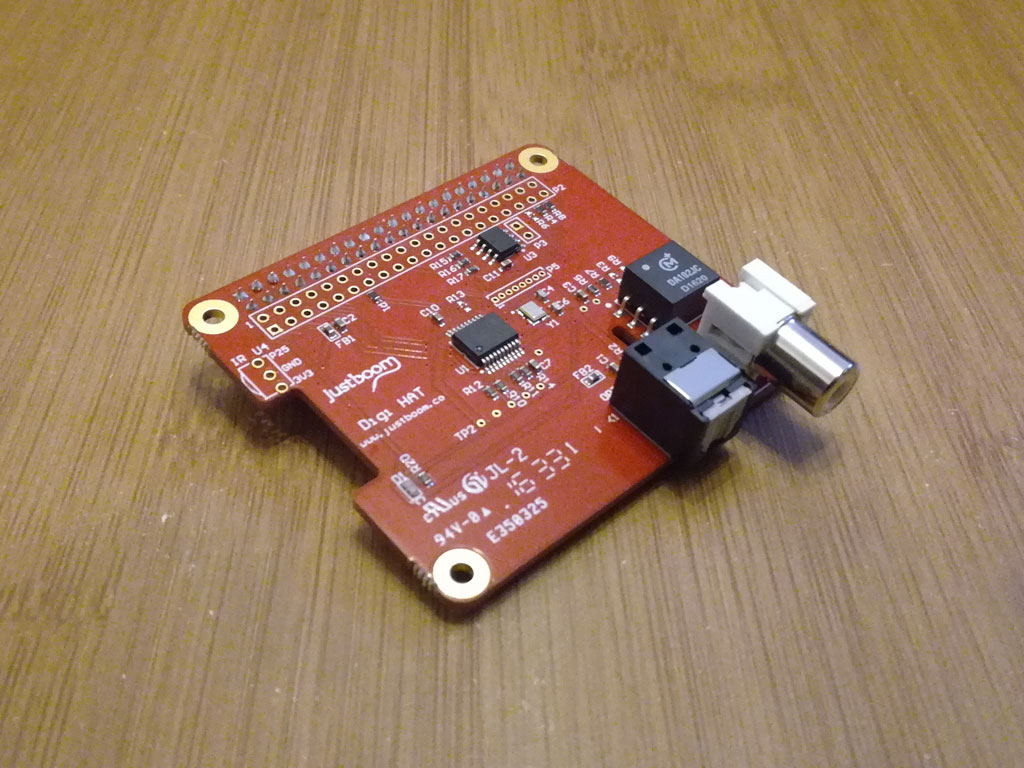
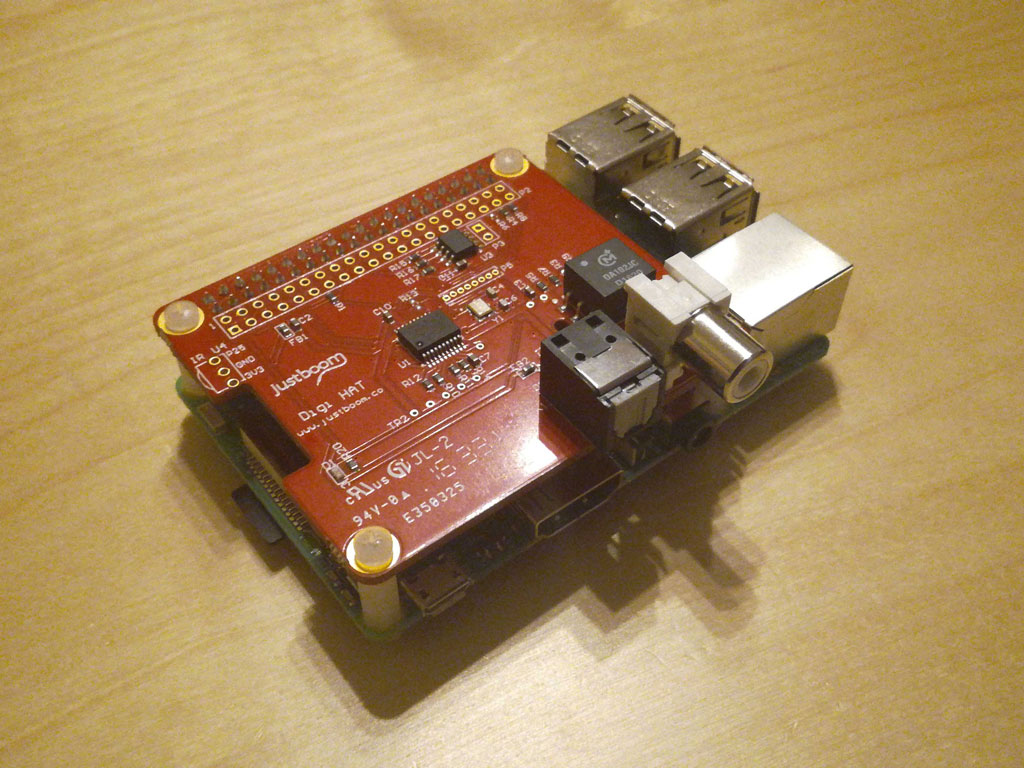
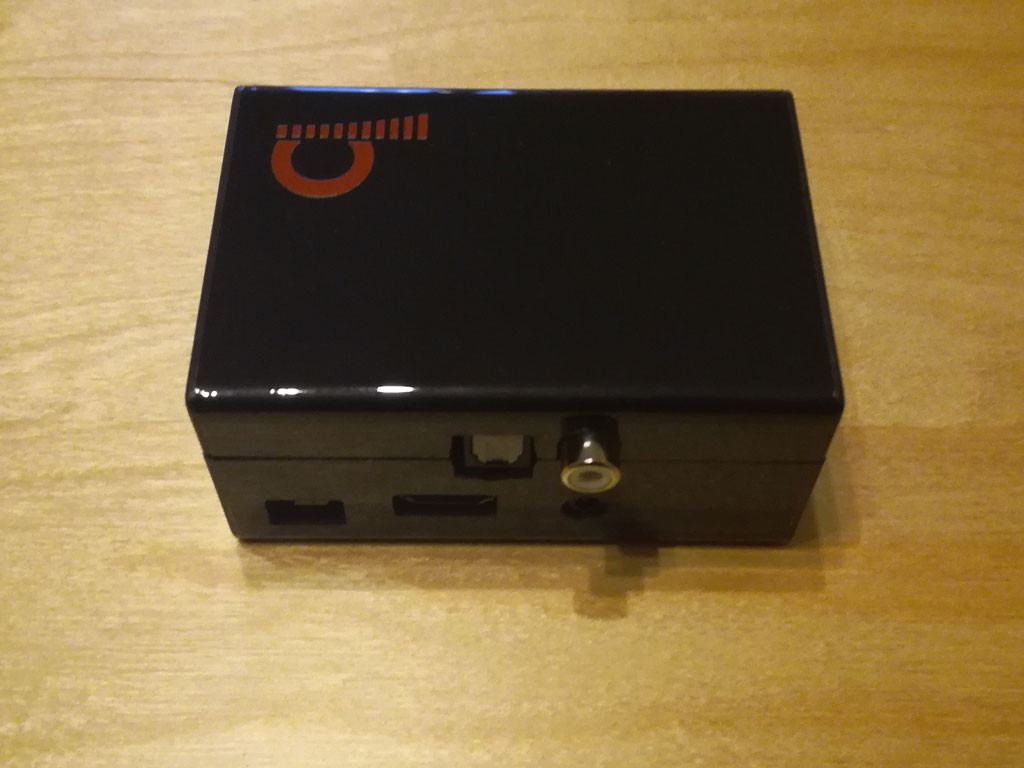
I opted for the Justboom Digi HAT sound card, because it is especially suited for control via infrared remote, which always lies around in any corner of the living room. The IR receiver is also included in the order when purchasing via the Max2Play Shop (however, it must be soldered on manually). With a transporter sound card, the quality of the audio playback is dependent on the Hi-Fi end devices, e.g. your AV receiver – making sure your stereo gets the best unaltered signal possible. The bundle with sound card and Raspberry Pi is available at the Max2Play Shop from 114.99€.
To find out which sound card suits your setup best, you may consult the Max2Play Multiroom Audio Configurator or the Sound Card Comparison Charts for further information.
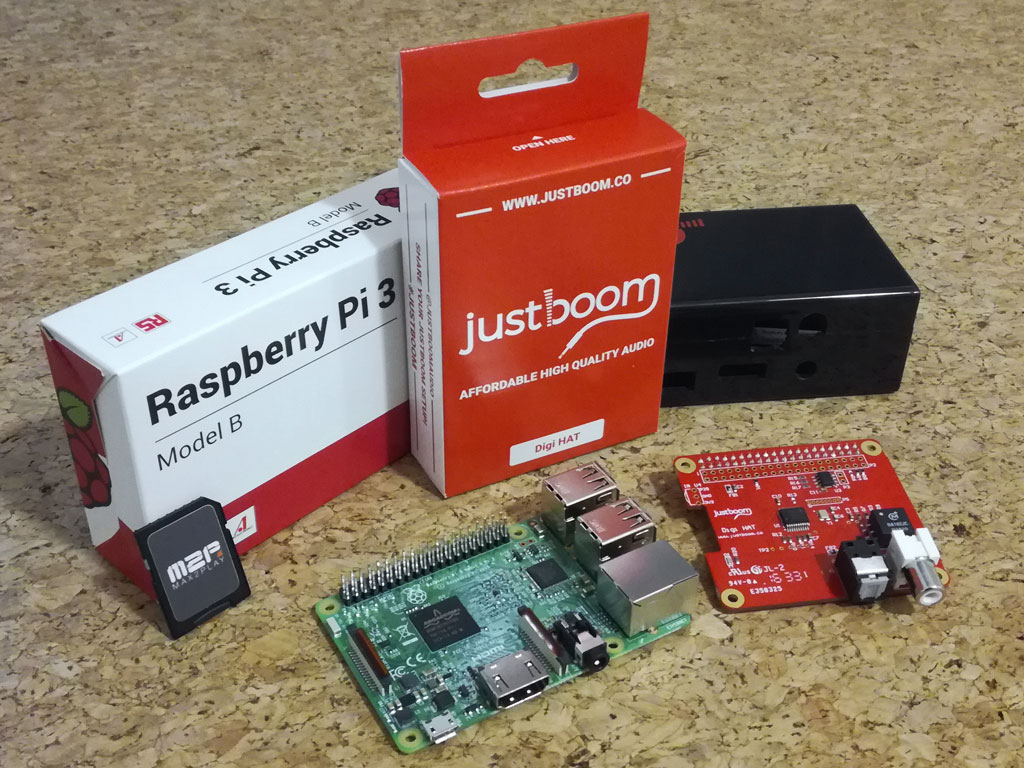
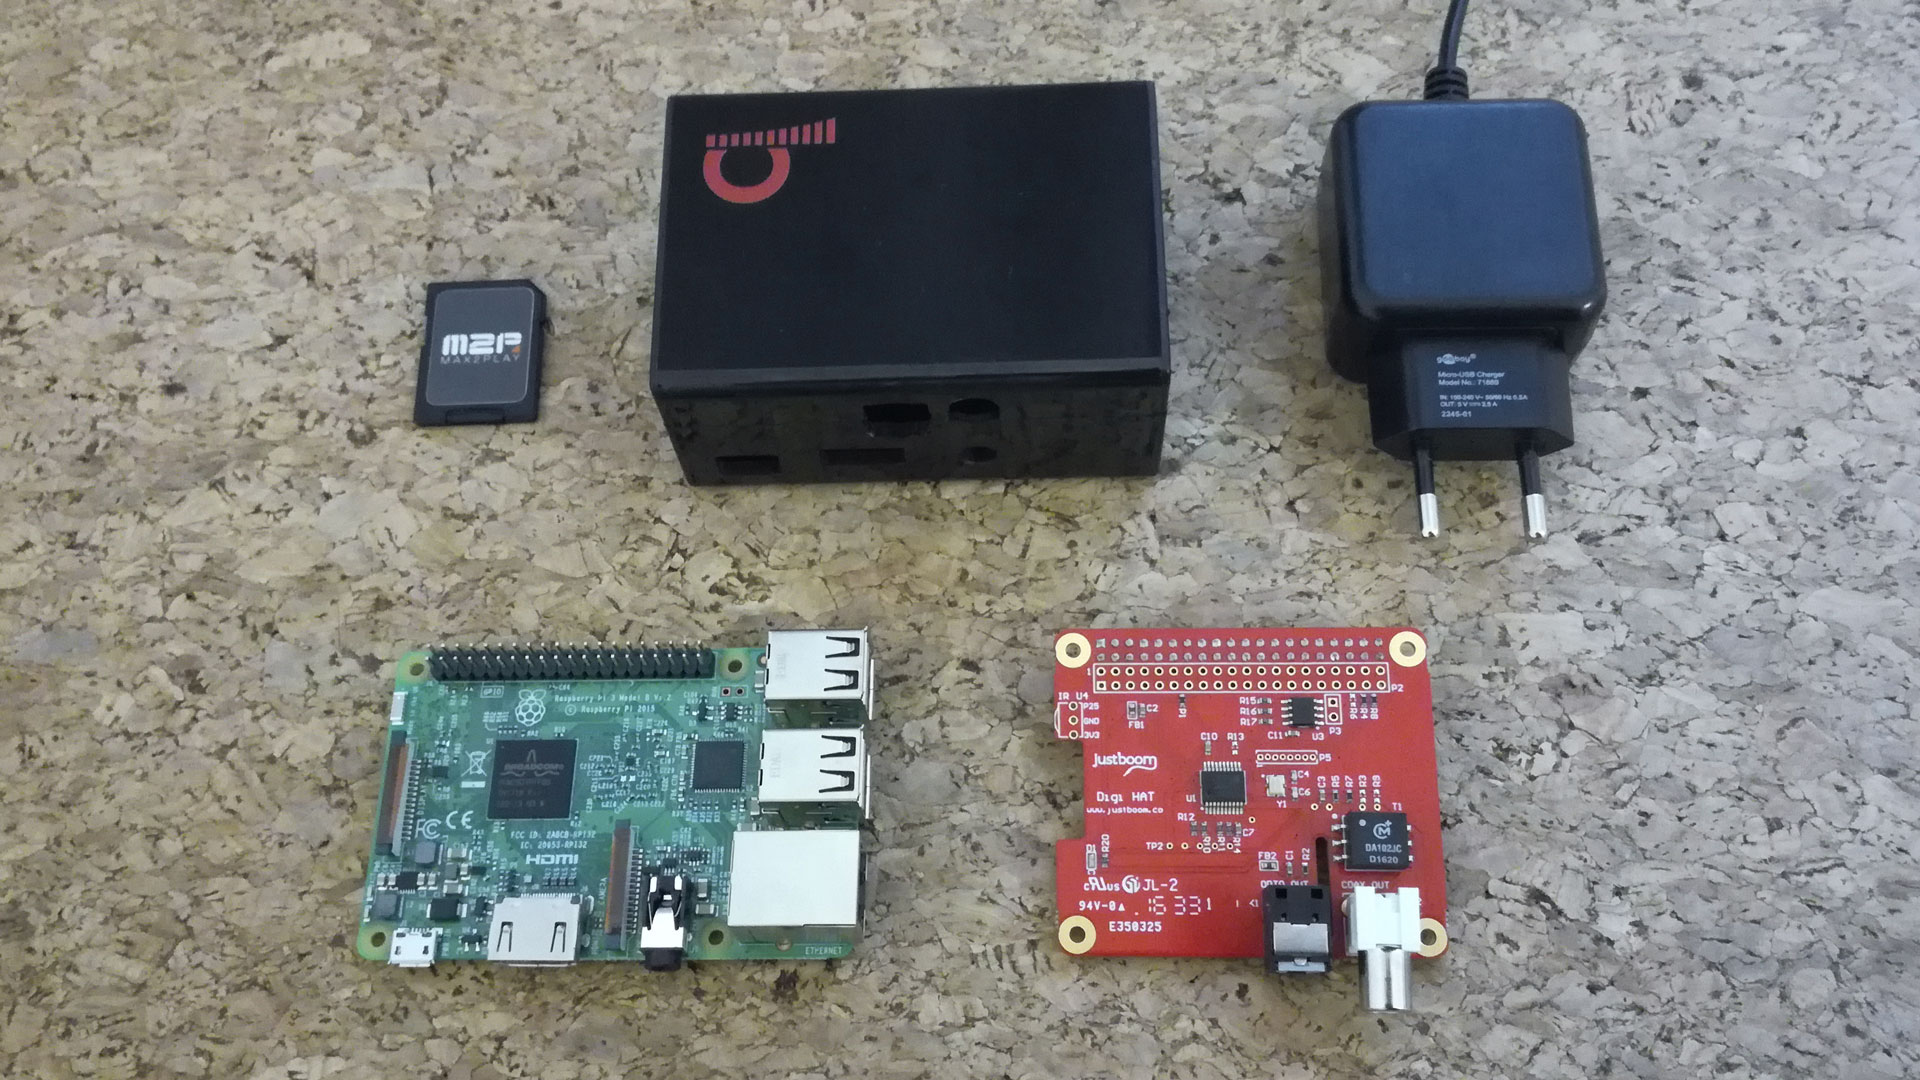
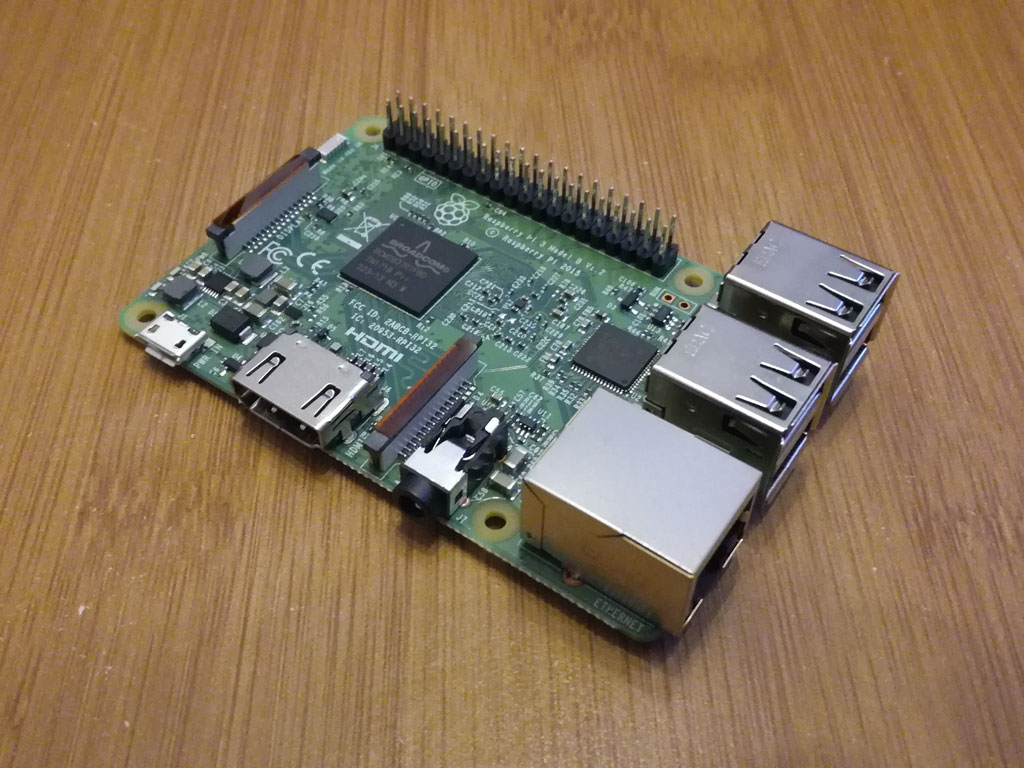
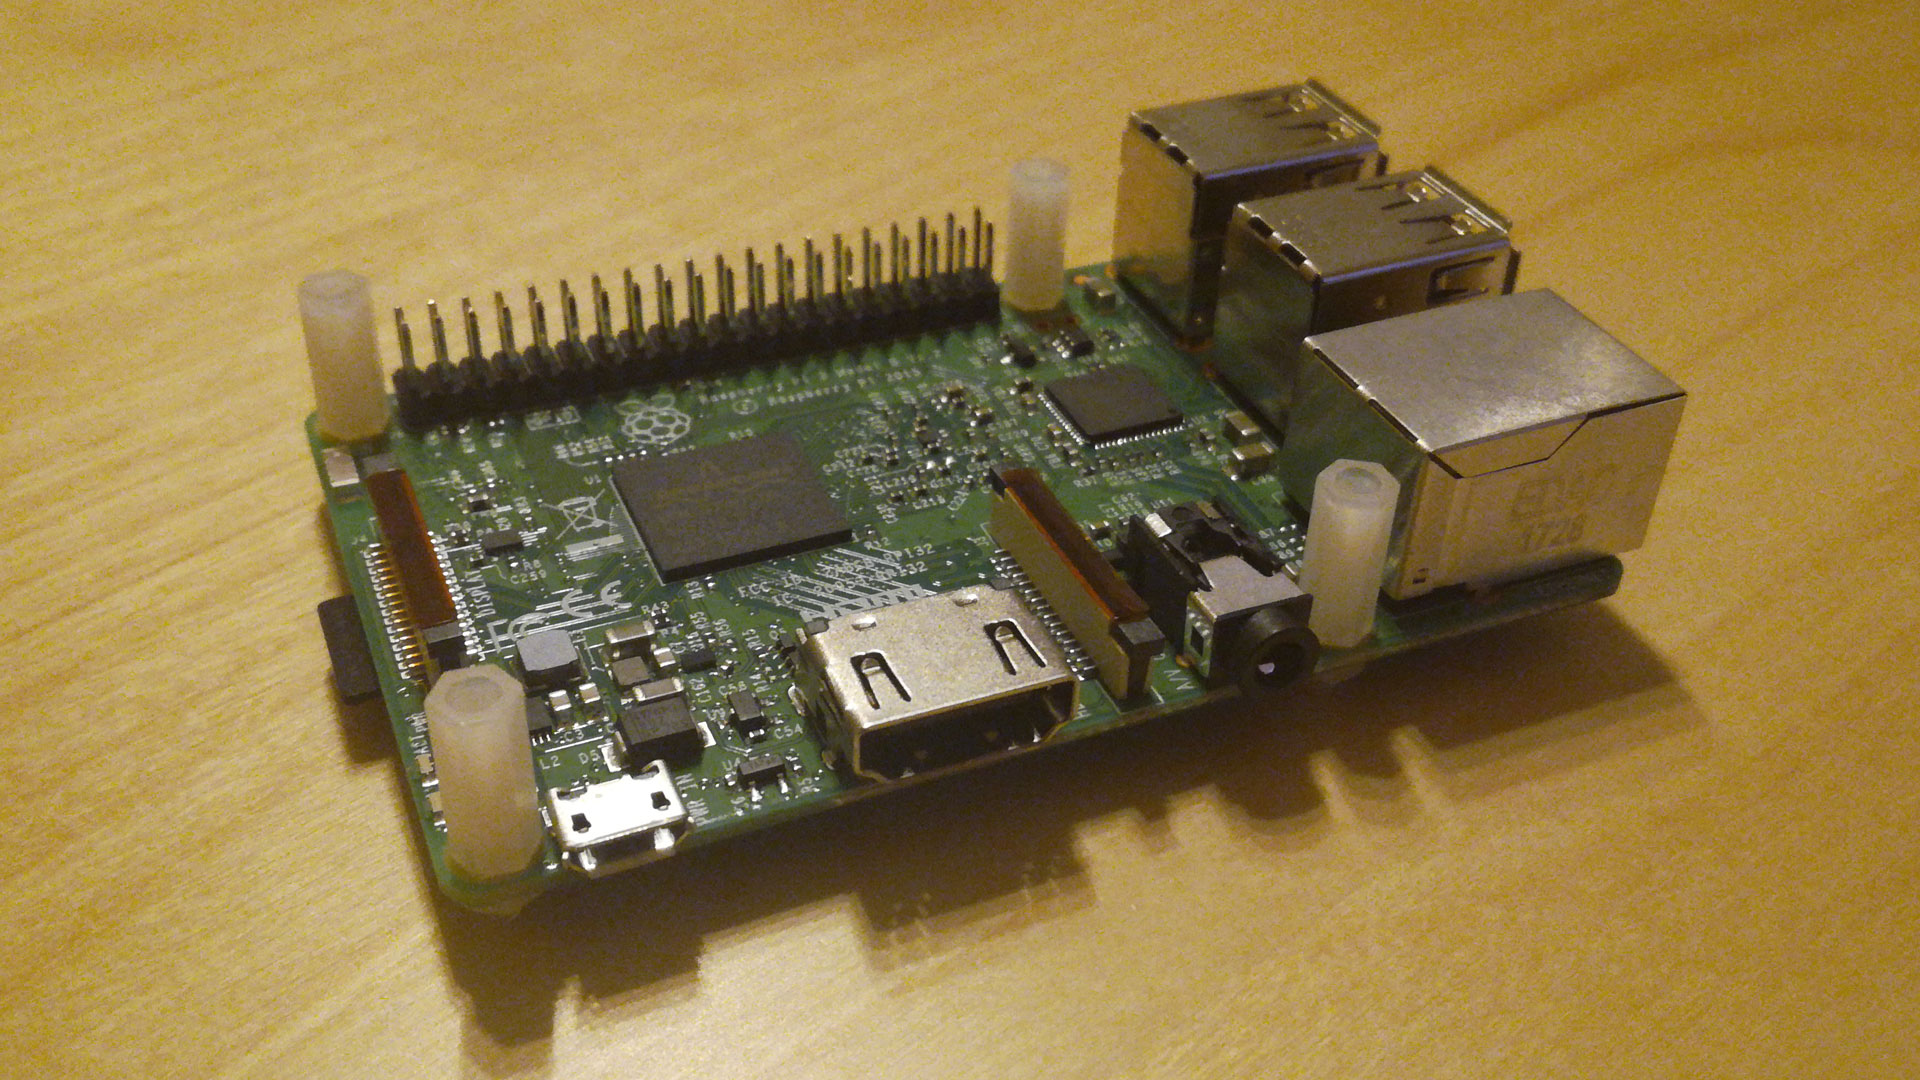
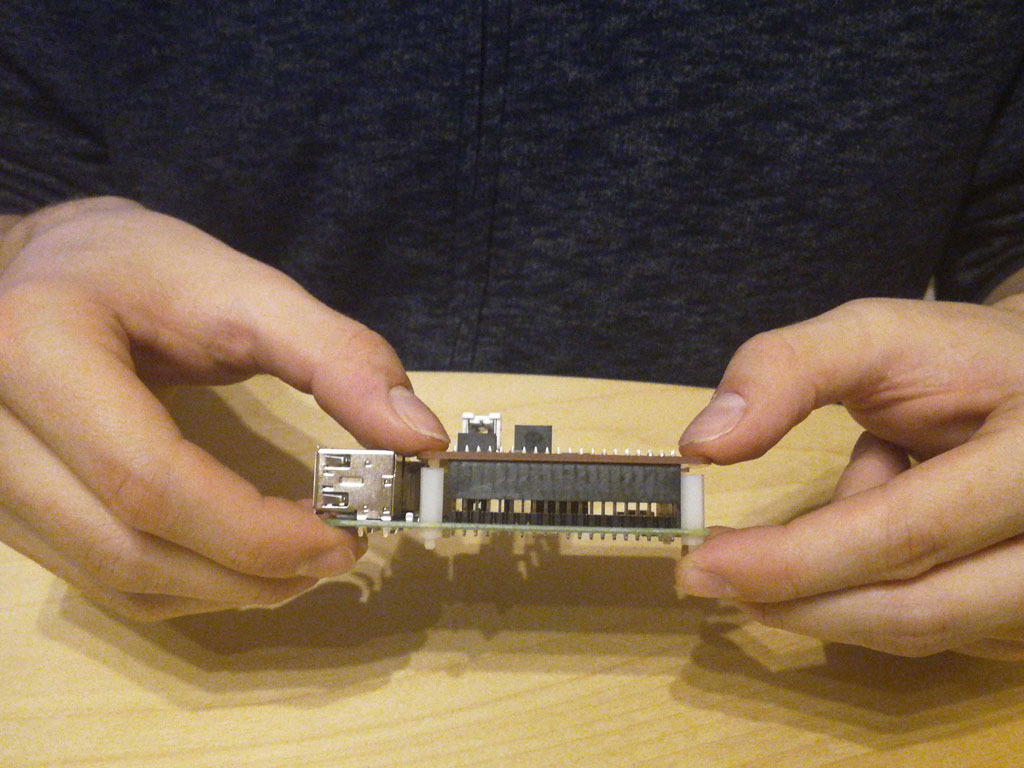
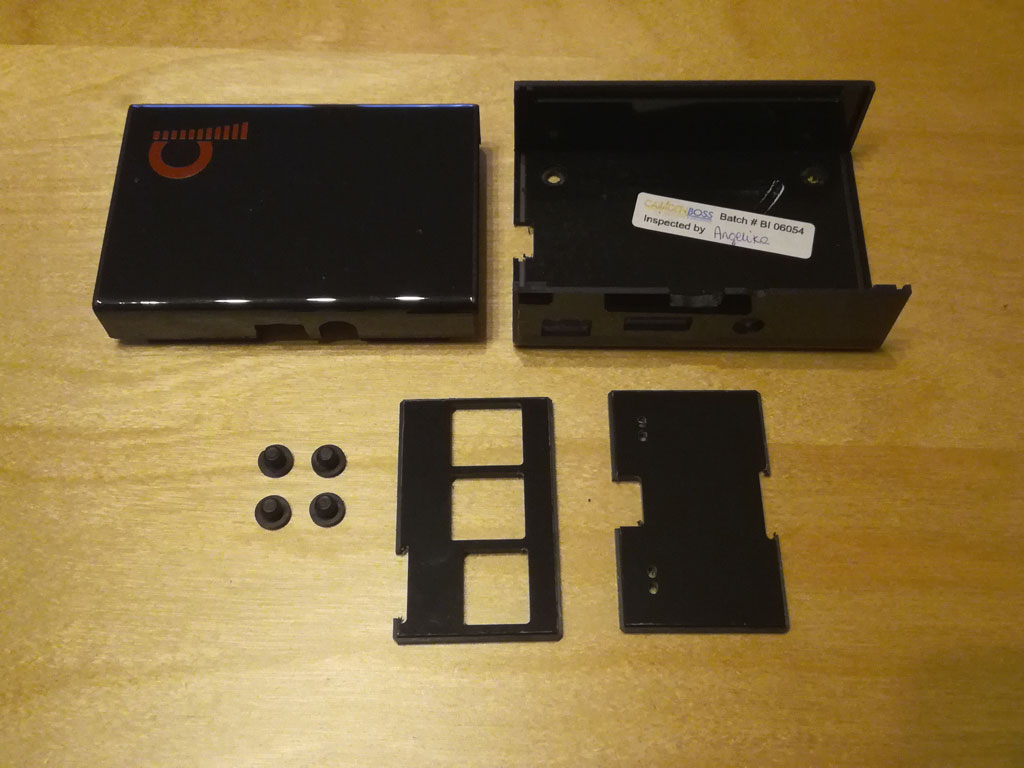
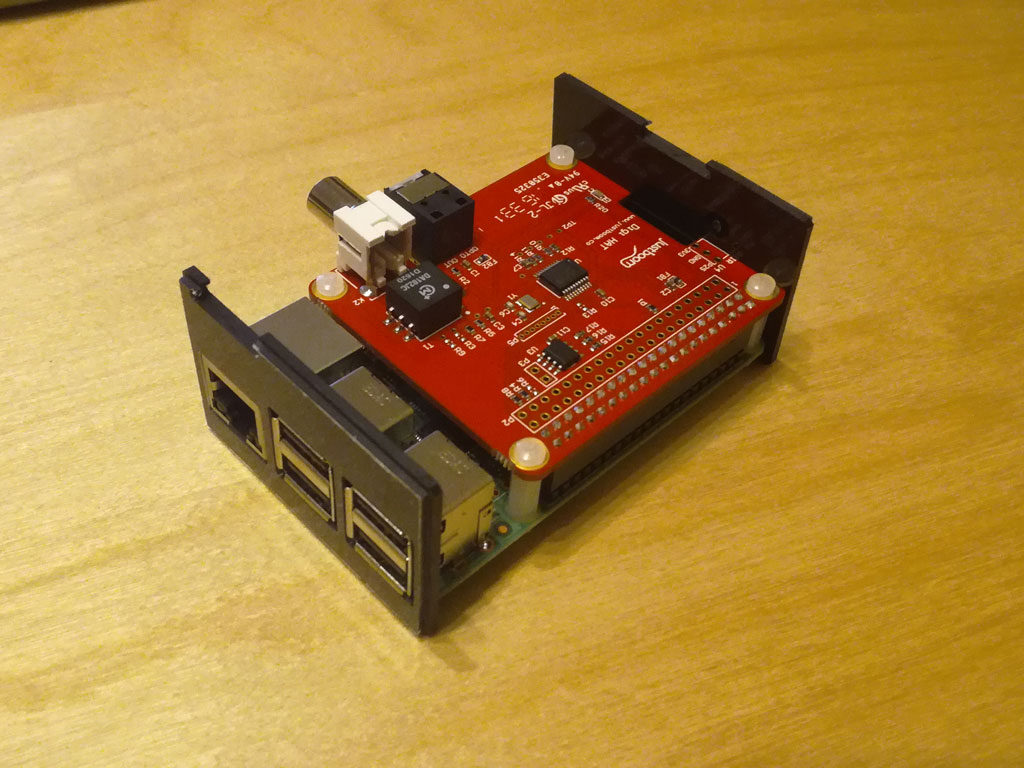
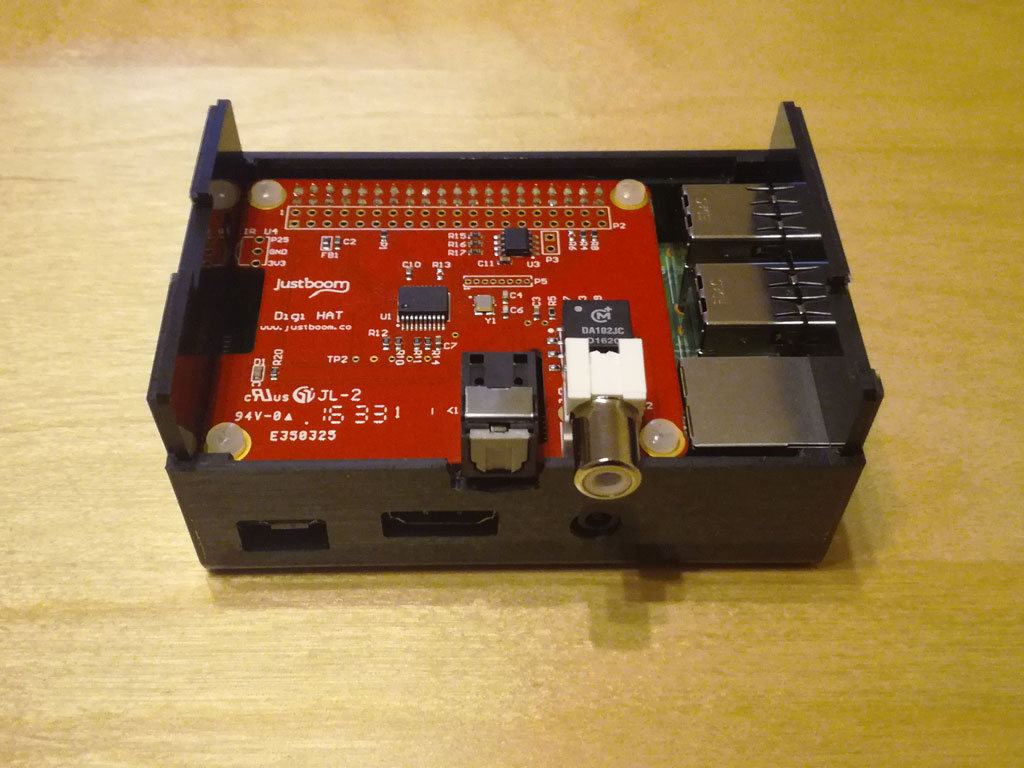
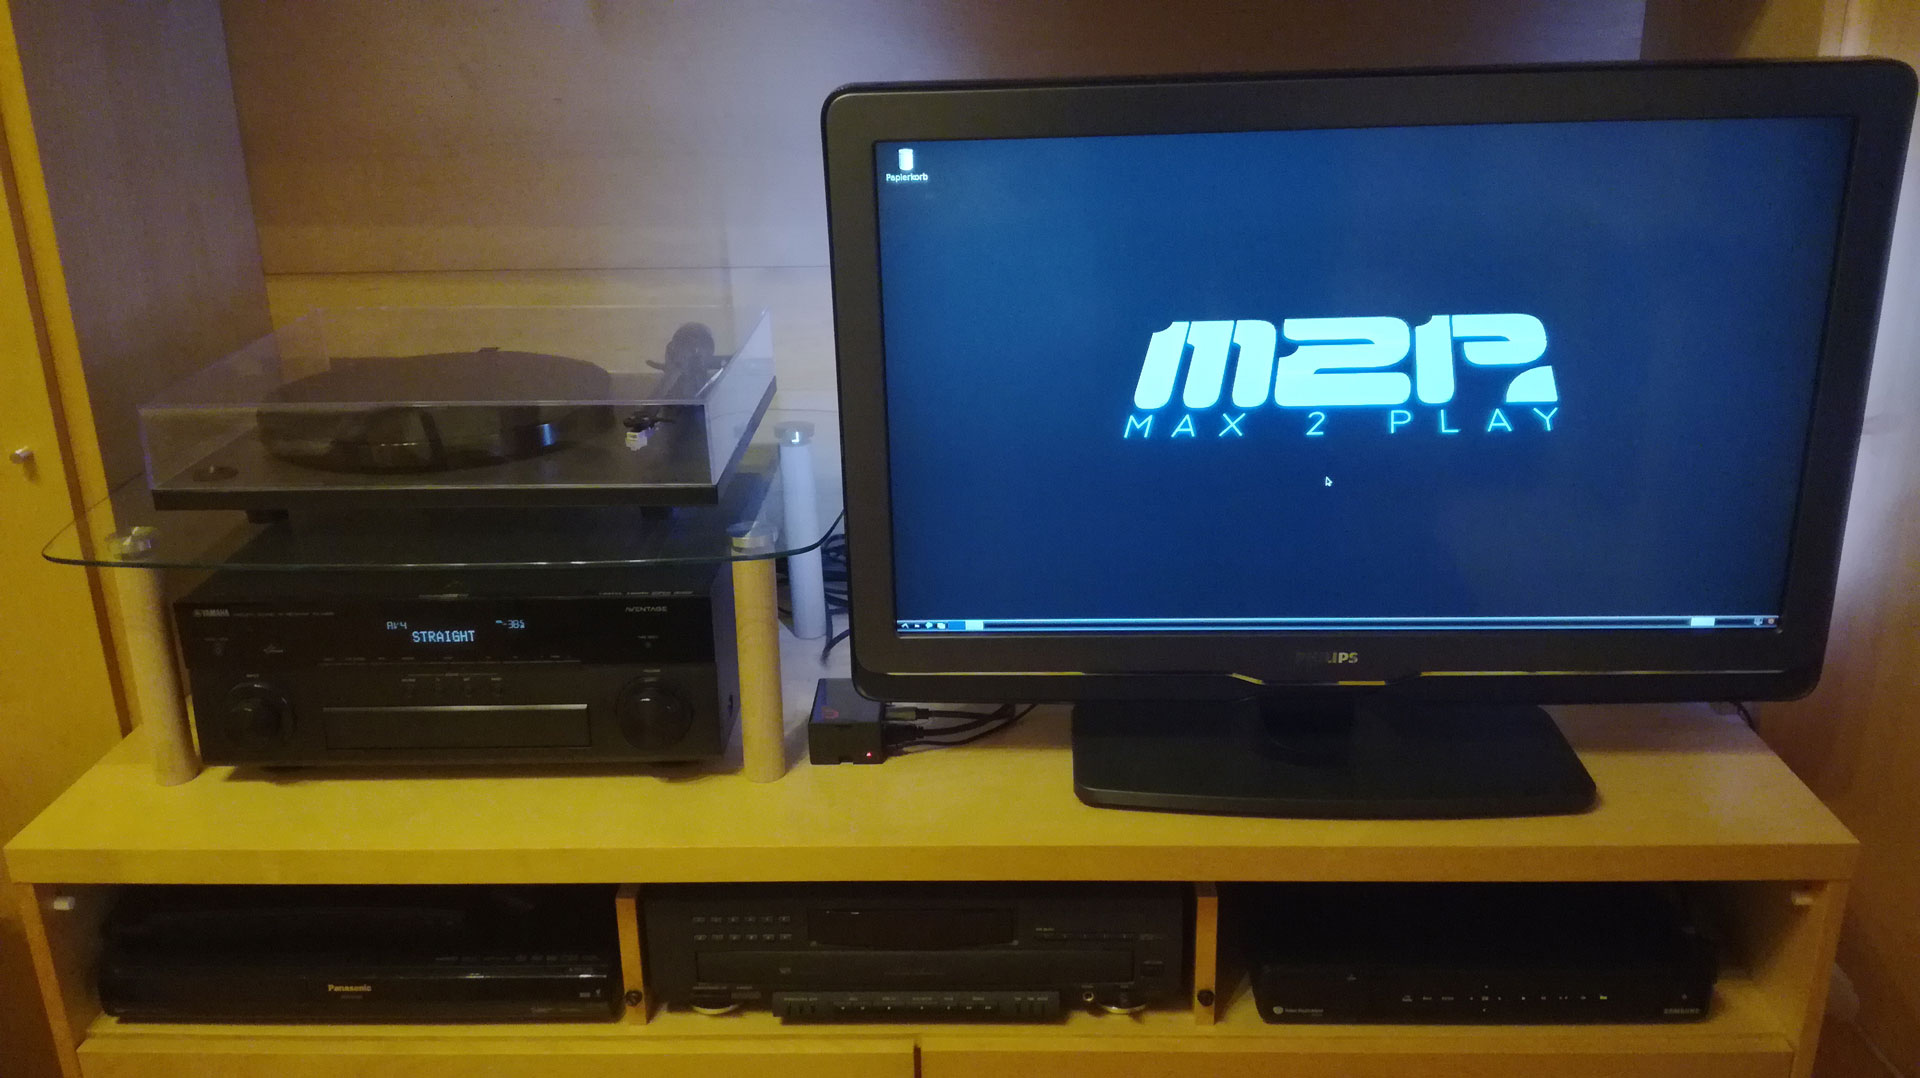
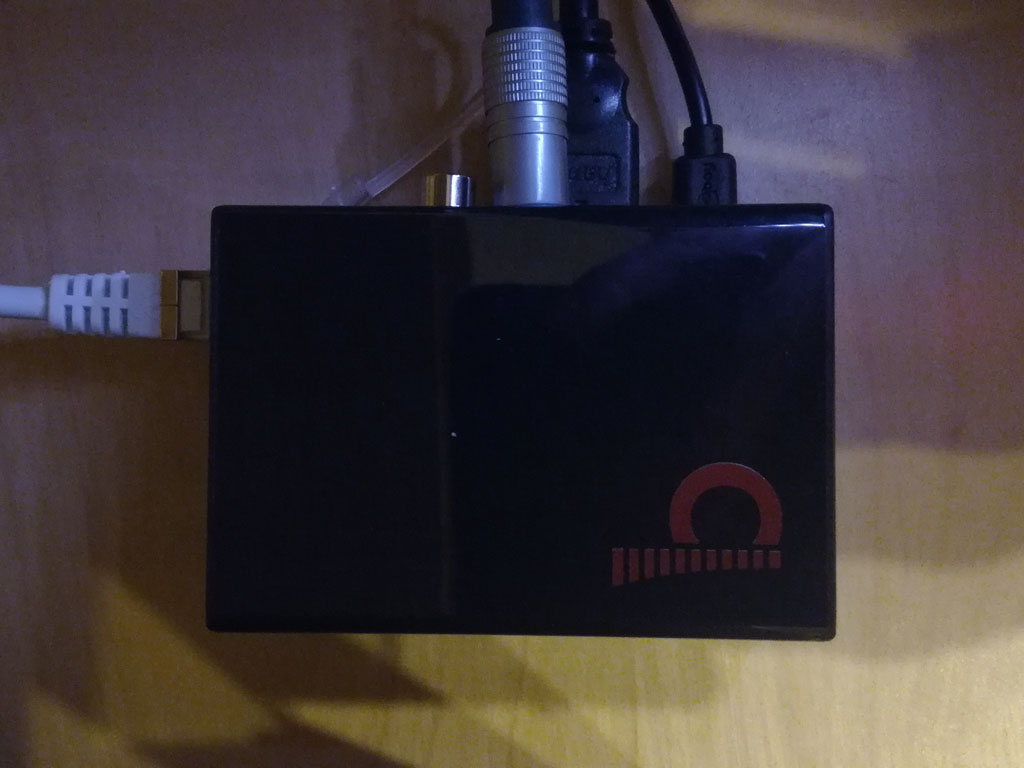
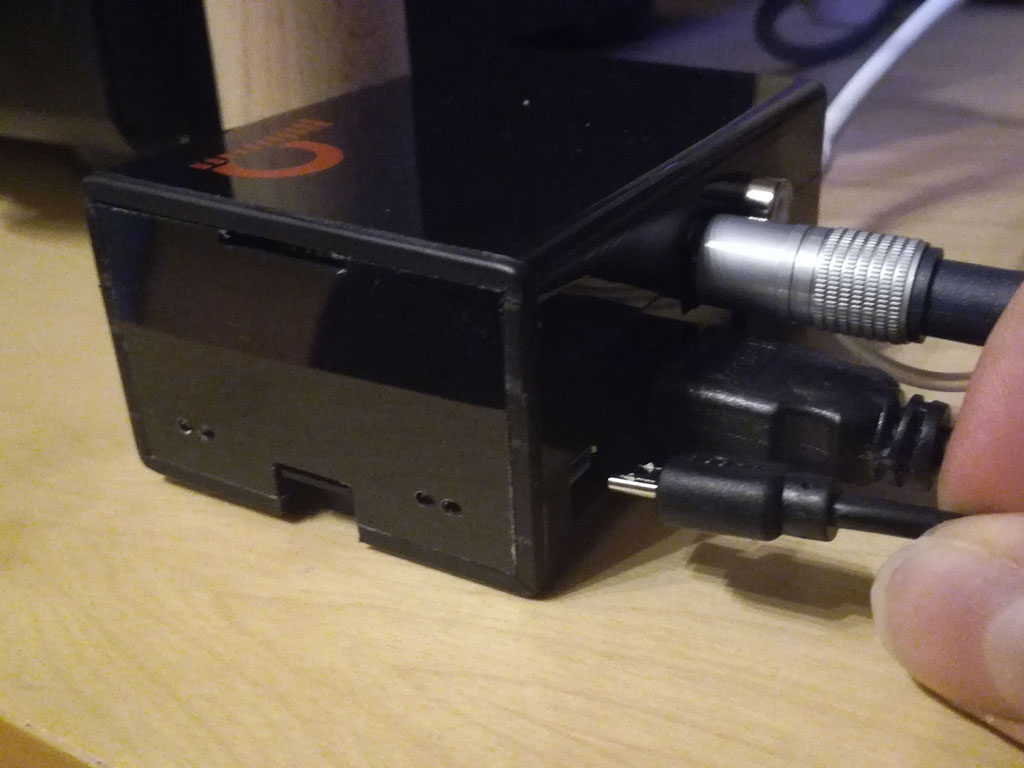
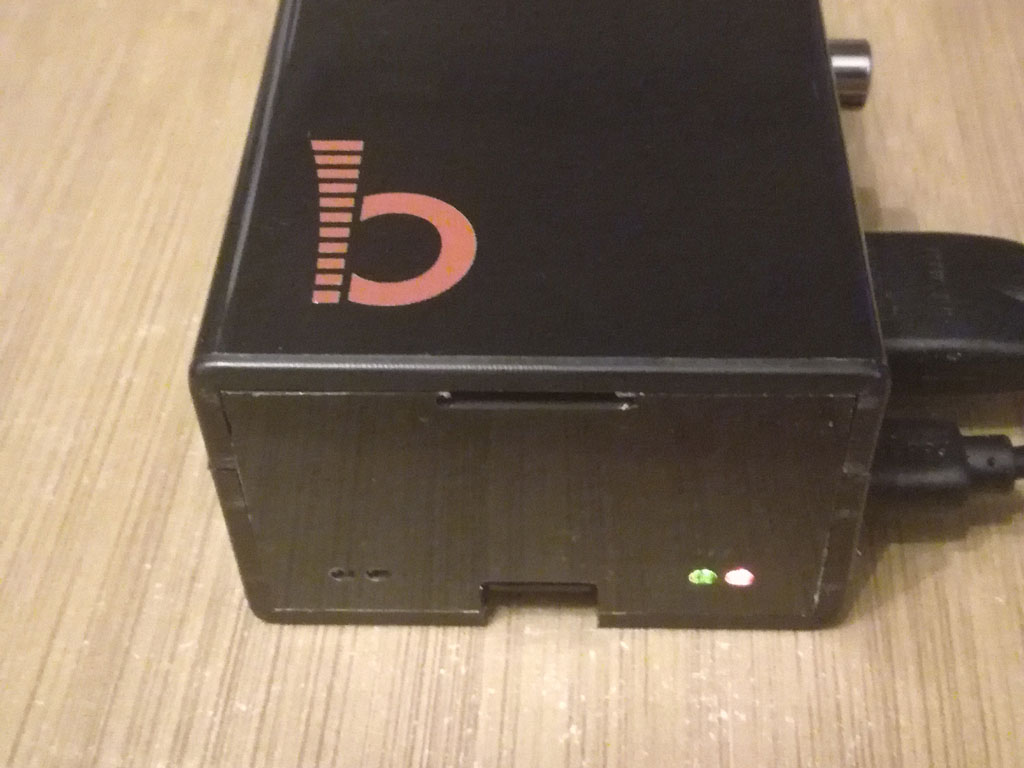
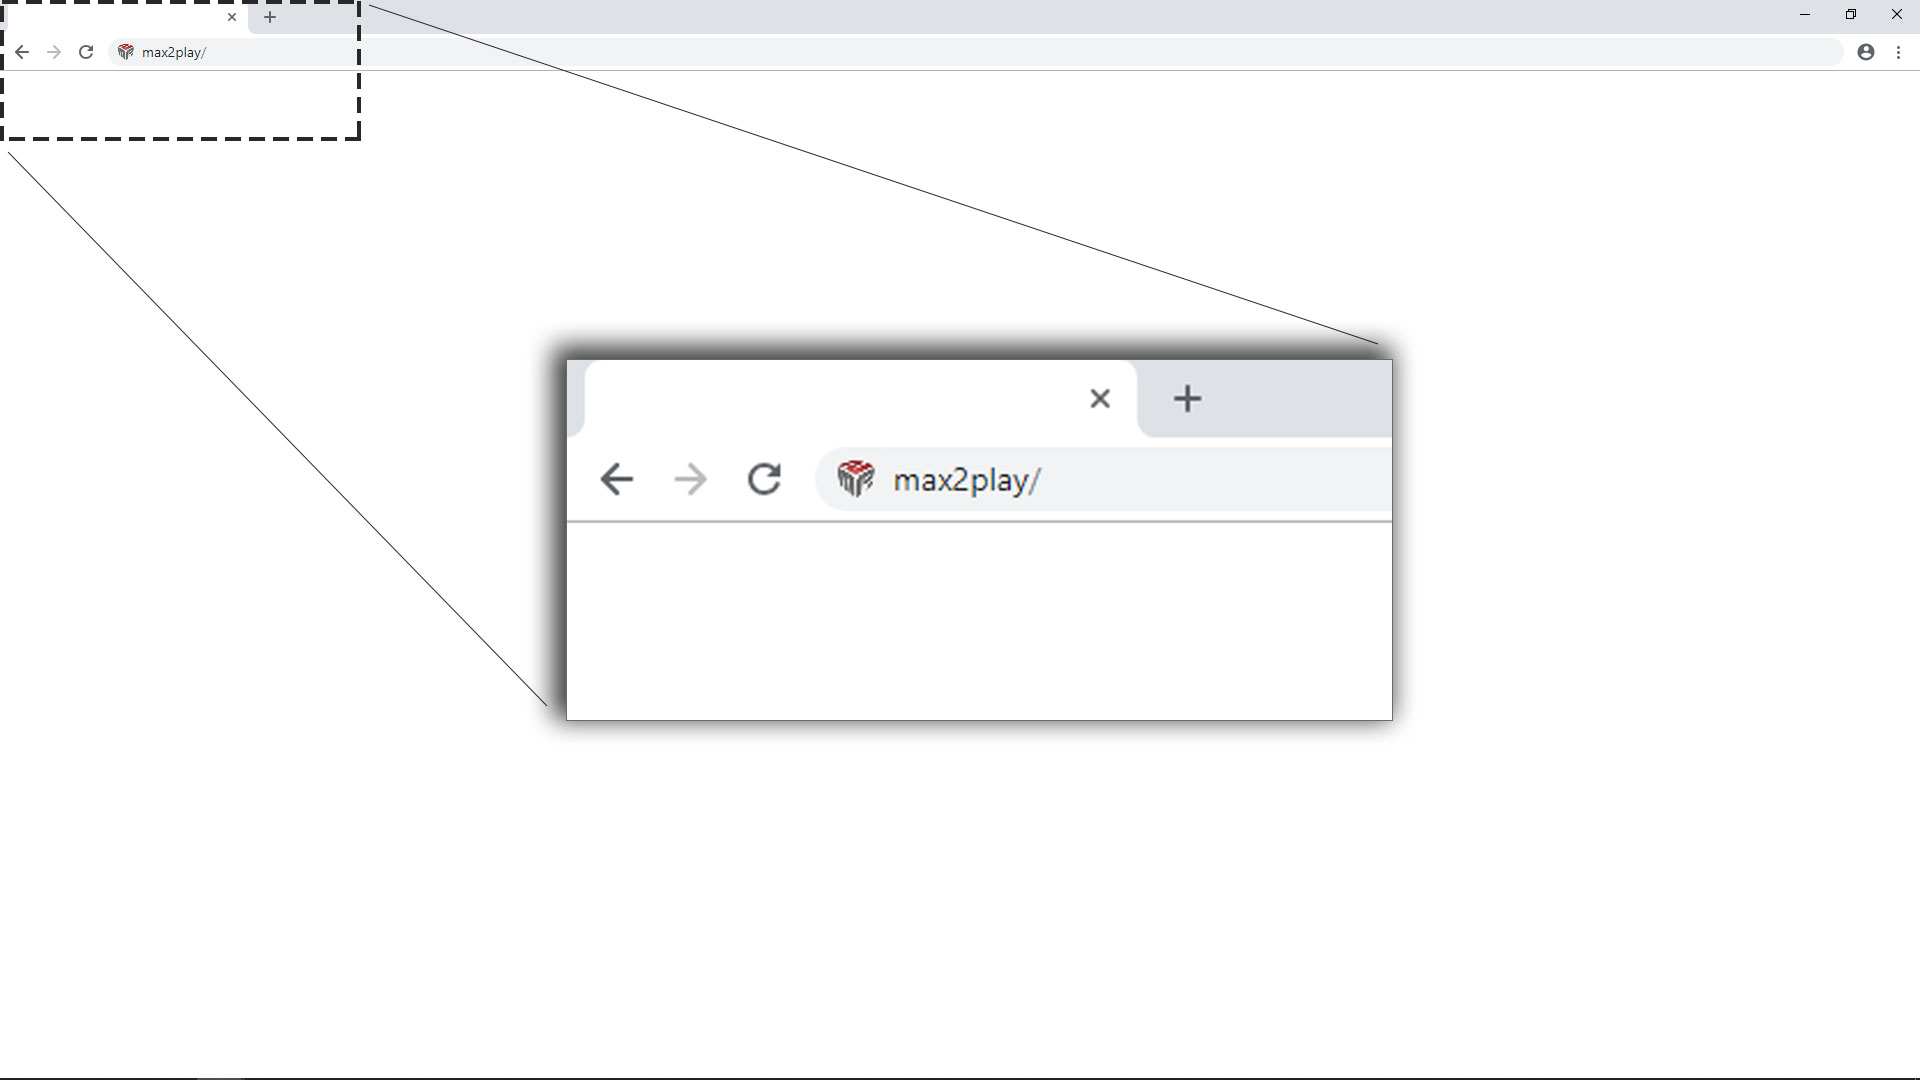
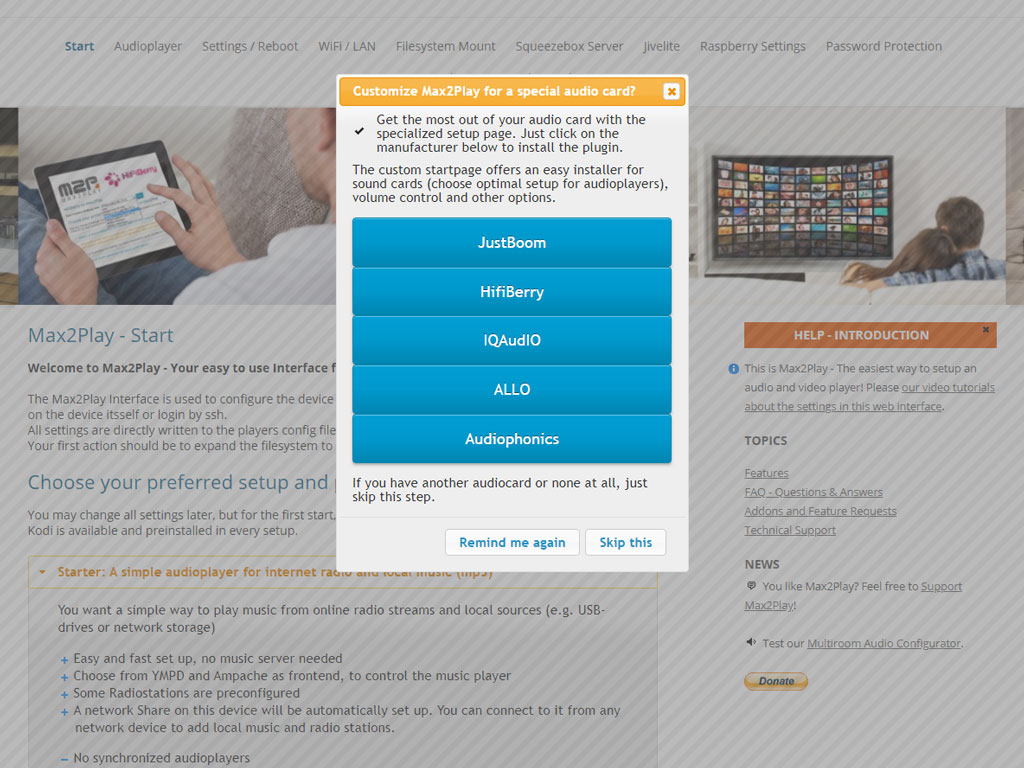
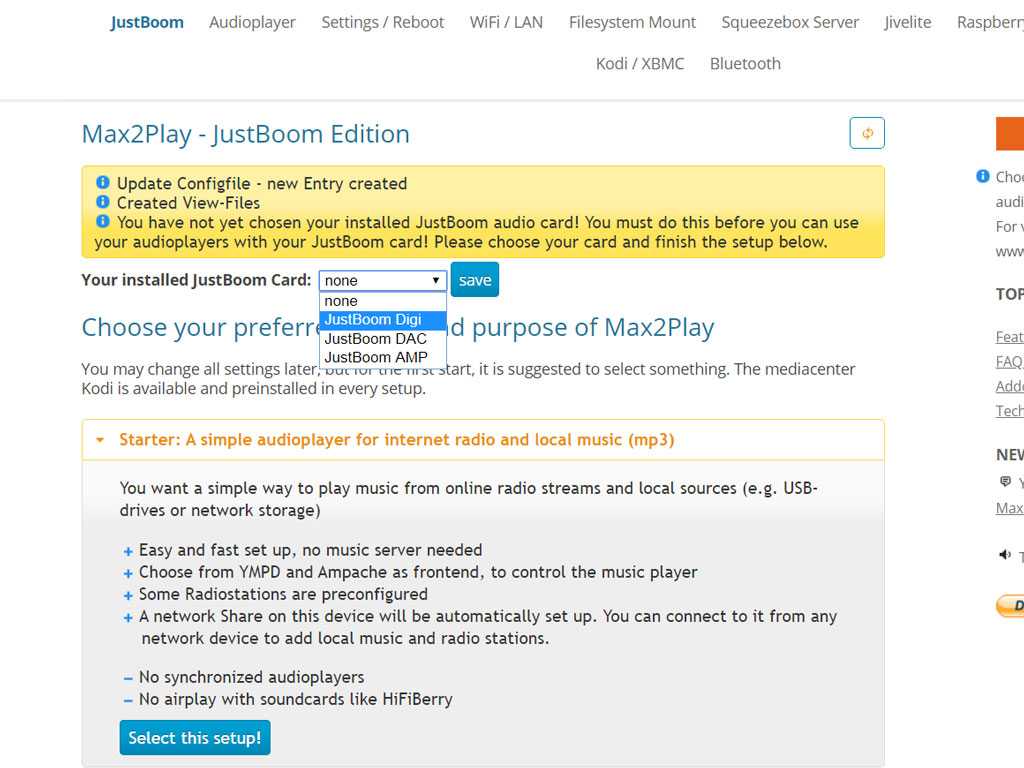
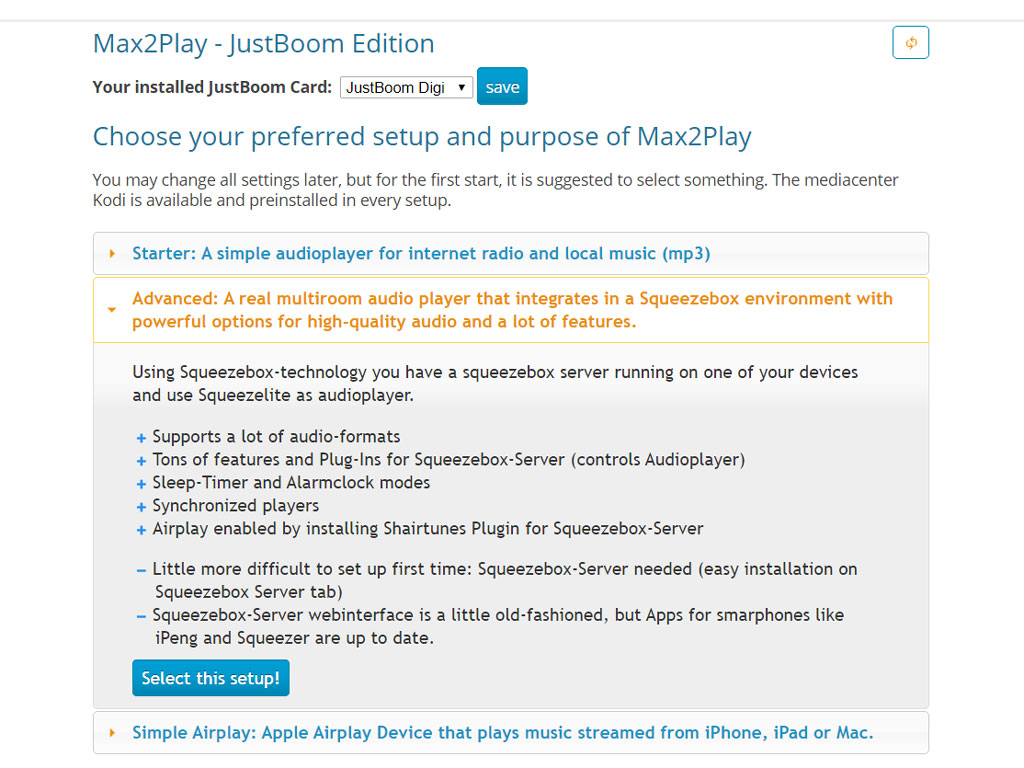
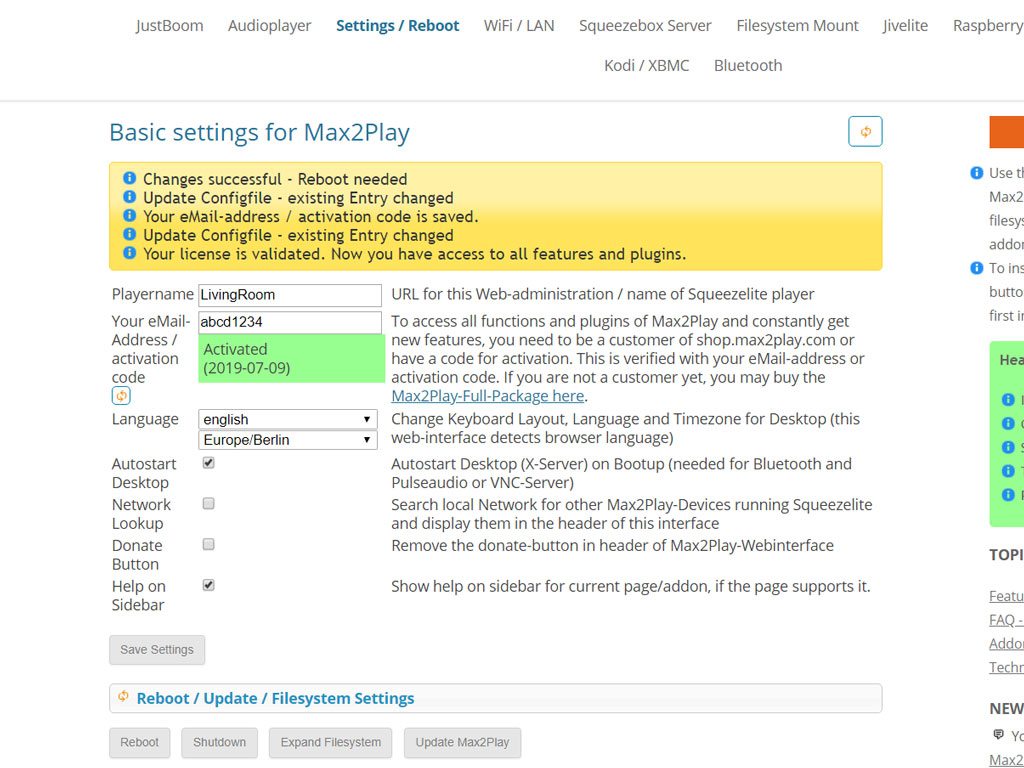
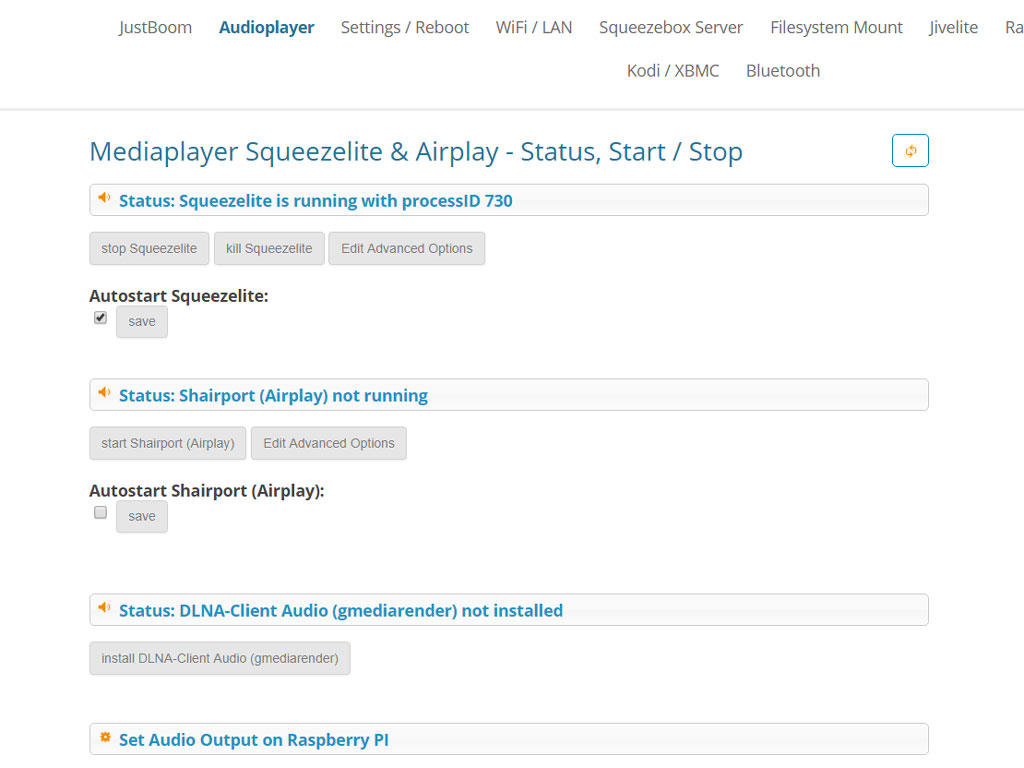
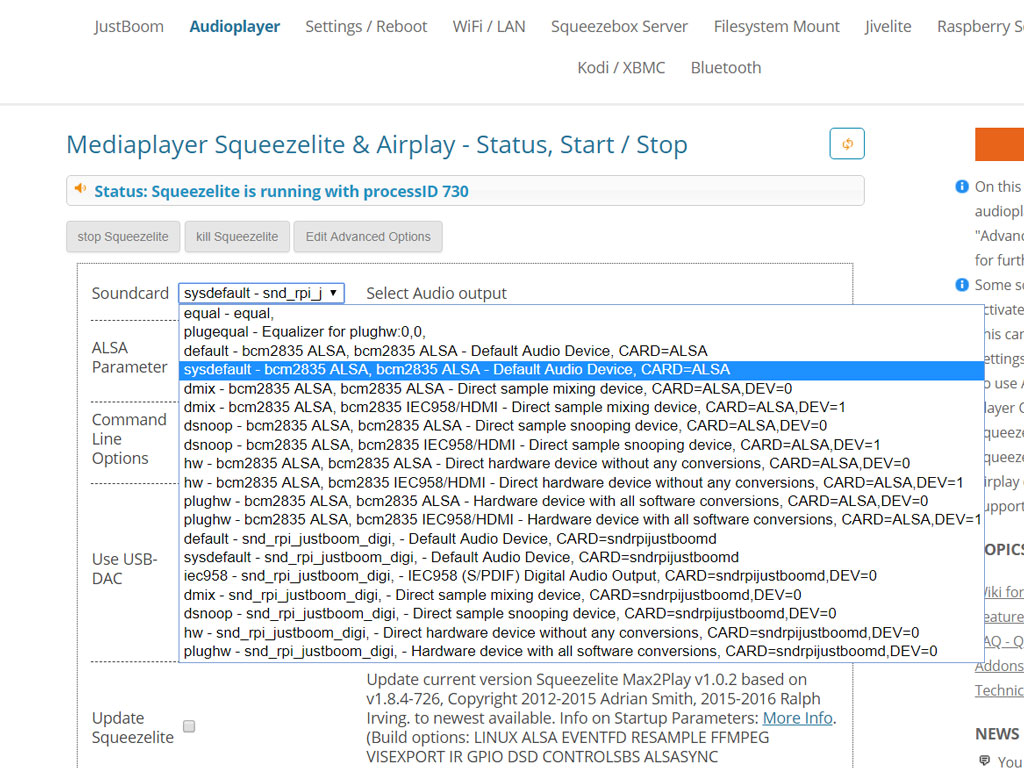
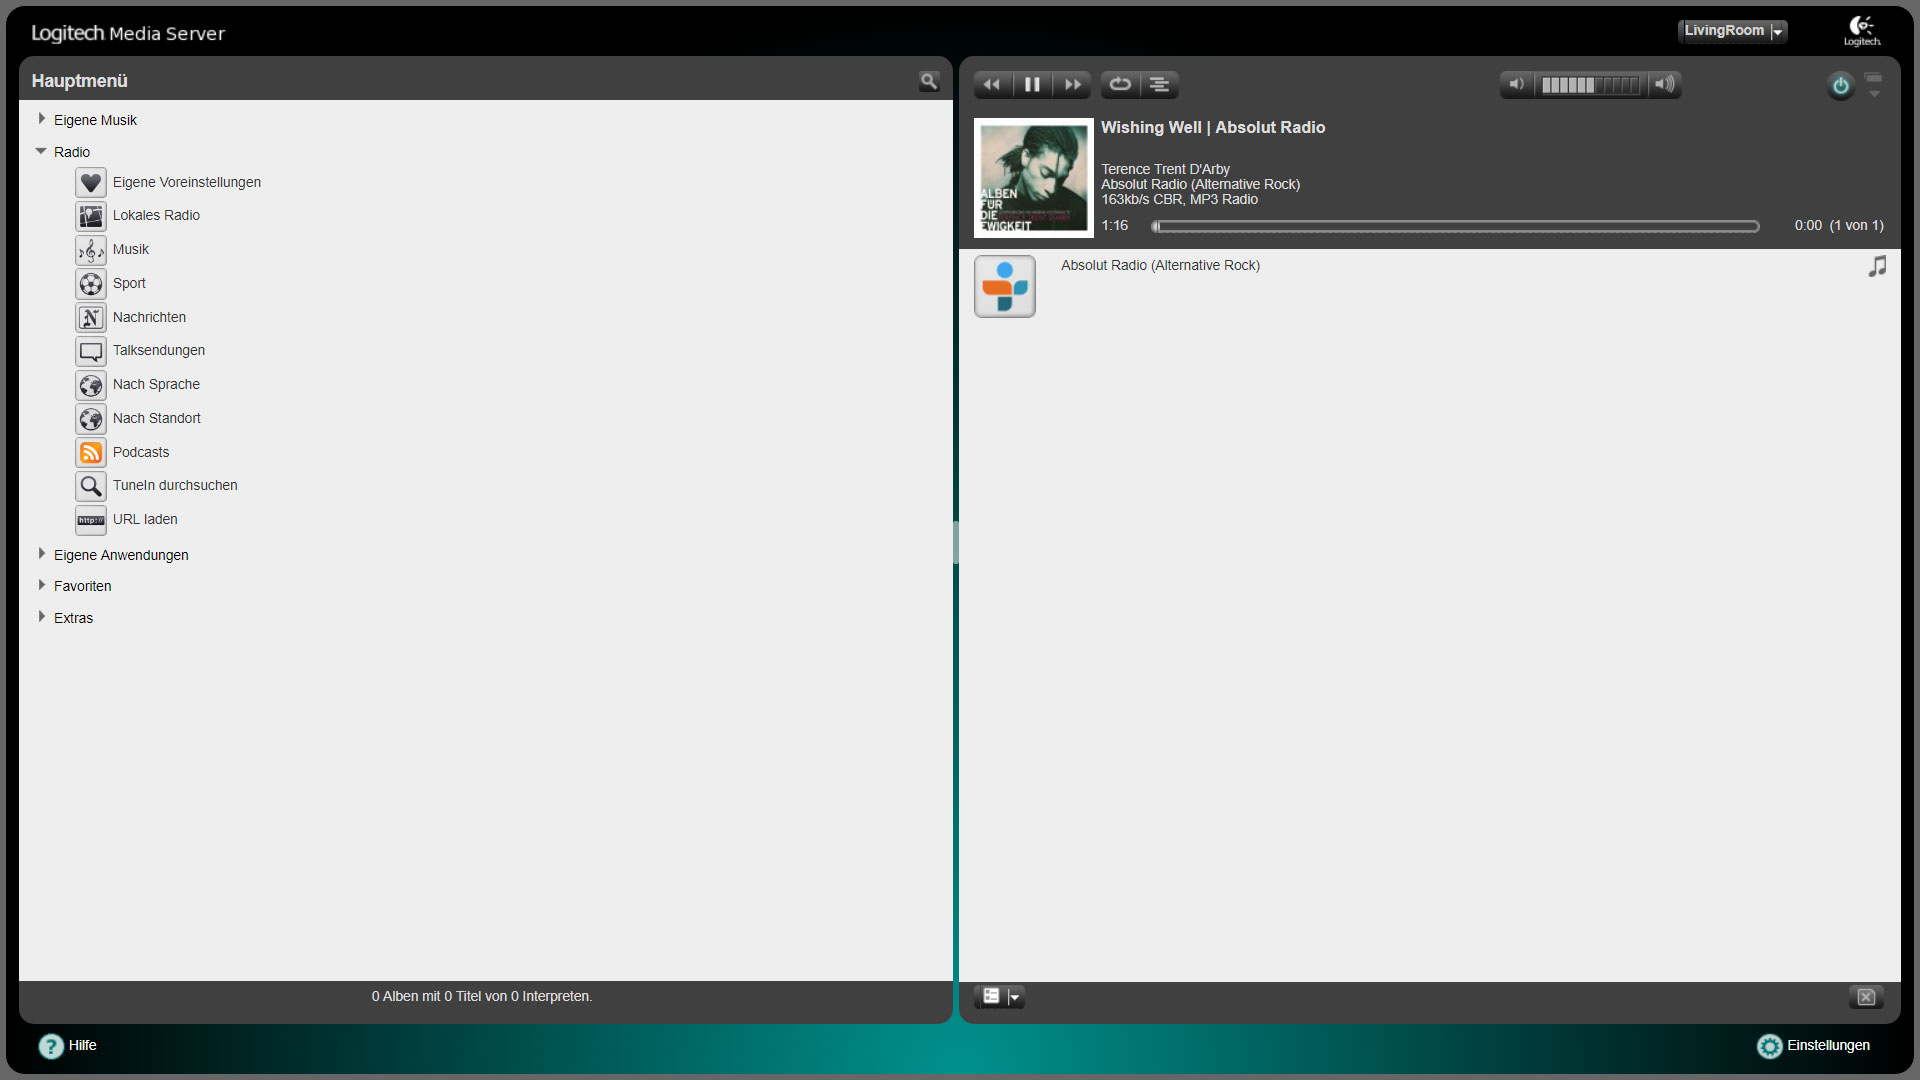
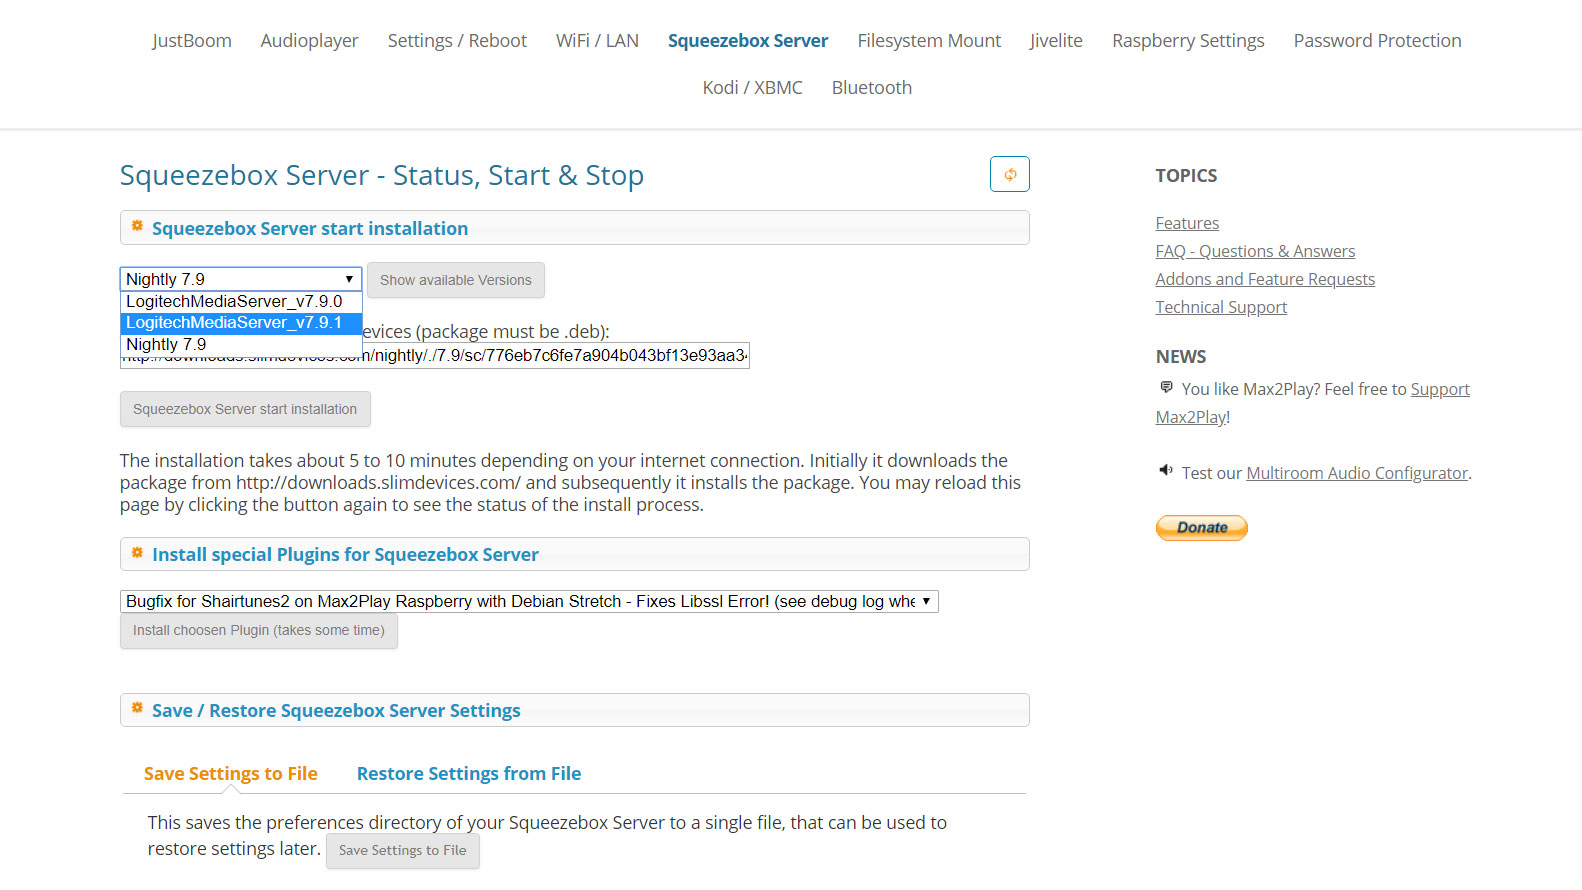
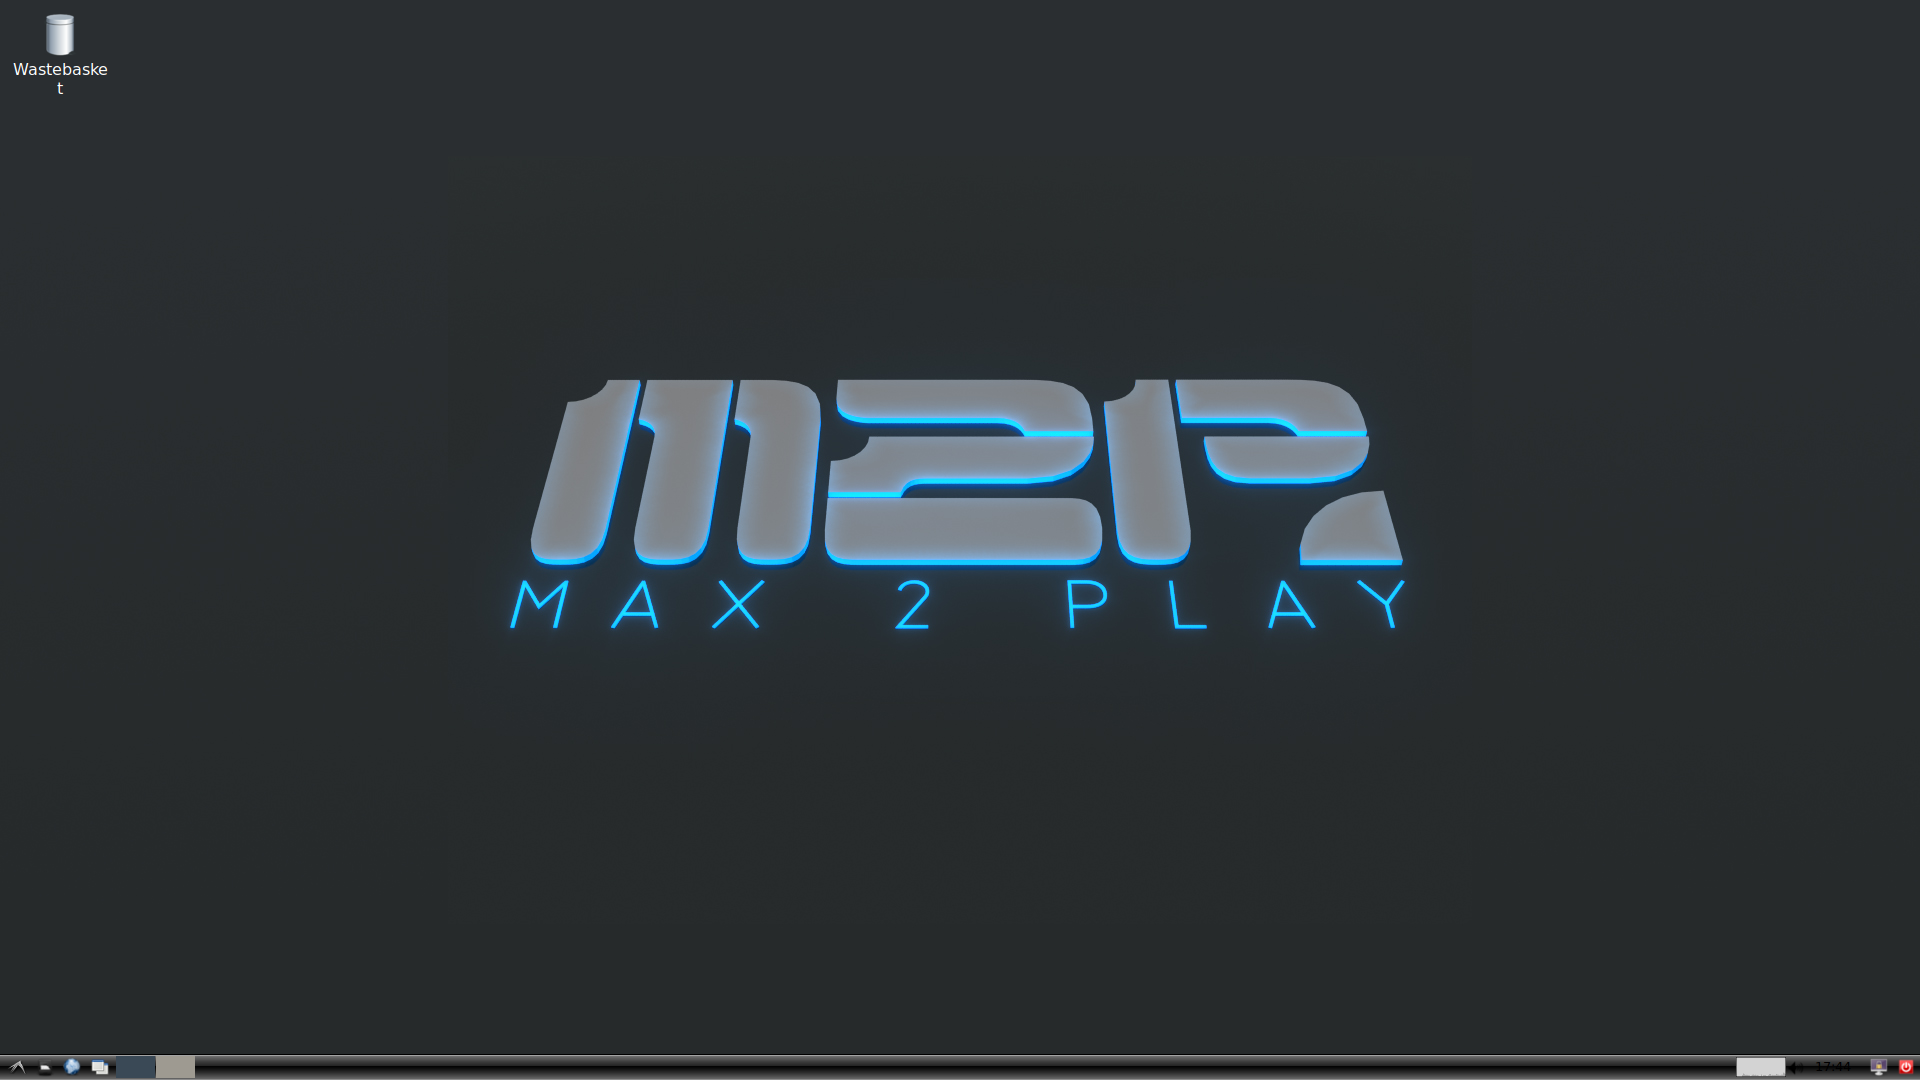
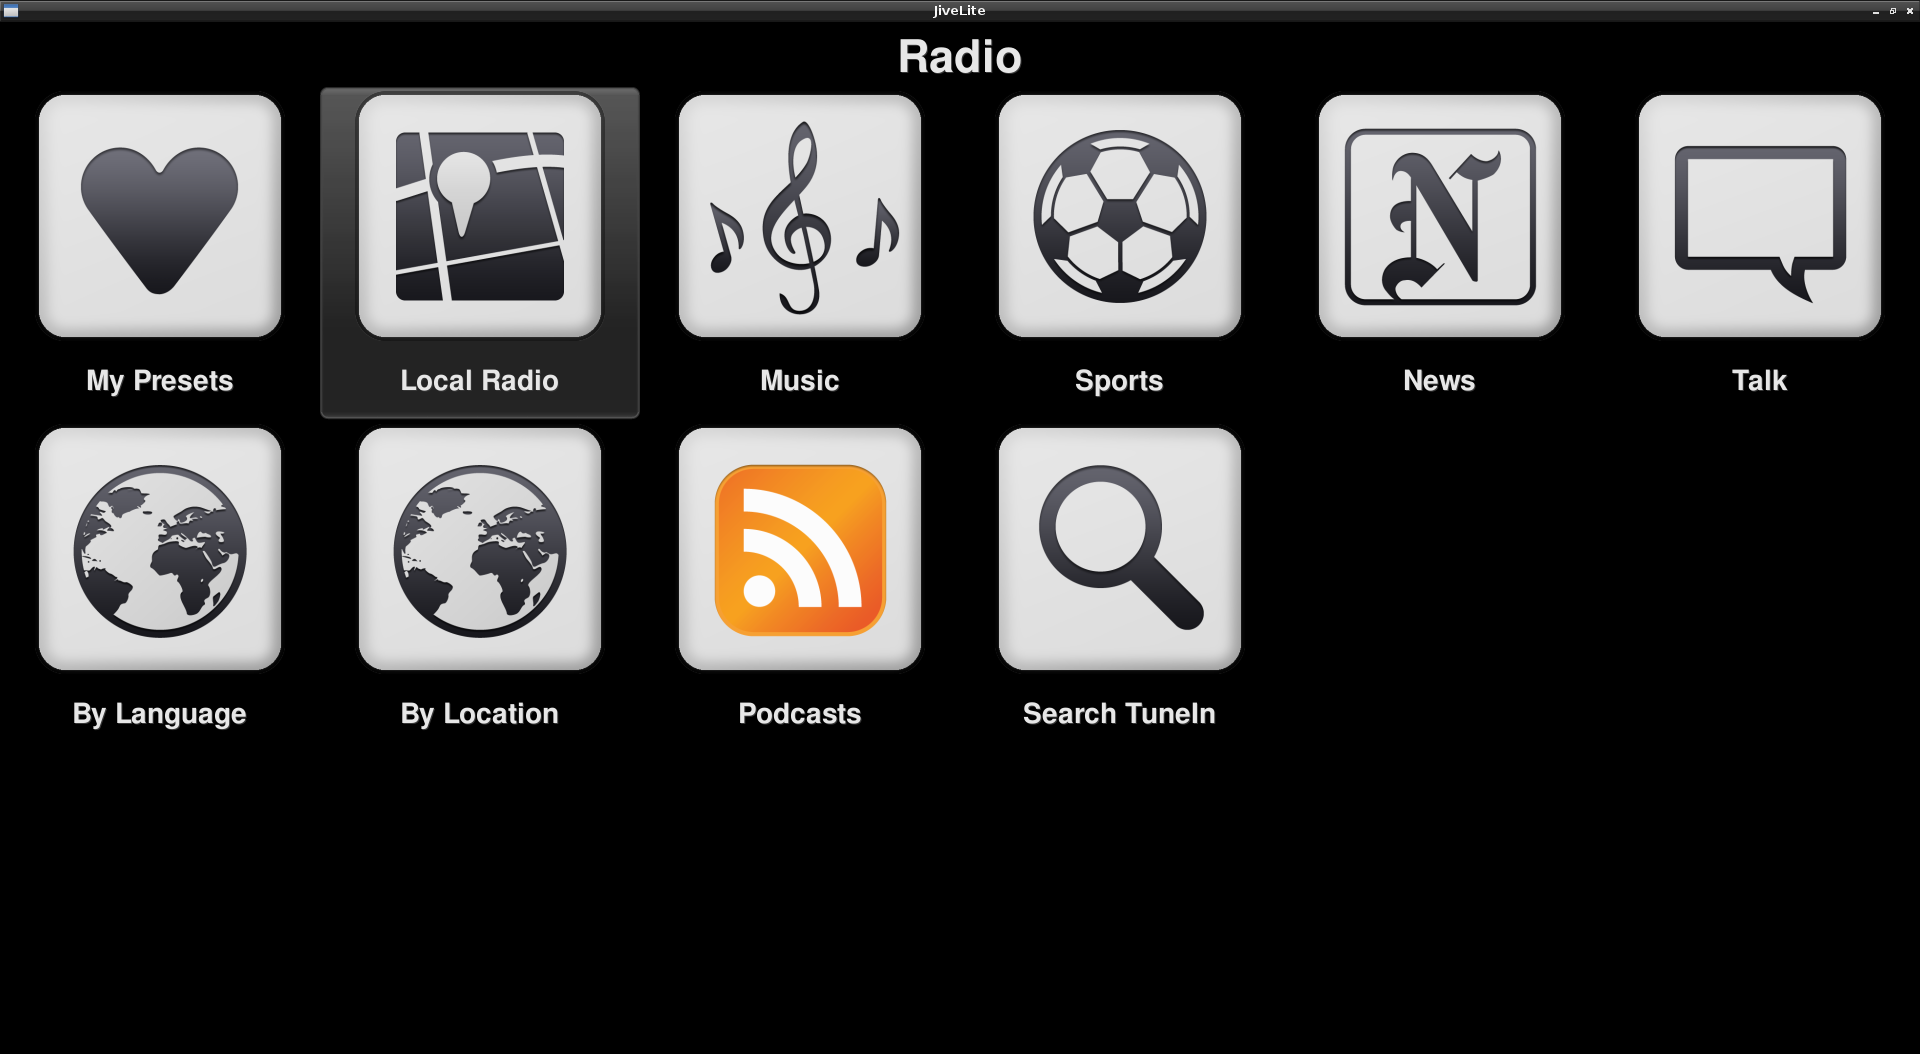
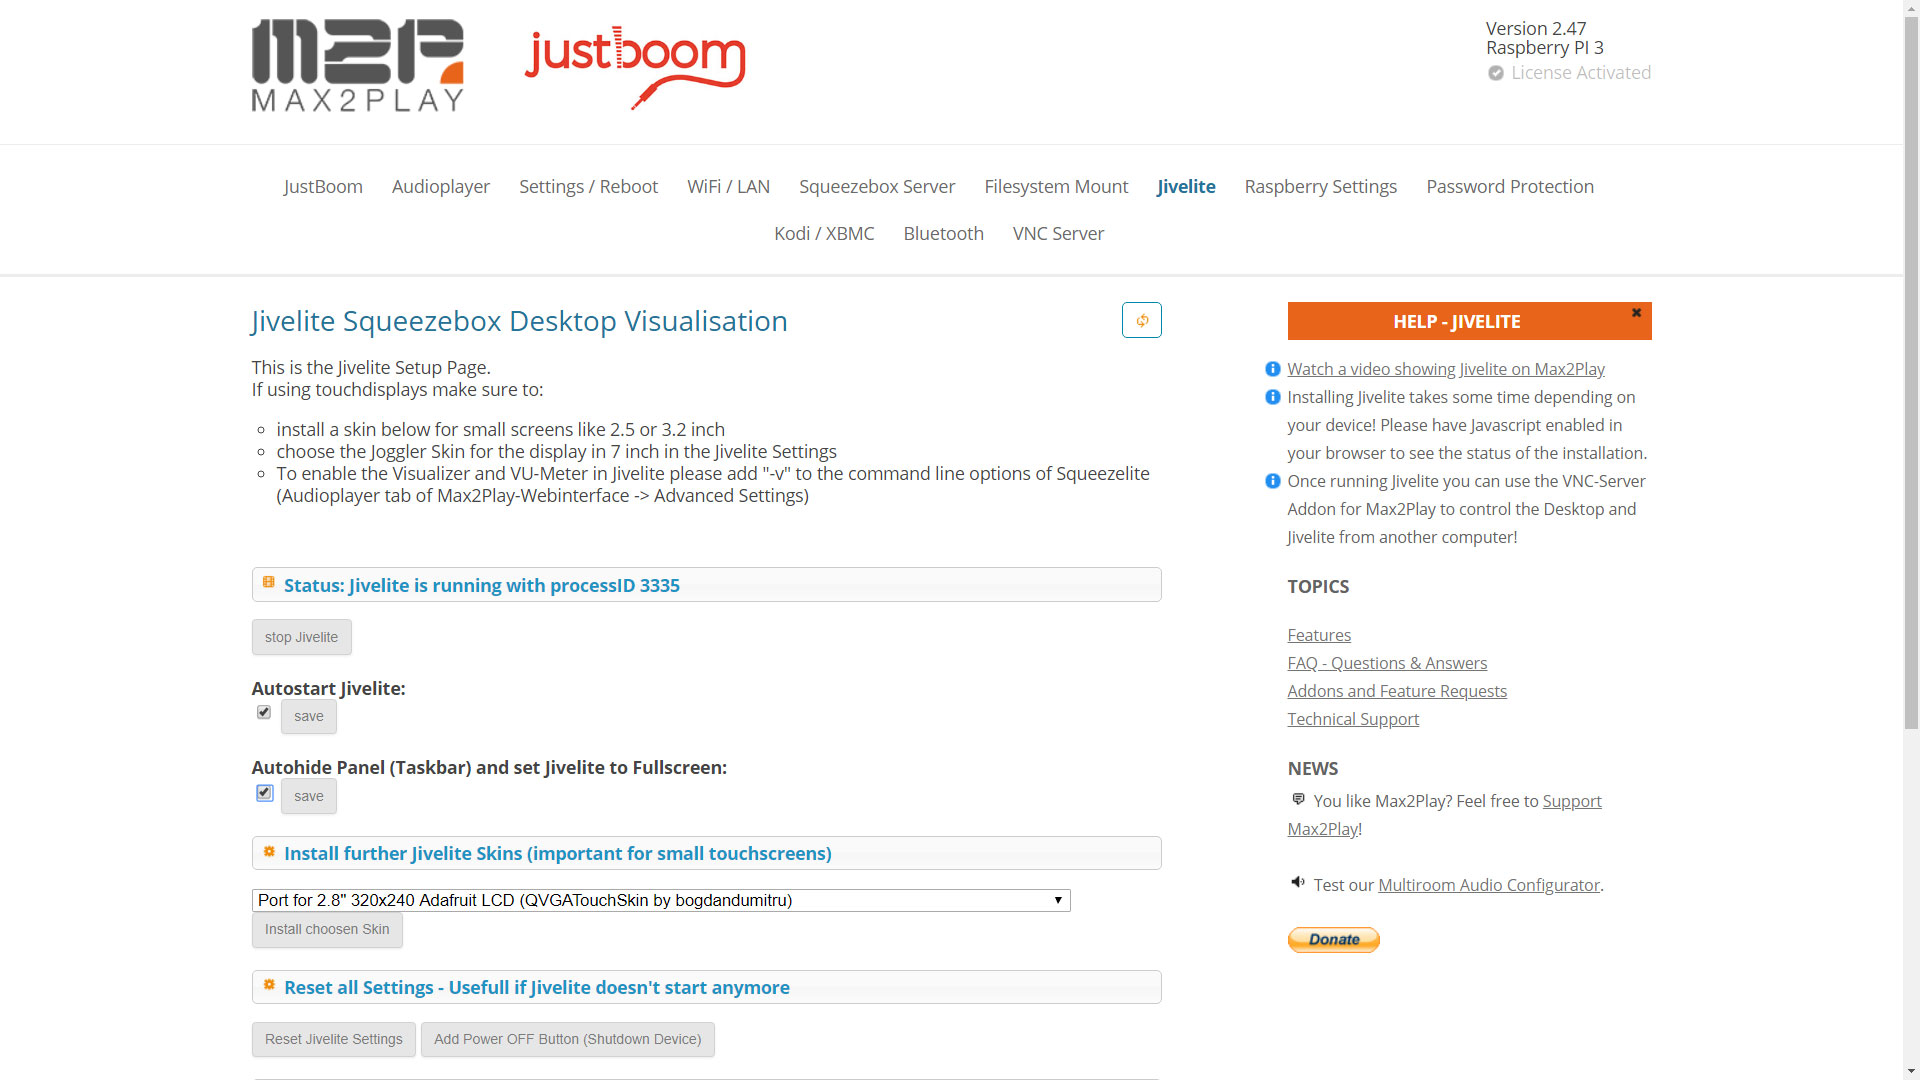
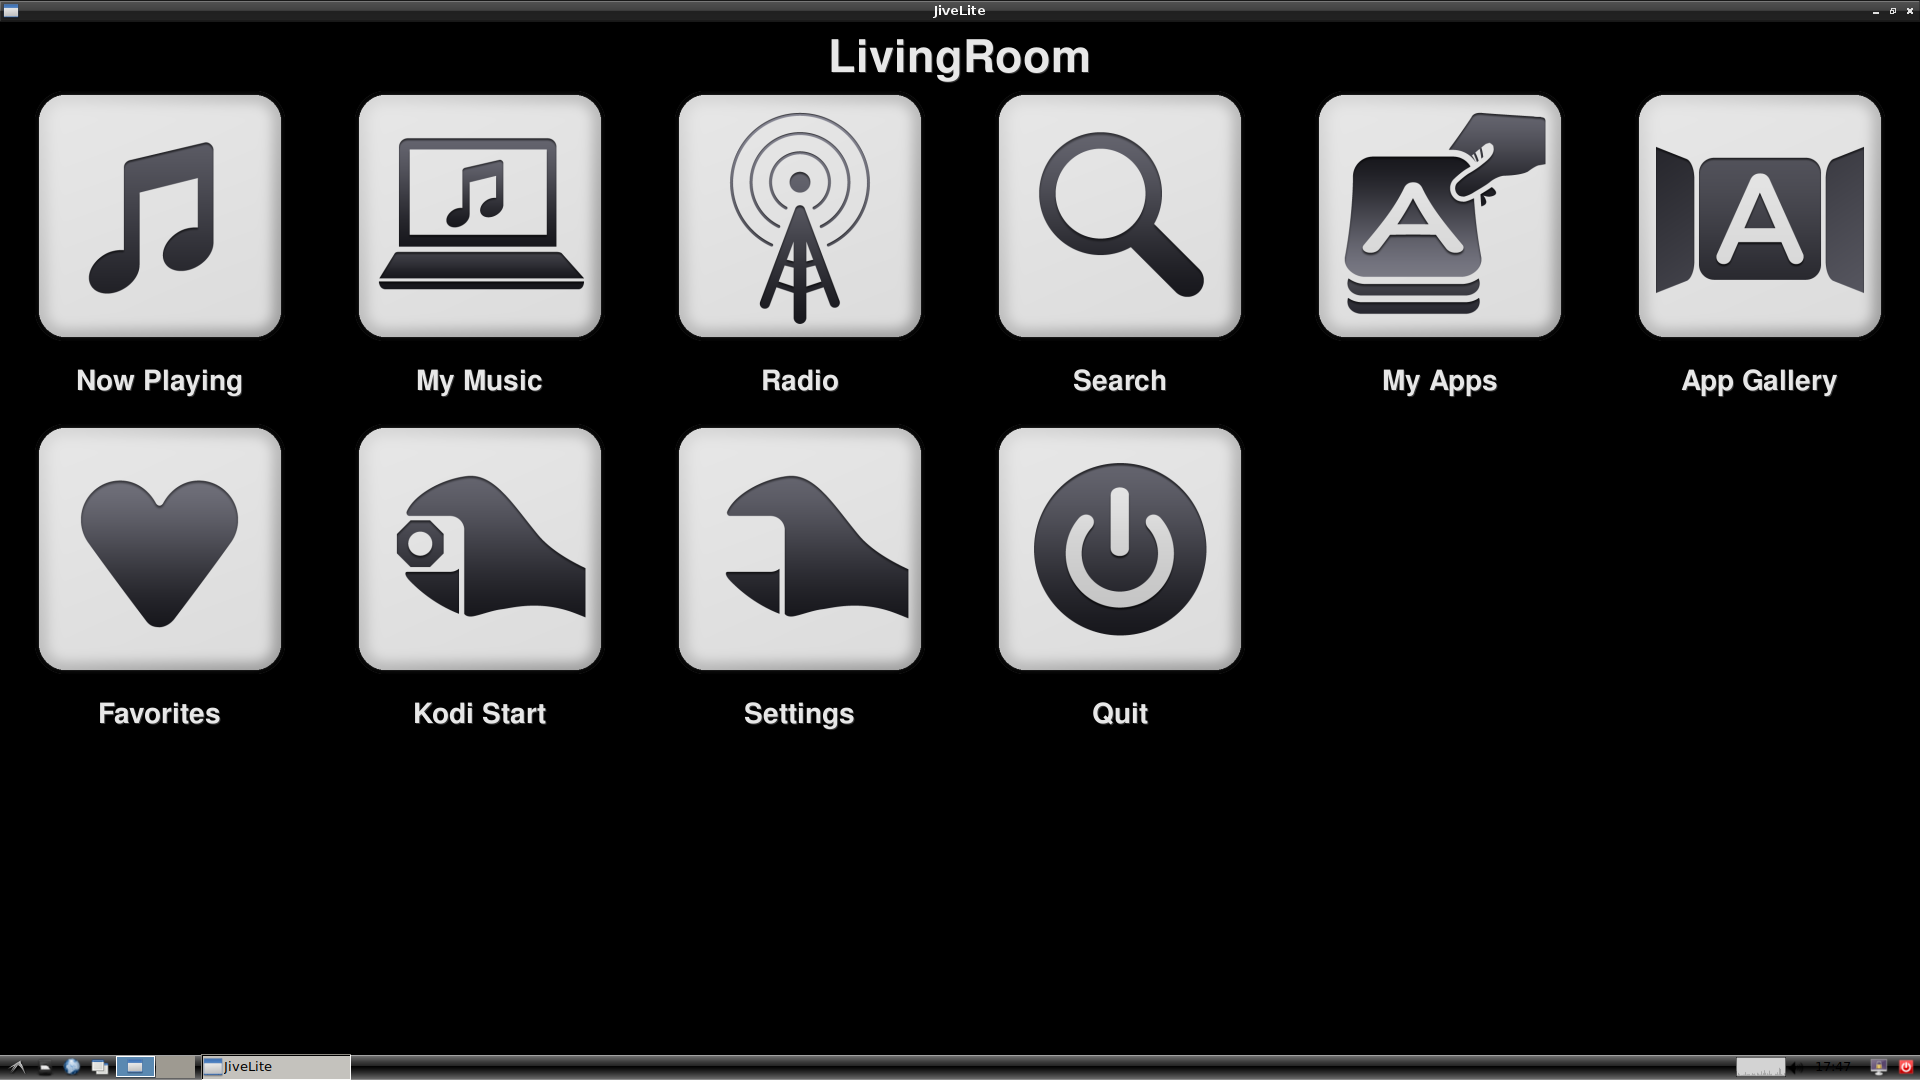
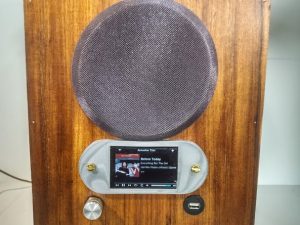
The bundle contains the following parts: Note:If you want to control your sound card via IR remote, you can read here how to install and set up an IR receiver on the board. First you have to guide the 4 plastic spacers through the 4 holes on each side of the Pi and fix them with the nuts from the other side, as seen in this pictured. Now you can put the sound card ontop of the Raspberry Pi. That’s what the so-called GPIO pins are intended for. These are 20 small pin pairs that provide for the transfer of data between sound card and Pi. You have to hold Pi and sound card as I pictured here and gently push the card down until it sits firmly on the spacers. After that, the remaining screws have to be screwed from above through the holes of the sound card into the spacers. Now insert the Max2Play SD card into the corresponding slot. If you have not purchased an SD card with a pre-installed Max2Play image, you can read in our Wiki how to burn the image yourself to an SD card. Remove the protective foil from all housing parts and put the rubber feet through the 4 holes of the bottom plate. Now take the Raspberry Pi and sound card and put the left side of the housing on it. The recesses of the side plate should fit exactly to the connections of the Pi. Then do the same with the right panel. Now you can push them from above into the recesses of the bottom plate. You’ll find that the headphone jacks on the Pi and sound card prevent the parts from being pushed together. Gently pull apart the sides of the base plate a bit. Do not use any force, so that the housing or the connections of the Pi or the sound card are not damaged. Finally you can put on the ceiling plate. Again, you may need to press the sidewalls of the bottom plate a little bit apart. Your Max2Play device is ready! All that’s left to do is connecting it to the TV and the AV receiver (or a soundbar, for example). To connect the Pi to the internet, I recommend you use a LAN cable. You can also integrate it into the home network via WiFi. Use the WPS function of your router or the Raspberry Pi’s automatic access point feature for that. After booting up and an unsuccessful WPS search, the Pi automatically switches to Access-Point-mode thanks to Max2Play, so you can easily find your device in the Wi-Fi search on your smartphone (or other WiFi device). The password is „mypasscode“ by default. If the connection is successful, you can make the necessary settings in the web interface to connect your device to the internet. Depending on the sound card, the Raspberry Pi is powered by its own micro USB port with a 5V power supply or via the sound card. In our case, both Raspberry Pi and sound card are powered by the power supply connected to the Pi. Plug in the power adapter and the device starts up. If you have connected your Pi to the network with a LAN cable or activated WPS on your router while booting the Pi, your device is now accessible in the home network. The Max2Play web interface can be easily accessed in the browser of your PC or smartphone. Enter „max2play/“ in the searchbar for that. (If that does not work right away, you can also enter the IP address of your Max2Play device, which you can find in the web interface of your router.) When you visit the web interface of your Max2Play device for the first time, you can select the manufacturer of your connected sound card. In our case, that’s JustBoom. Afterwards a corresponding plugin for the sound card is loaded, after which you must select the sound card model. This is necessary to load the correct driver for your sound card. Click on Save and on the link in the now appearing yellow message to restart the device. Then select „Advanced“ to set everything up for the multiroom functionality. After that, a new restart is necessary. Now click on the tab „Settings/Reboot“ and change the name of your device. This will also be the Player-name, e.g. „Living room“. Then restart the device again. Now you should activate your license to use all the premium features of Max2Play. Use either your e-mail address in the shop or a Max2Play license code (depending on your order). Squeezelite is our primary audio player. It is used to play back the music of the Squeezebox Server and can be controlled by Jivelite (see below for more). It can be started and stopped in the Max2Play web interface. Since we have already selected our sound card and the „advanced“ preset, we do not need to make any additional settings for Squeezelite and it is already in autostart mode. The audio output via the sound card has also been set up automatically. If you want to change the audio output for Squeezelite, you can do so in the advanced settings of the audio player. We are now ready to install a server – the basis for Multiroom Audio – on our device. The Squeezebox Server (or „Logitech Media Server“) is at the heart of Max2Play’s multiroom audio applications. You can use it to play music in multiple rooms at the same time, synchronize and easily control them with a smartphone with the interface of your choice (app or browser). Click on the Squeezebox Server in the Max2Play web interface, select one of the available versions (7.9, 7.9.1 or 7.9 nightly) and Max2Play installs the program after clicking on „Start Squeezebox Server Installation“. Make sure that the „Alternative Packet Source“ line is filled with a link describing your desired version. I recommend you use the current version 7.9.1 (as of 01/2019). Once the installation has been completed, the Squeezebox web interface can be reached by clicking on the large blue button. In the next article, I’ll show you more about the Squeezebox Server and its web interface. At the moment, it is enough to install it because we can already use Jivelite – a visual control interface for the server – on a connected screen. Jivelite is an open-source program with a graphical interface for controlling all audio players in the network. It can be used to visualize and operate audio playback via the HDMI port or a touch screen connected to the Max2Play device. So before you start it, you should connect a screen (like your TV) to the Raspberry Pi and reboot the system. The surface that appears first is the standard Linux desktop.
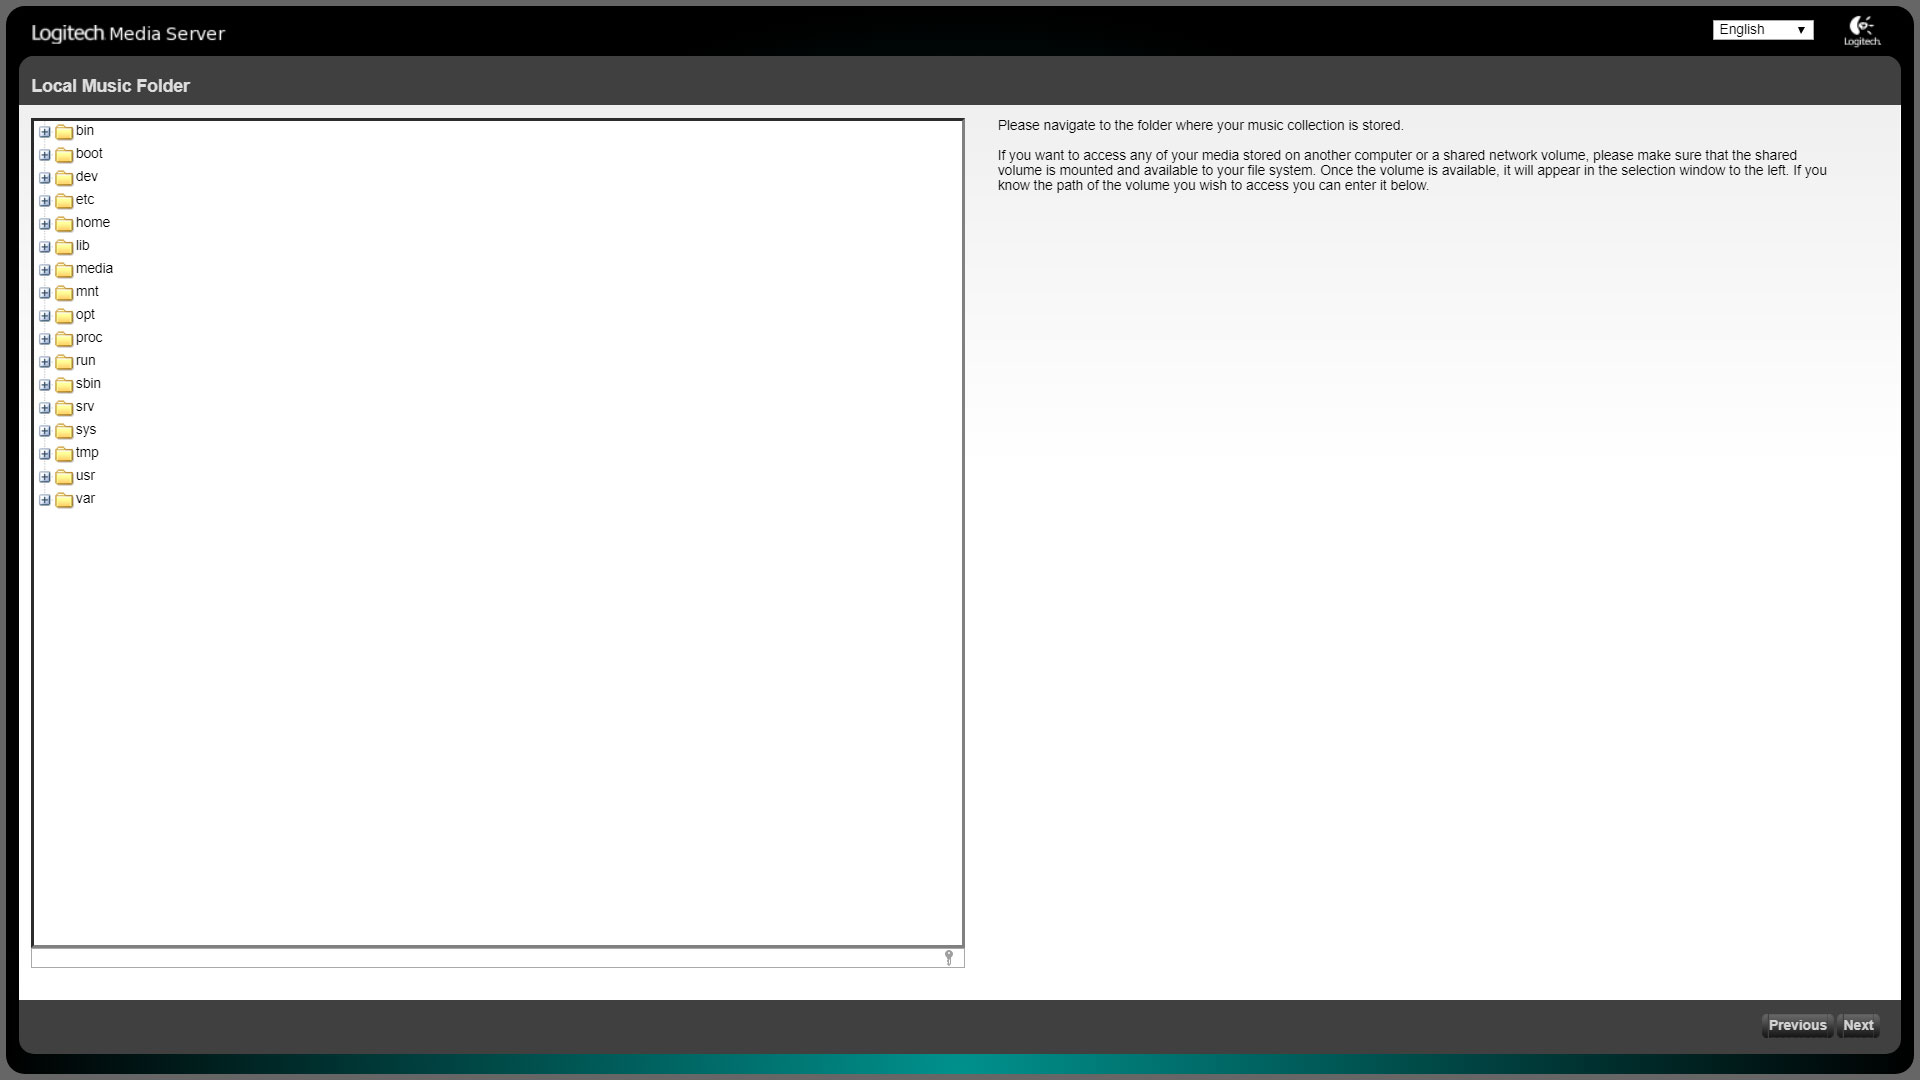
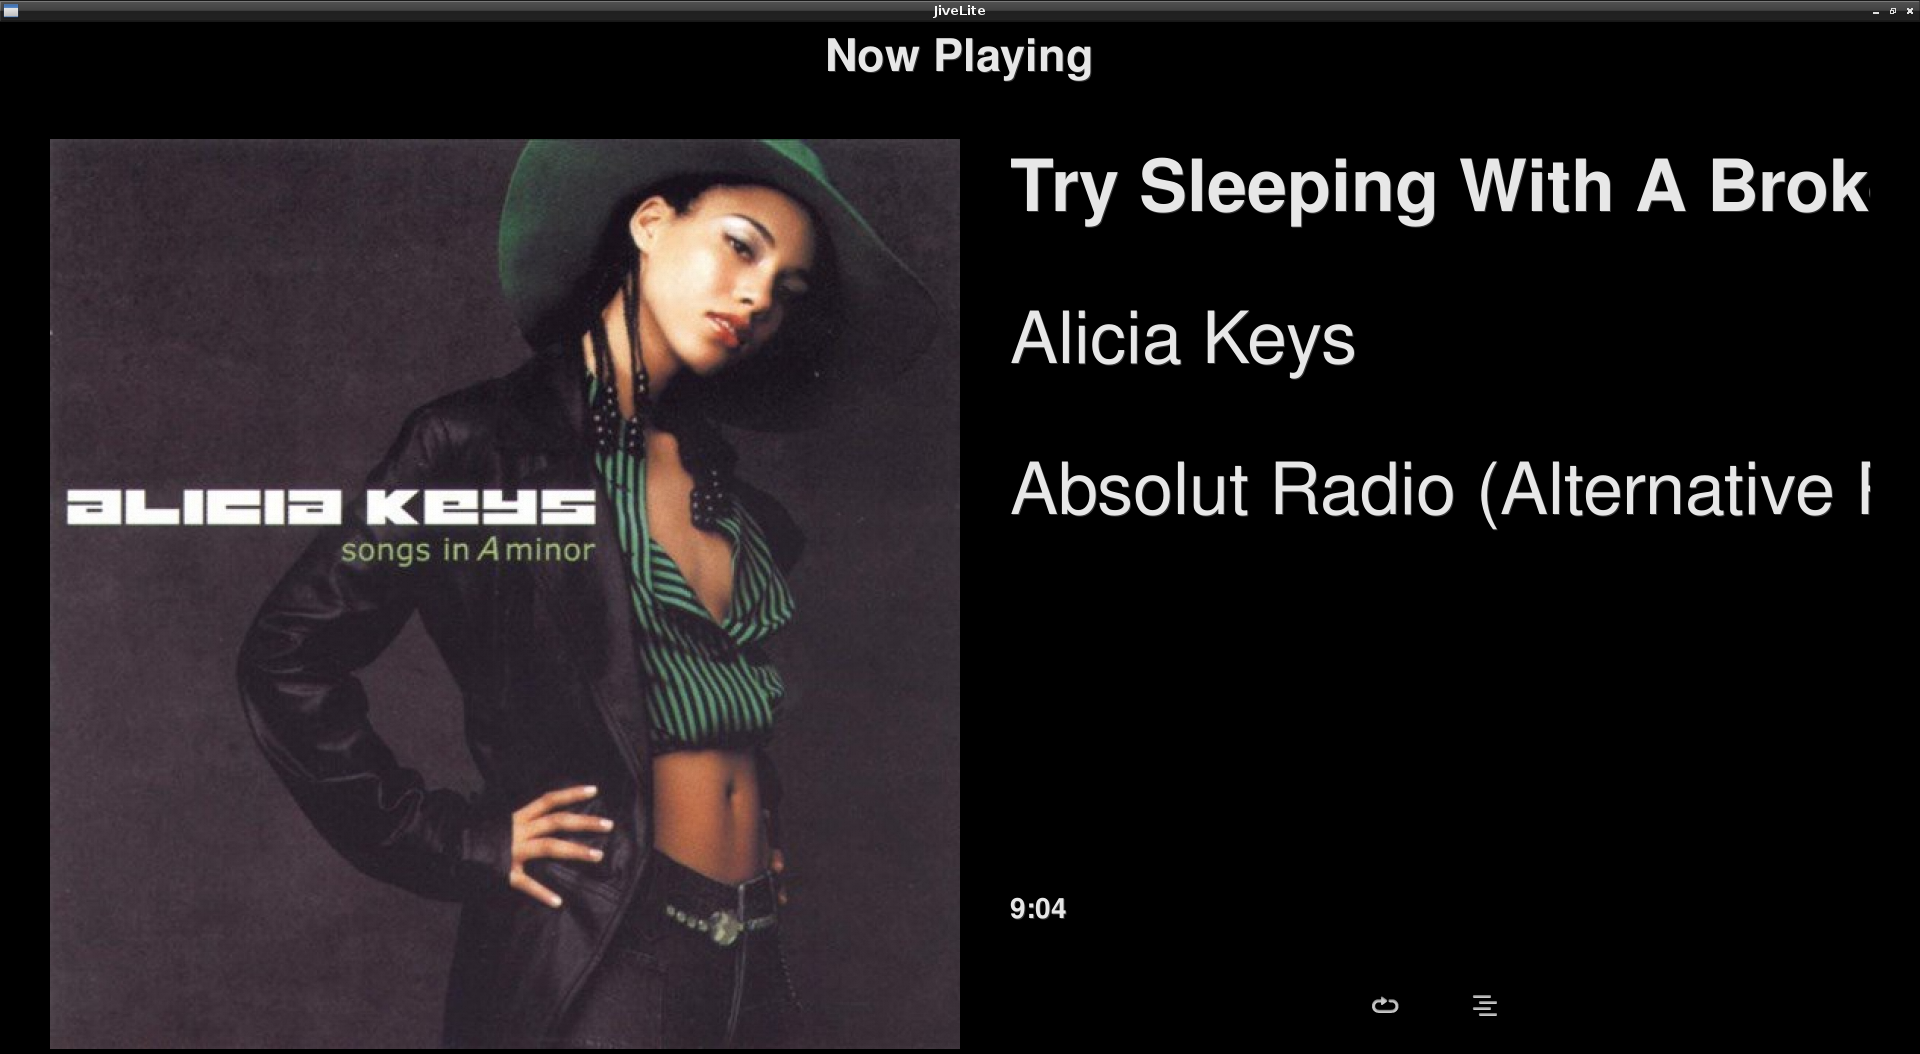
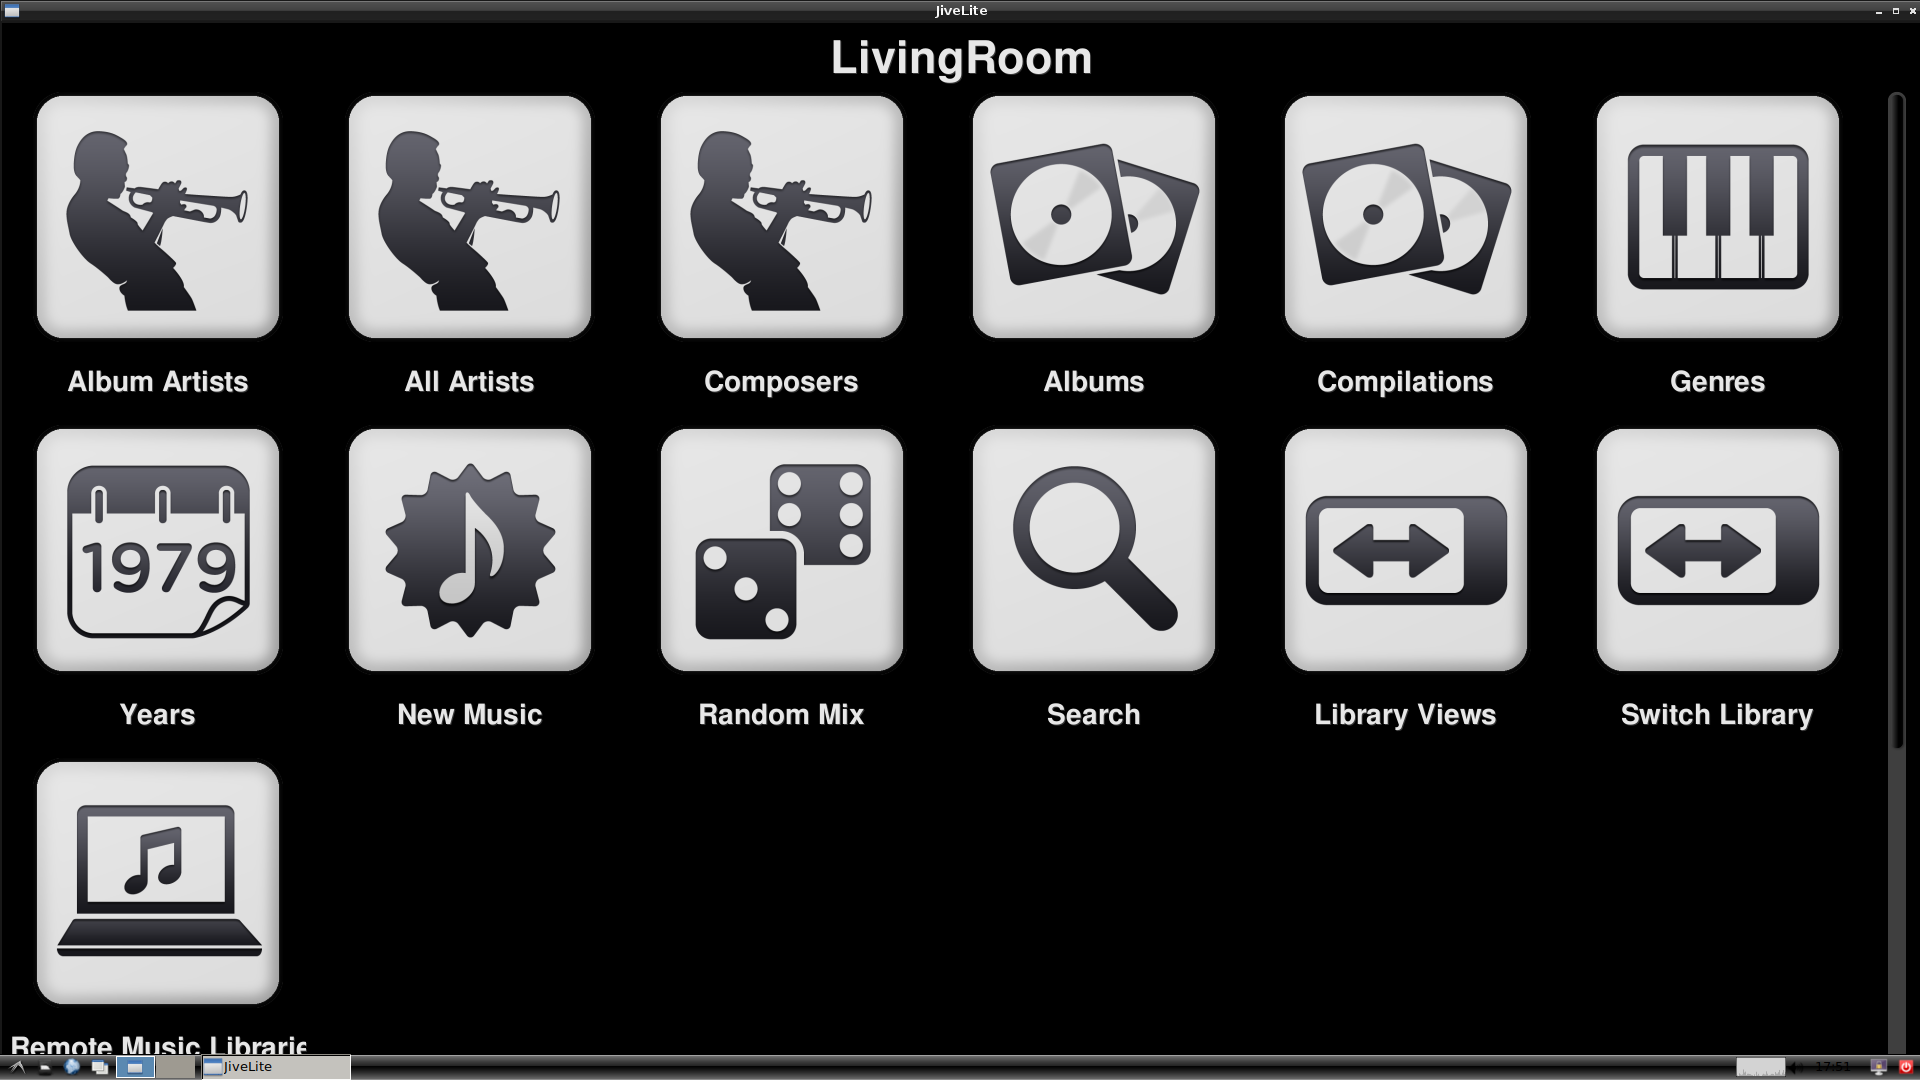
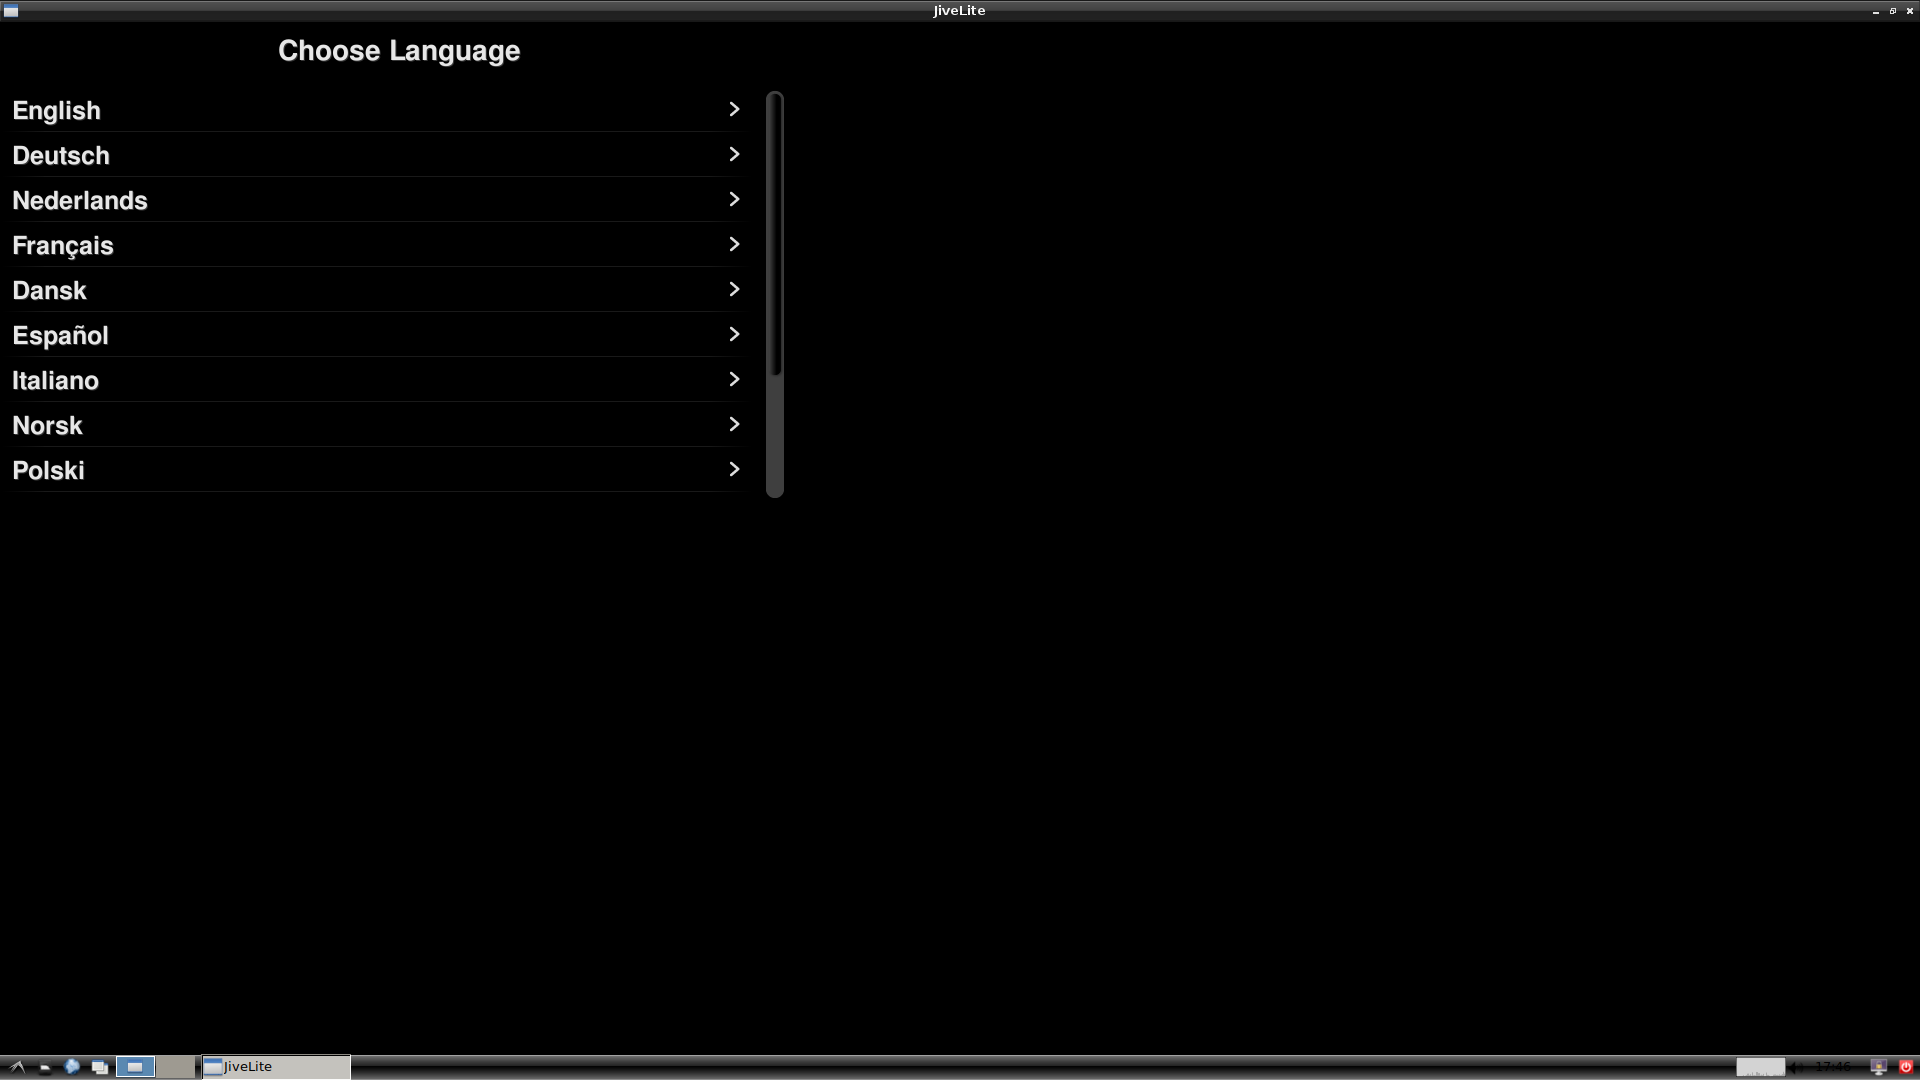
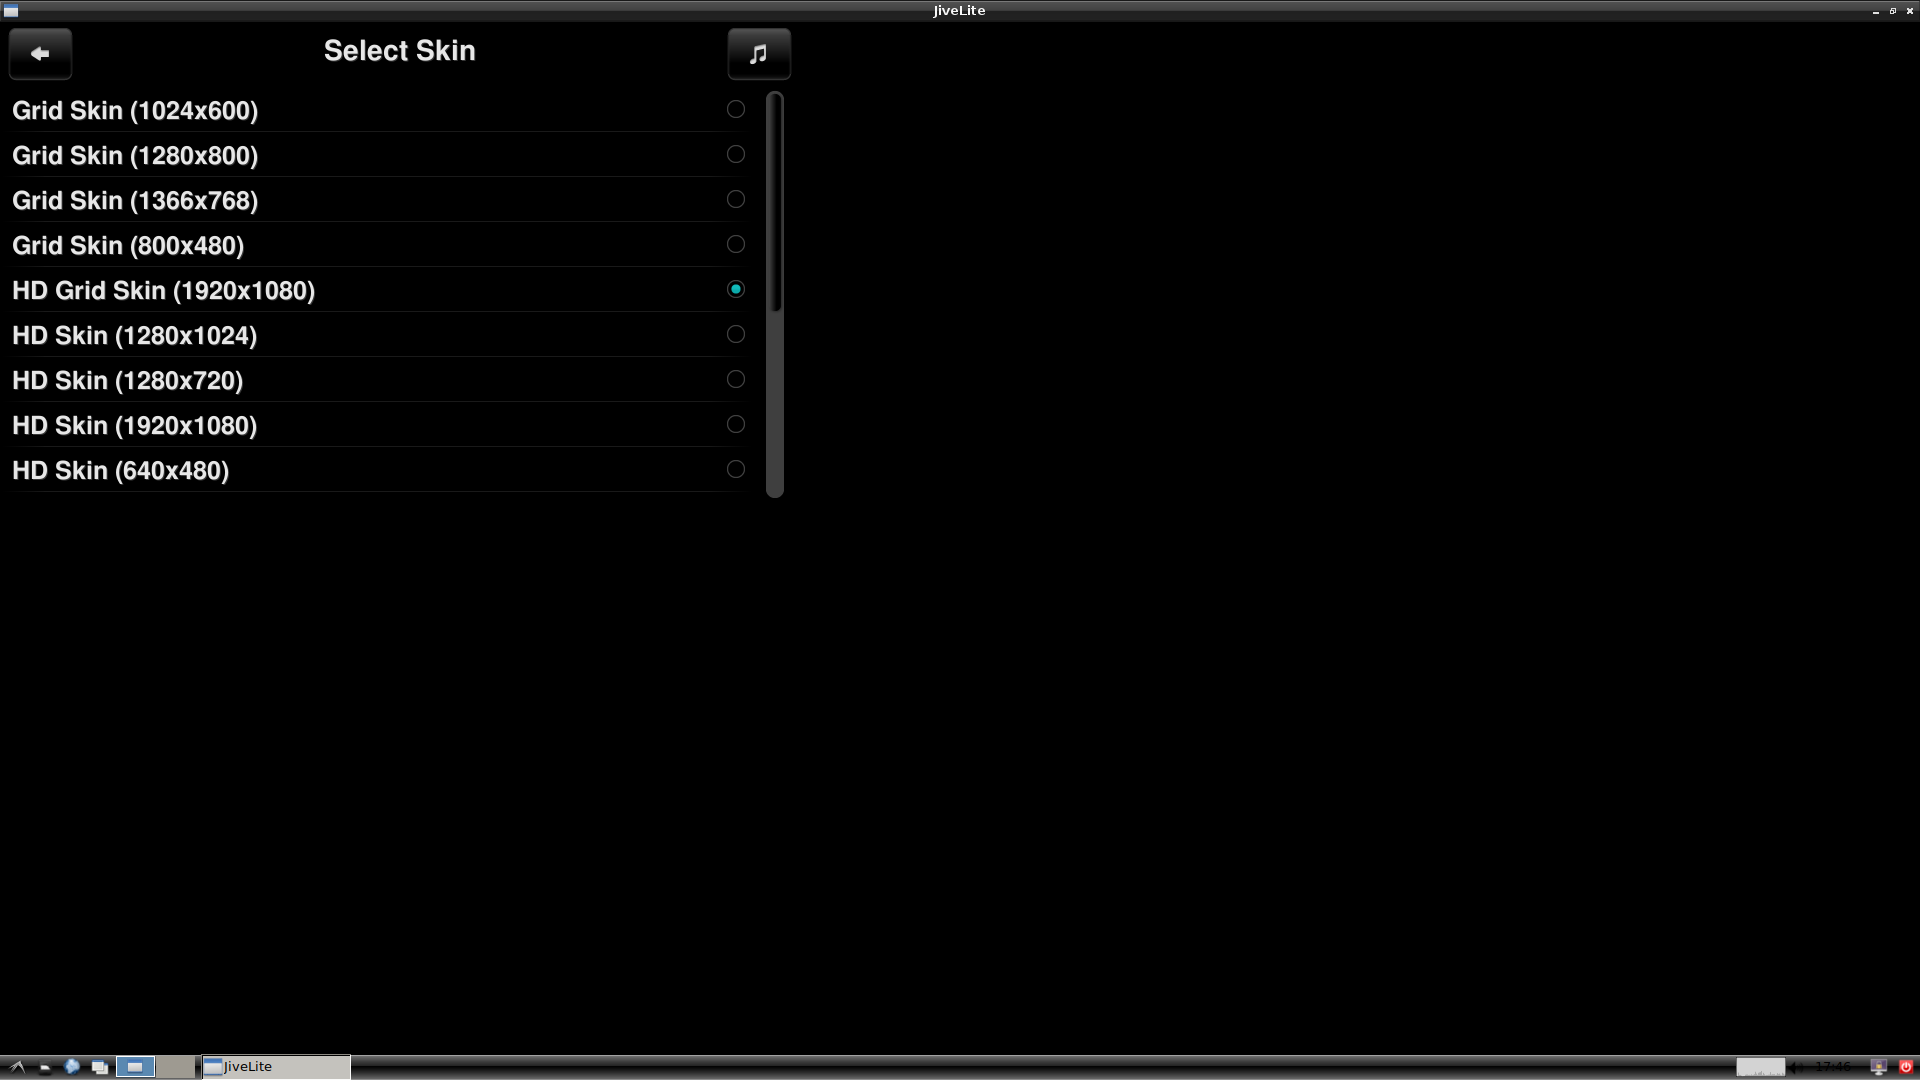
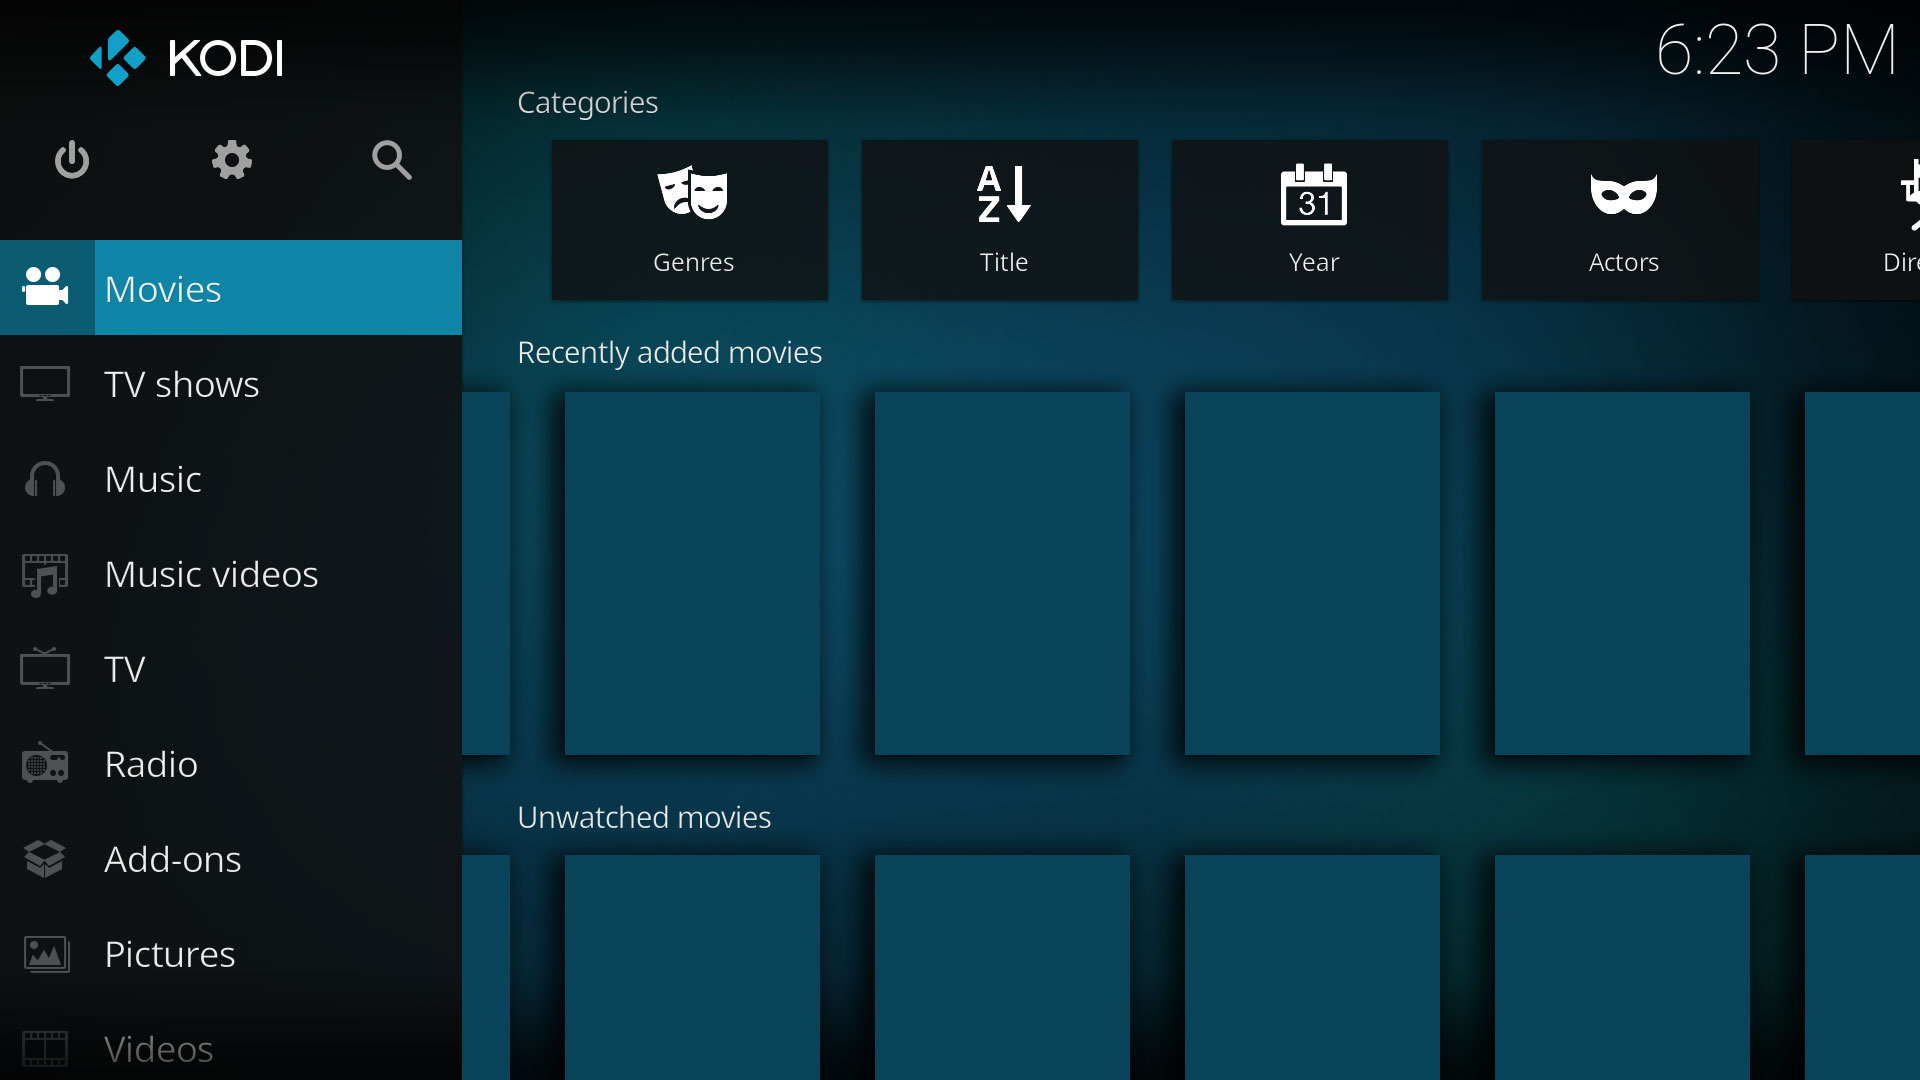
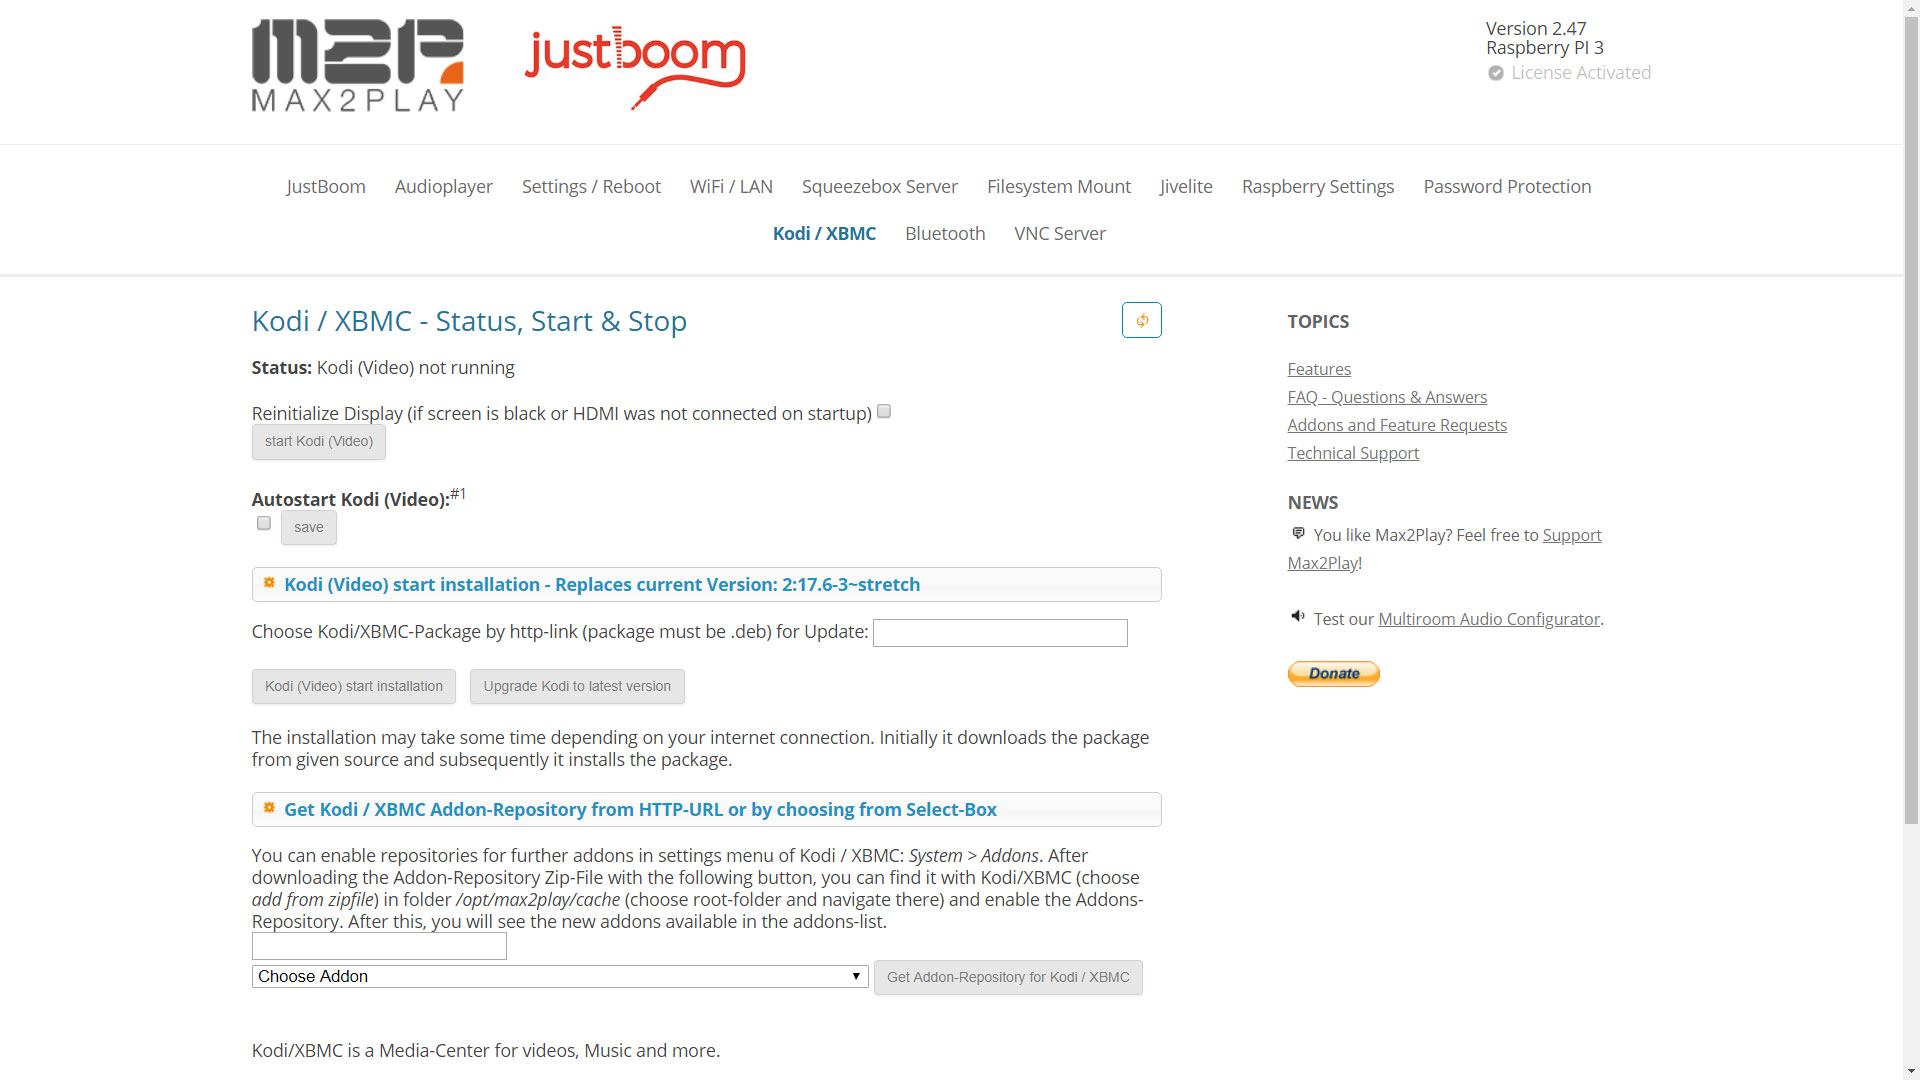
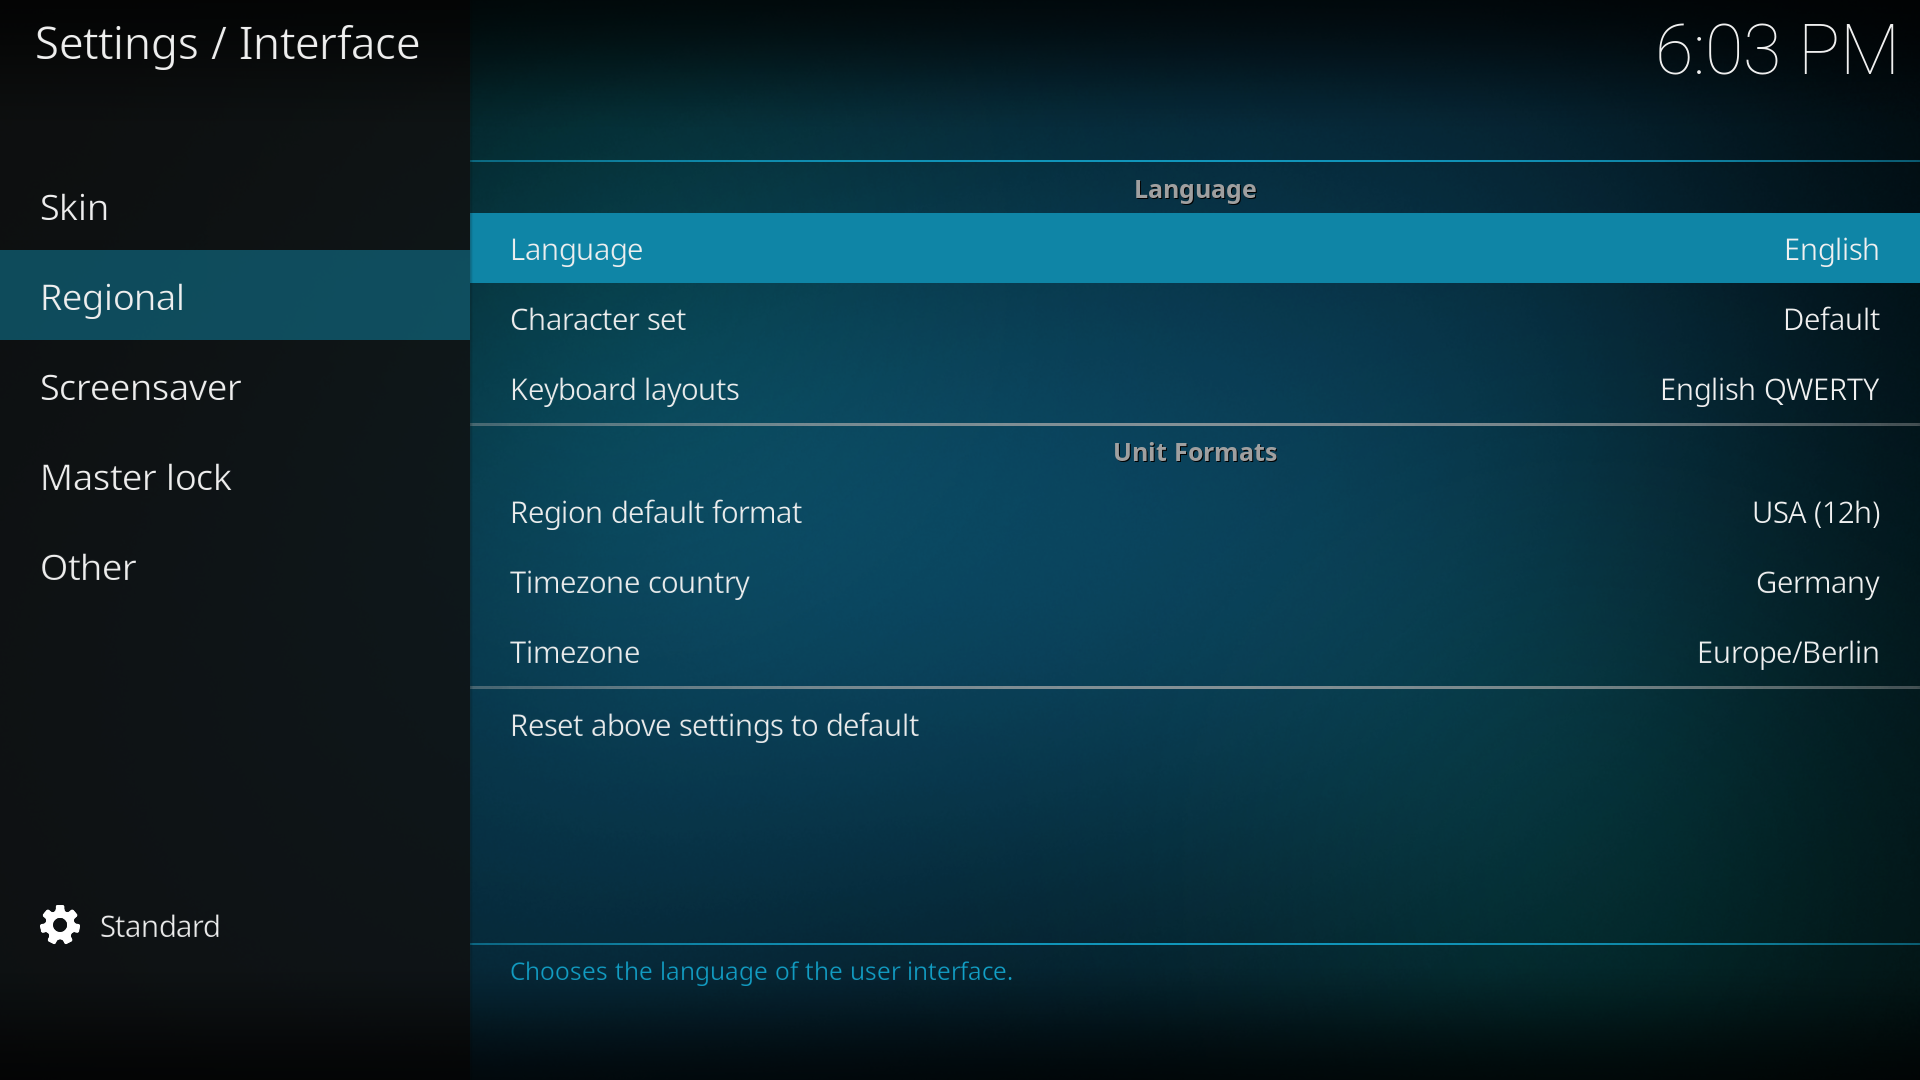
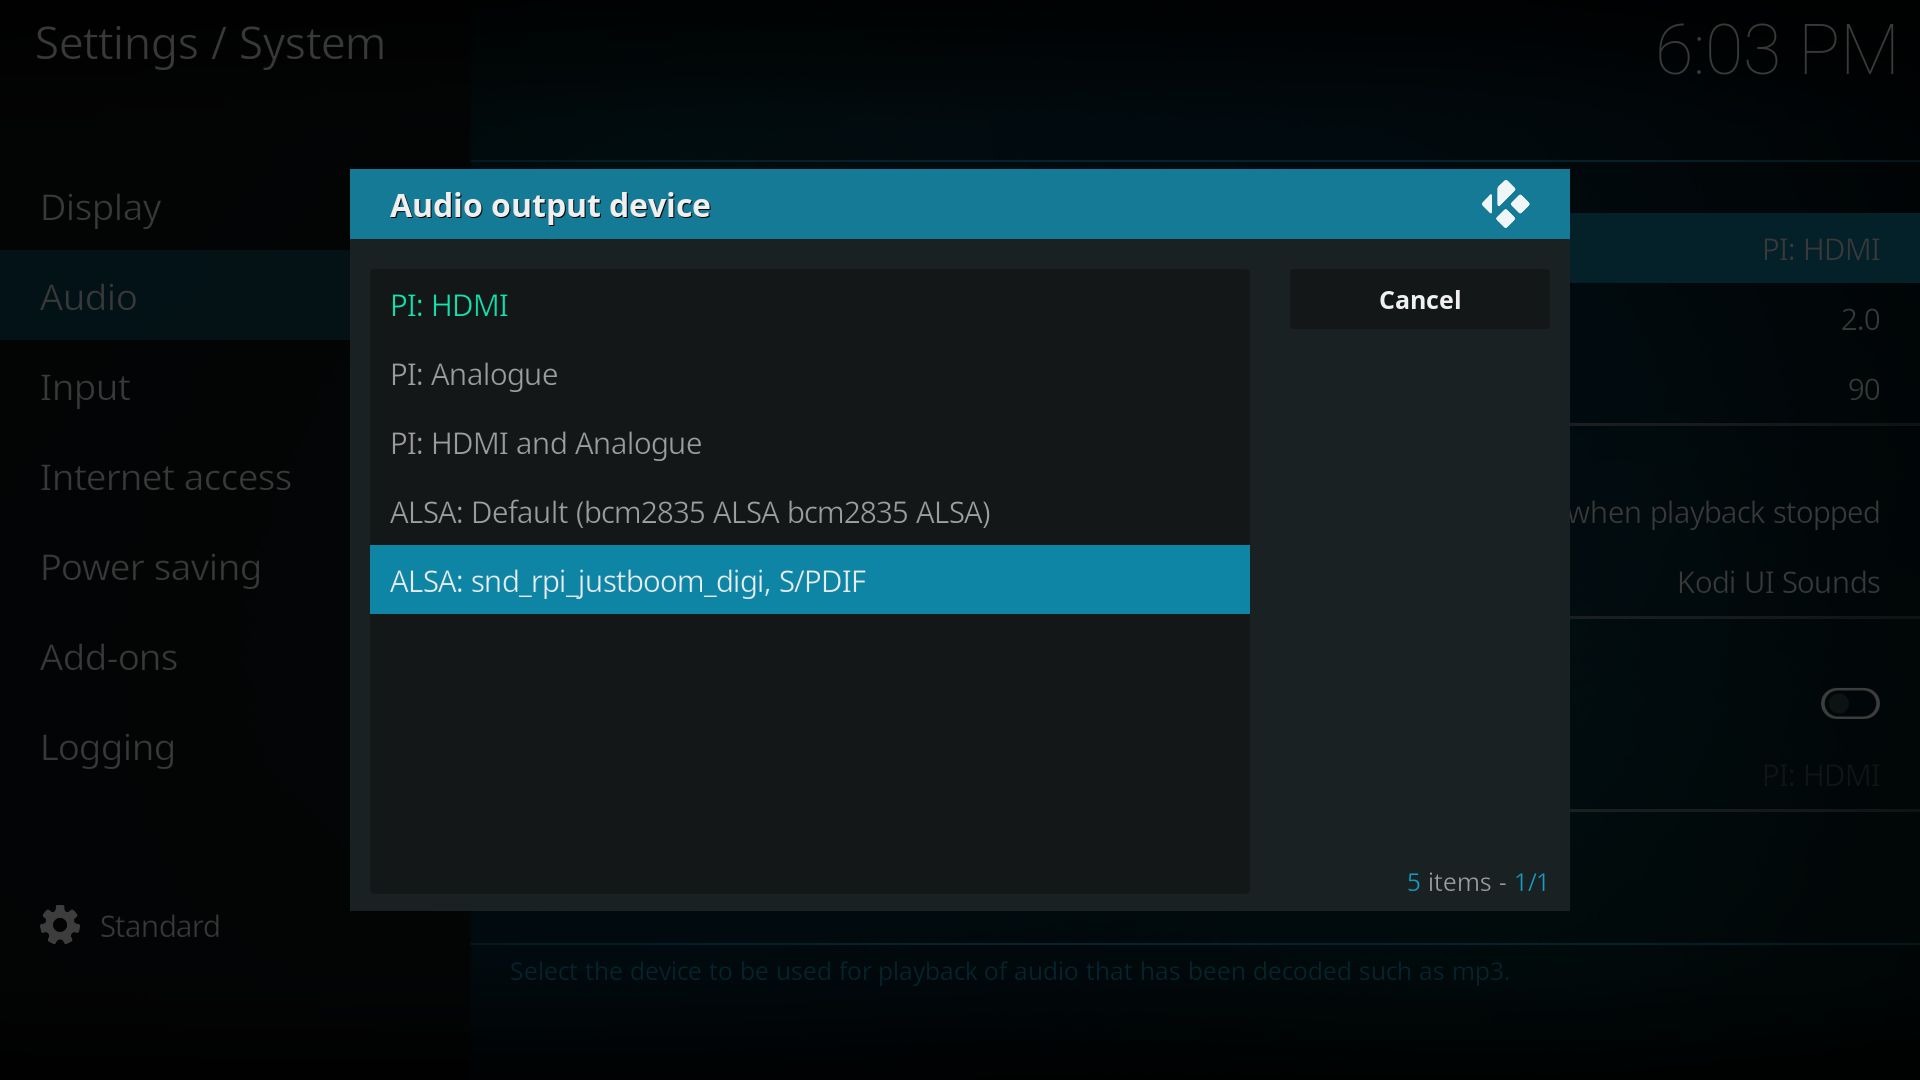
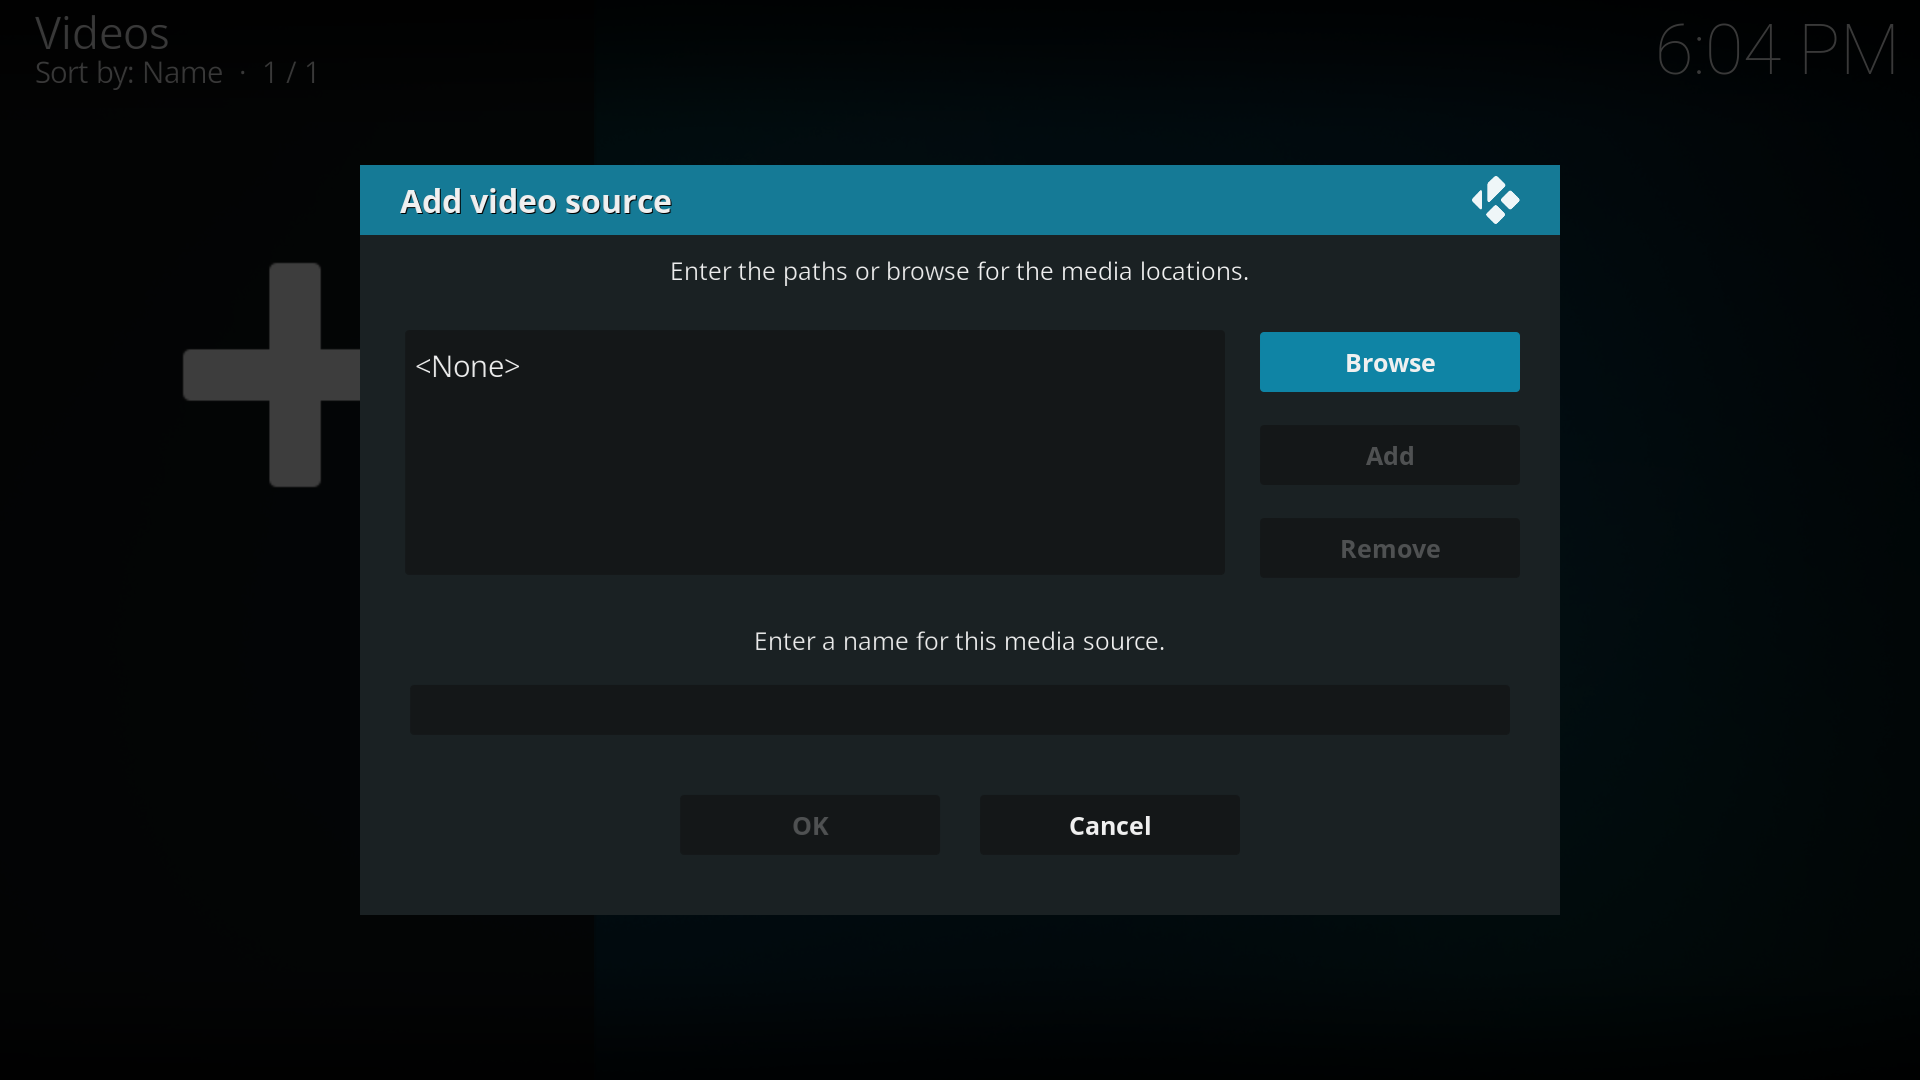
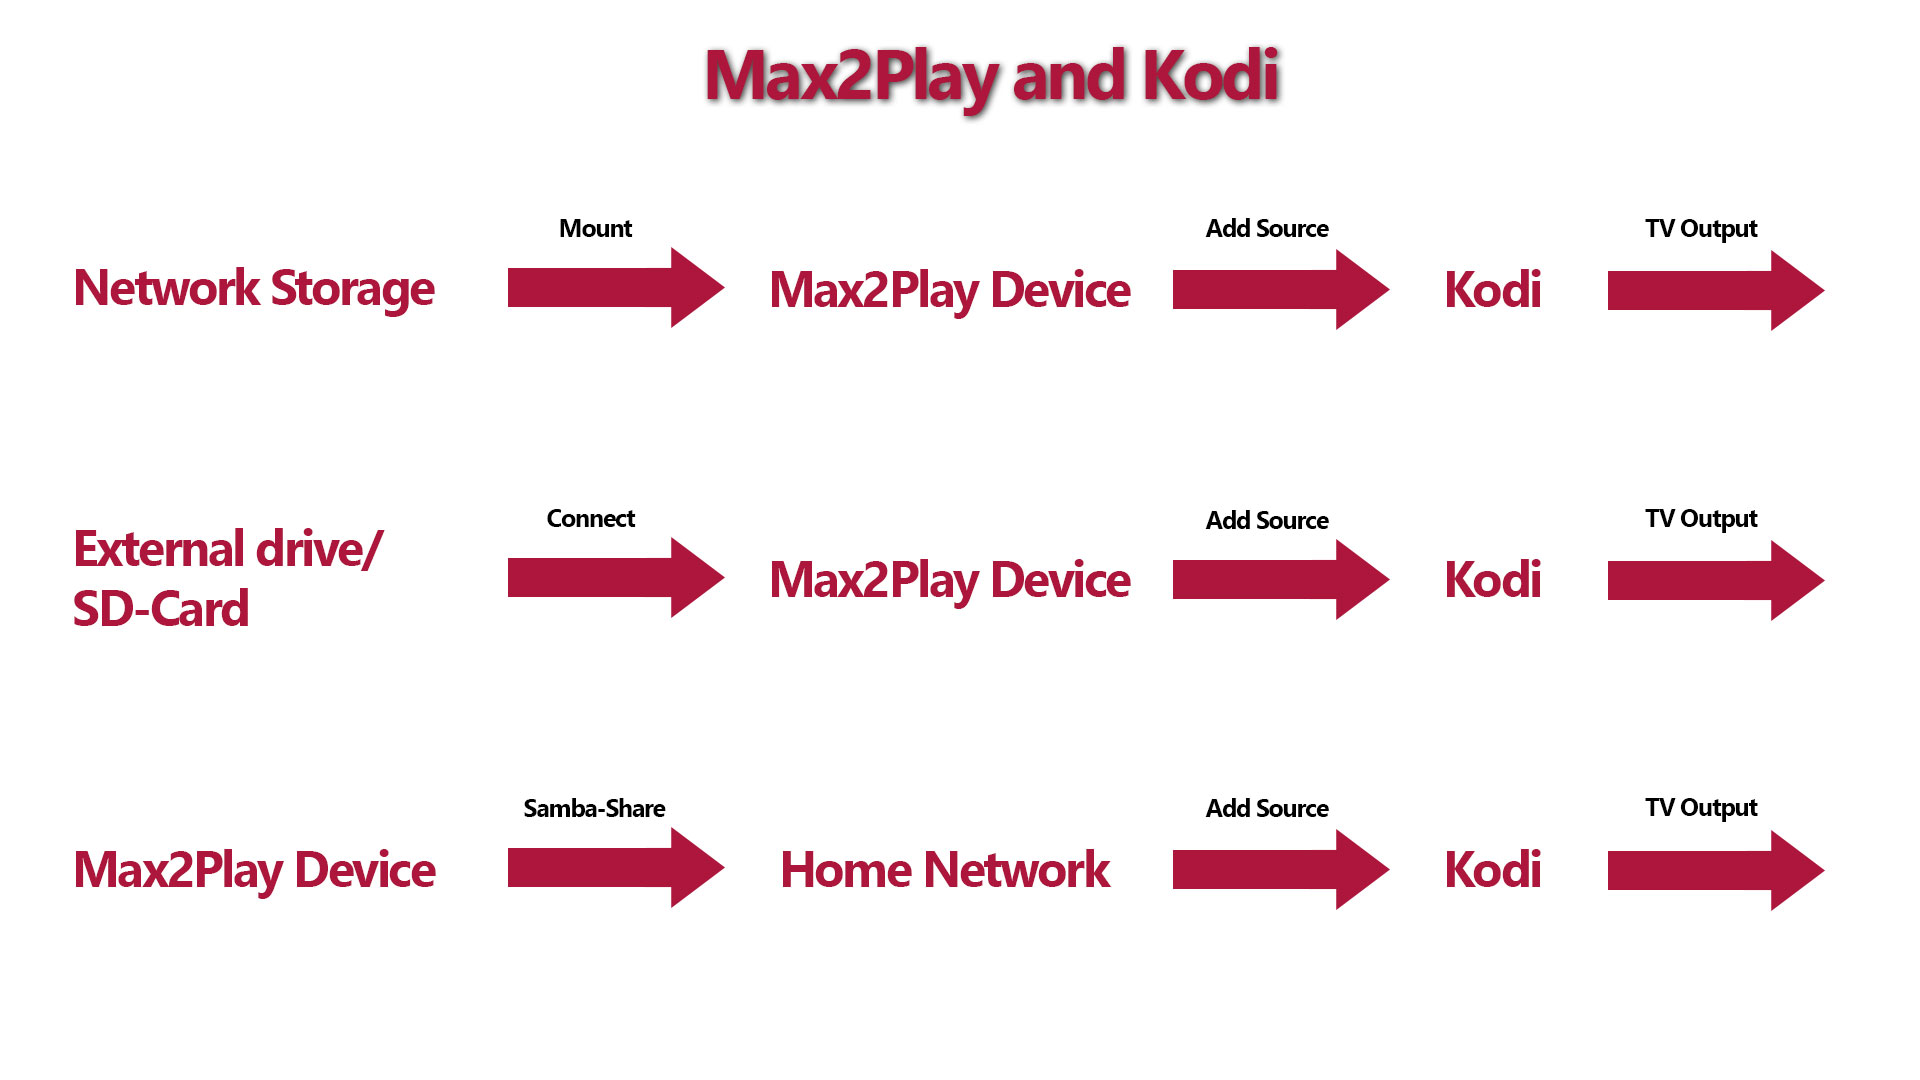
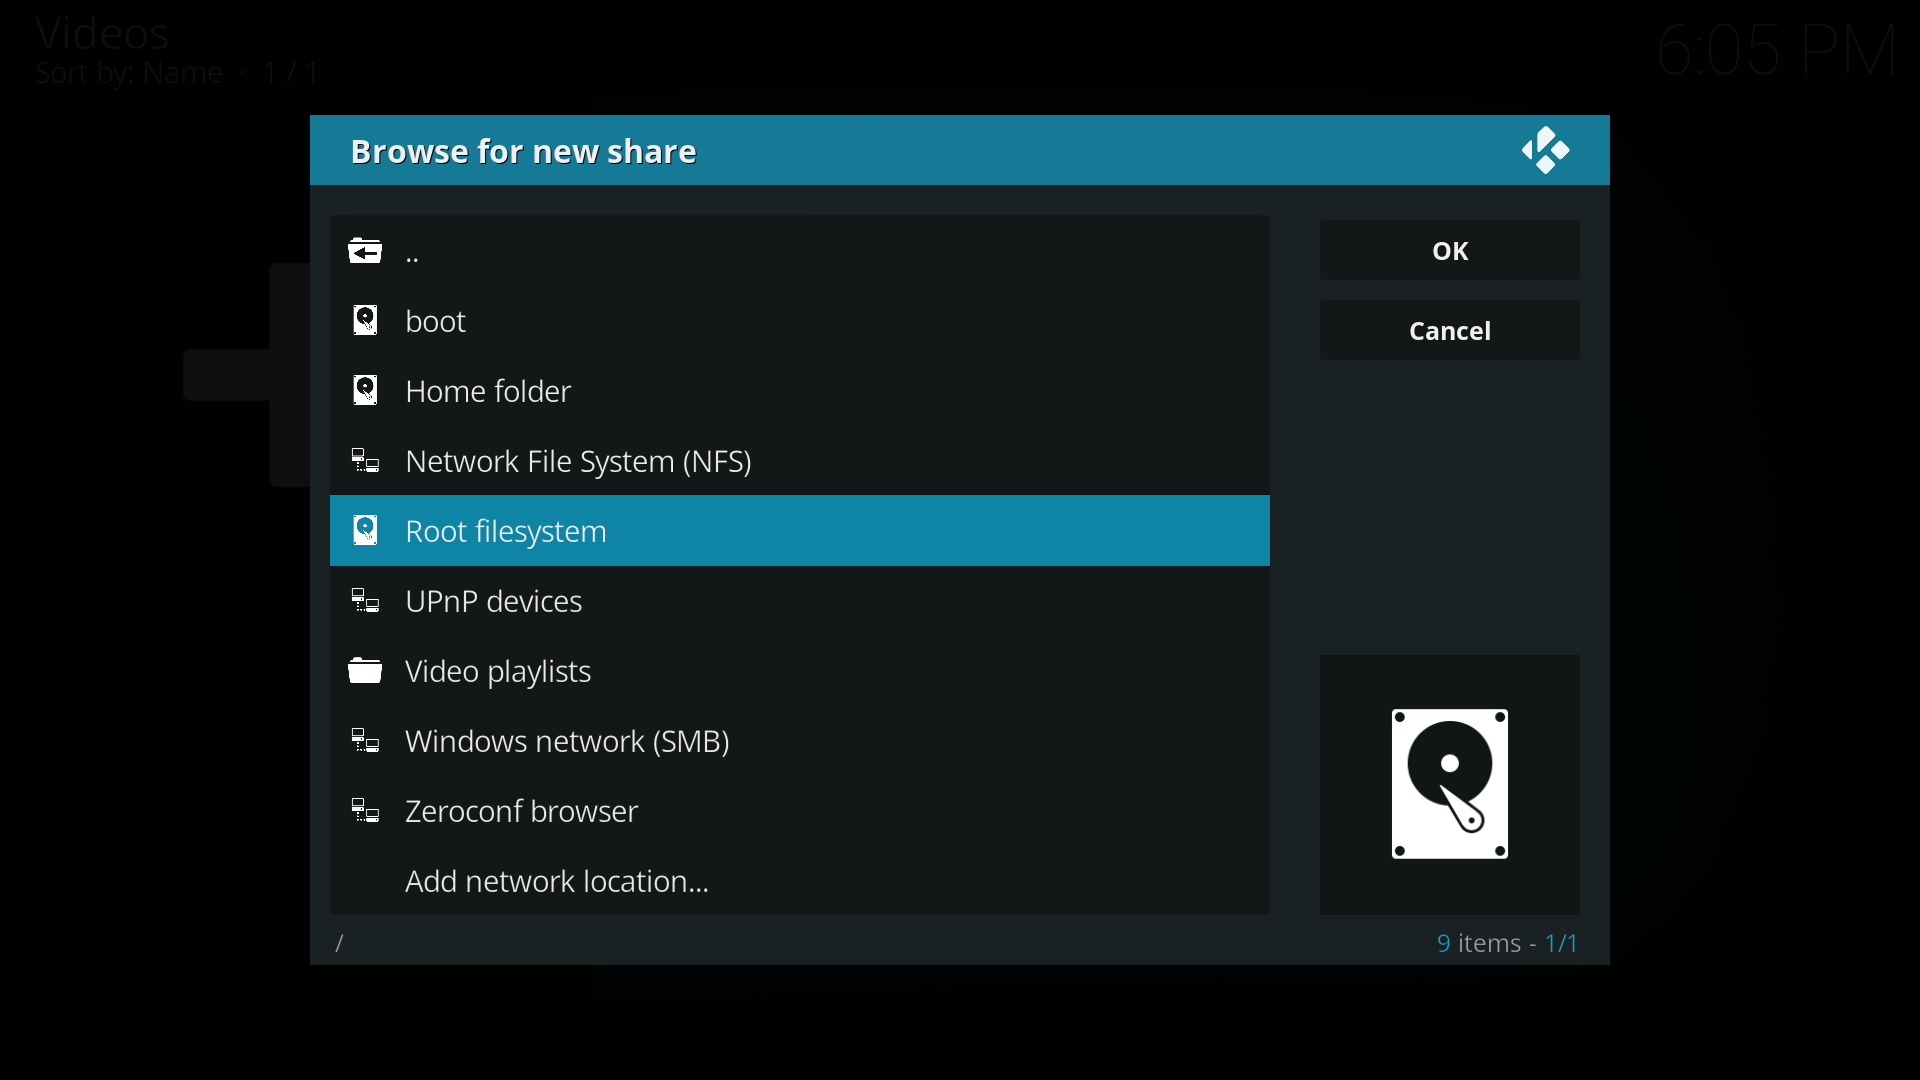
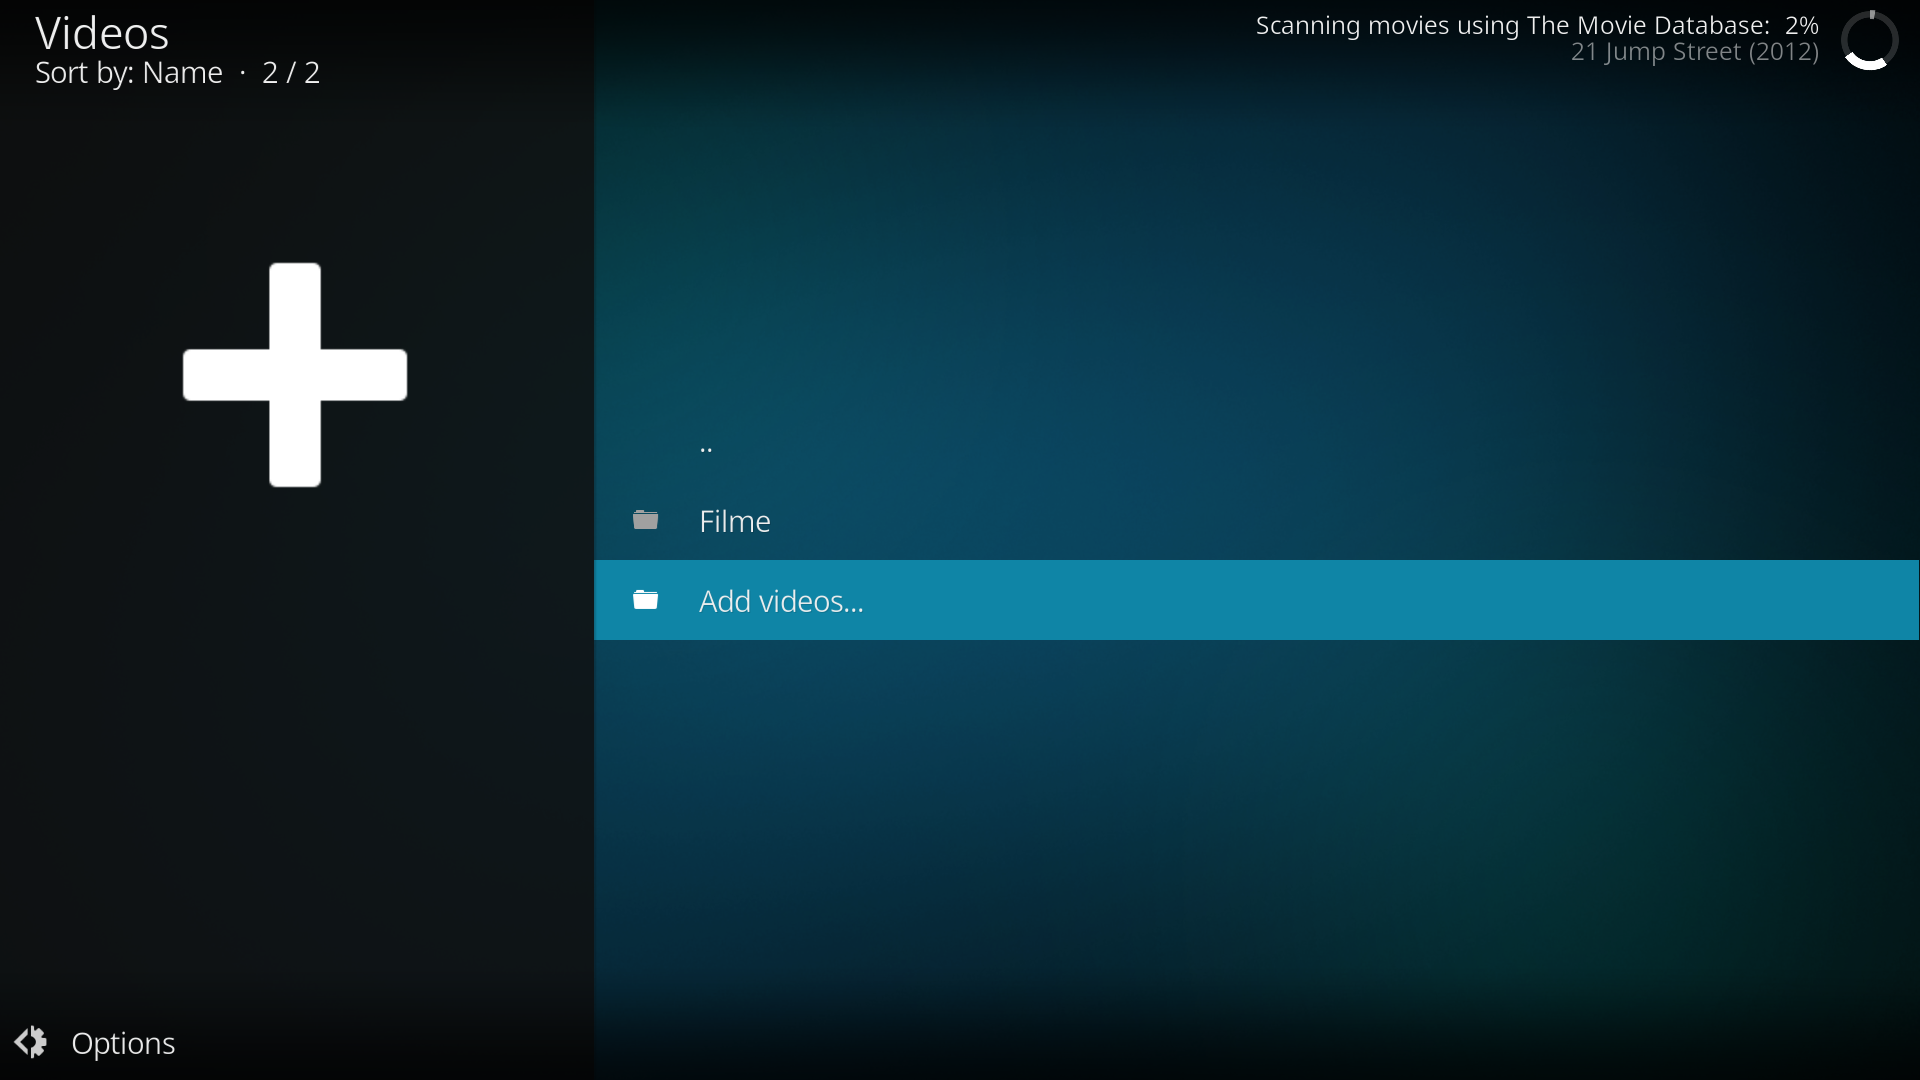
Jivelite is usually preinstalled on every Max2Play image. To start it, navigate to Jivelite in the web interface and click on „Start Jivelite“. You can also add it to the autostart, hide the taskbar and start Jivelite in full-screen mode. On the desktop you can now see the interface of Jivelite. Here you can first set the resolution and select your language. As a reminder, both Squeezelite and the Squeezebox Server must be running for audio playback. If this is the case, you can select your Max2Play device under „Choose Player“. Now all features of Squeezebox are available to you. Kodi is an open-source media player software that lets you watch videos and photos as well as listen to music. Kodi is distinguished by its smooth interface and great extensibility through plugins. To start it, go to Kodi/XBMC in the web interface and click on „Start Kodi“. First, set the language to your desired one: Click on the gear wheel on the top left, then on interface, language. To feed Kodi with media, we first need to add sources (the places where your media data is stored). Here, for example, you can use a NAS (Network Attached Storage or Network Storage). Of course, the data can also be stored on the Max2Play SD card, an external hard drive (direct connection to Raspberry Pi via USB or through your router’s network storage feature) or your PC’s share, as long as they are accessible on your home network. To change the audio output for Kodi, go to Settings/System/Audio and choose your sound card or HDMI as output device. Before we can add the sources, we should first mount the network path on the Raspberry Pi, so that the folder containing your media appears as a folder in the file system of your Raspberry Pi and you can access it. Then, in Kodi under „Add Sources“ we can select the Pis root file system, find the mounted folder and add it as a source. Another option would be to share the files on the Raspberry Pi or a connected storage drive (stick/external hard drive/SD card) with the home network using a Samba Share. So you can share your files with other devices on the network (which may also run Kodi). After successfully adding one or more sources, Kodi analyzes the files and automatically retrieves metadata such as music/movie titles, album names, or descriptions. Now you can test if your device is set up correctly by simply playing a song or a video with Kodi. More information about Kodi can be found here: Kodi Wiki
![]() Time for the first step! Here, we’ll take care of setting up and connecting the JustBoom Digi Bundle Hardware.
Time for the first step! Here, we’ll take care of setting up and connecting the JustBoom Digi Bundle Hardware.
How to Assemble the Bundle
1. Unpacking
2. Let’s Get Started!
3. Putting the Boards Together
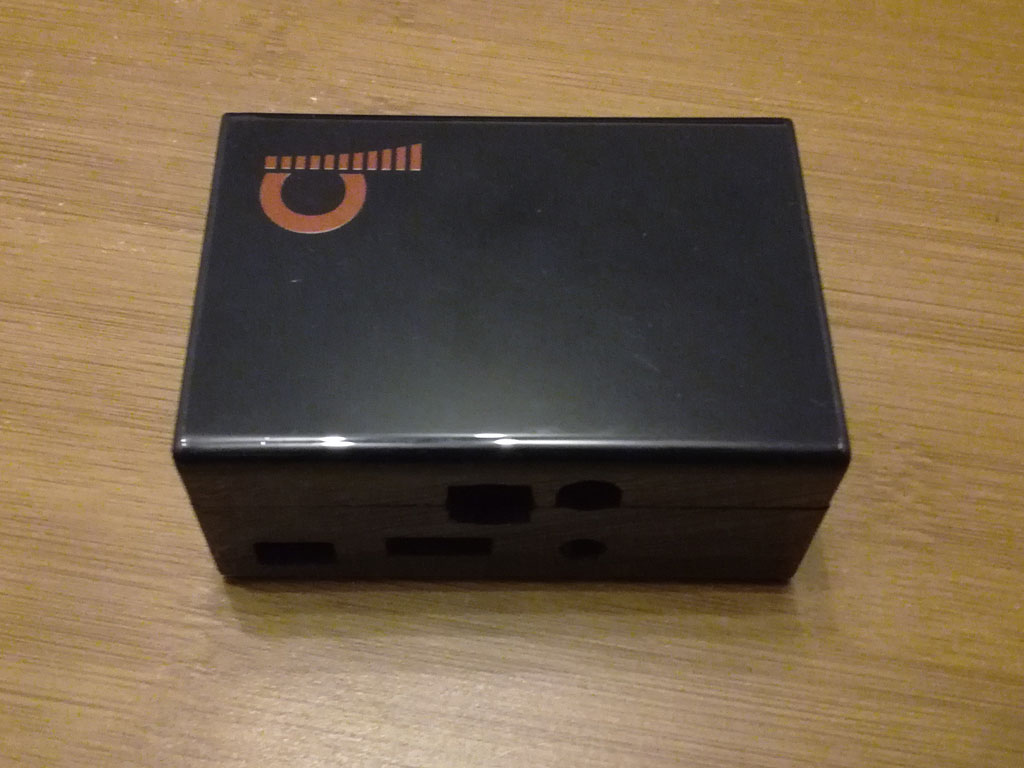
4. The Case
5. Connections
![]() Now I’ll show you how to reach the web interface of your Max2Play device and make the basic settings.
Now I’ll show you how to reach the web interface of your Max2Play device and make the basic settings.Basics and Squeezebox Server
1. Turn on Device
2. Opening the Webinterface
3. Squeezelite
4. Squeezebox Server
![]() In this last section, you’ll learn how to set up and use the Jivelite and Kodi plugins for playback.
In this last section, you’ll learn how to set up and use the Jivelite and Kodi plugins for playback.Jivelite and Kodi
1. What is Jivelite?
2. Starting Jivelite
3. Music and Movie Library with Kodi
4. Adding Sources


