Just a few steps to get started with your Max2Play
1. Download
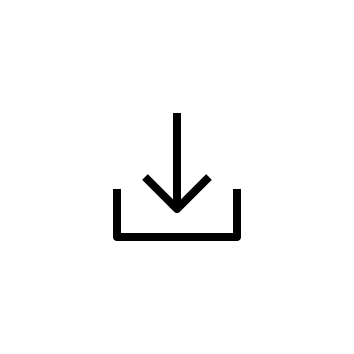
You can find our current Max2Play Images as a free download on our download page
The standard image lets you install sound cards with just one click. Additionally, we offer special images, like the 7 inch display Max2Play image that starts the screen on a music visualisation.
2. Burn
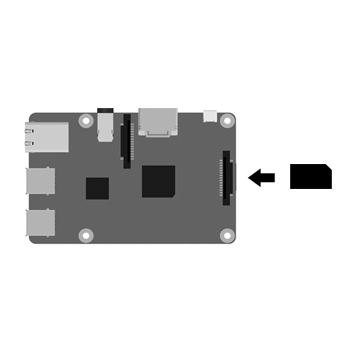
After downloading, you can burn the Max2Play Image on an SD card
(Attention! SD card must be class 10 or higher)
Head to detailed manual on burning the SD card
Don’t want to burn yourself? No problem, you can purchase preconfigured Max2Play Images in our shop.
3. Access
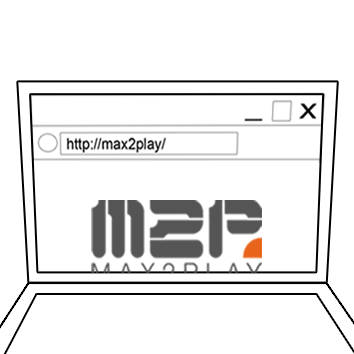
We offer 3 ways to access the Raspberry Pi: LAN, Access Point & WPS
Connecting a keyboard or mouse to your Raspberry Pi is not necessary since all access is handled through your home network, via PC, tablet or smartphone.
1. Ethernet cable: Connect to router (Head to detailed manual)
2. Access Point Autostart: Connect to Max2Play network, enter „mypasscode“ as password (Head to detailed manual)
3. WPS: Start WPS on your router before connecting the Raspberry Pi to power (Head to detailed manual)
4. Enjoy
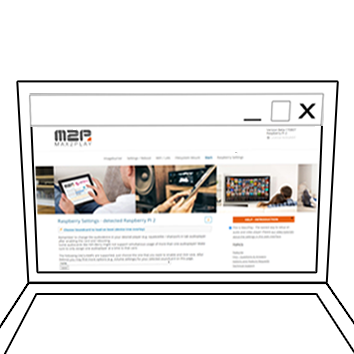
Get started with Max2Play – Install the right Plugins for your setup
Max2Play has over 40 Plugins for the most diverse applications fields. After the first start, you will get to select from a selection of preset setups on the first page. Additionally, you can later add on all available Plugins from the settings page.
Live Demo


