Dear Max2Play Community,
today, we have another project from our community we’d like to share with you. It’s a project from MoRobo, Mr. Jörg Baltschun, who already introduced us to his antique radio project last year. This time, its an upcycling project of a radio from VEB-Stern Berlin. For more exciting projects like these, check out MoRobo’s website or Instagram-page!
Foreword
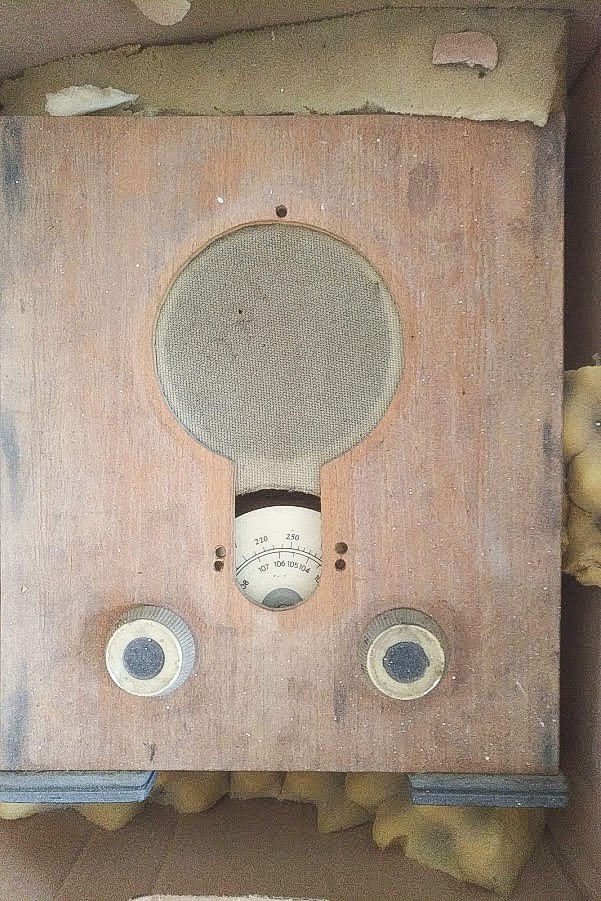
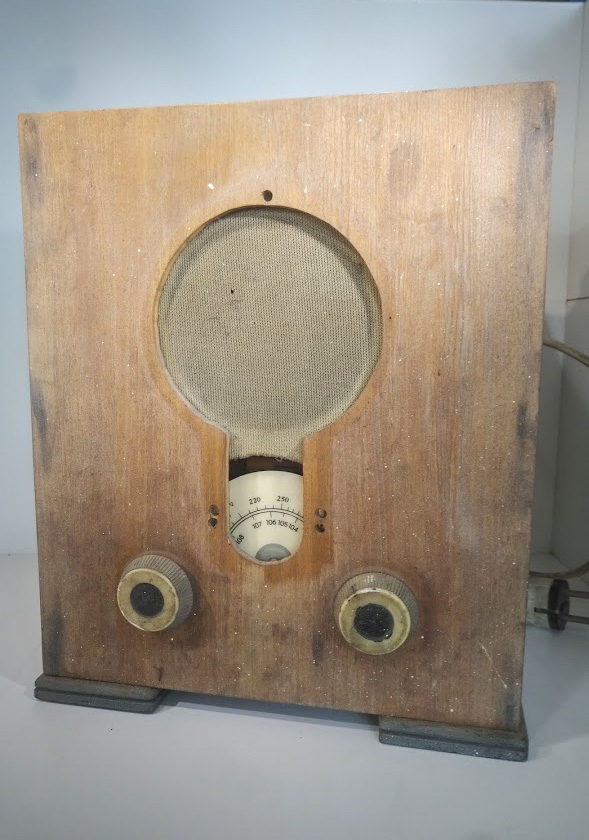
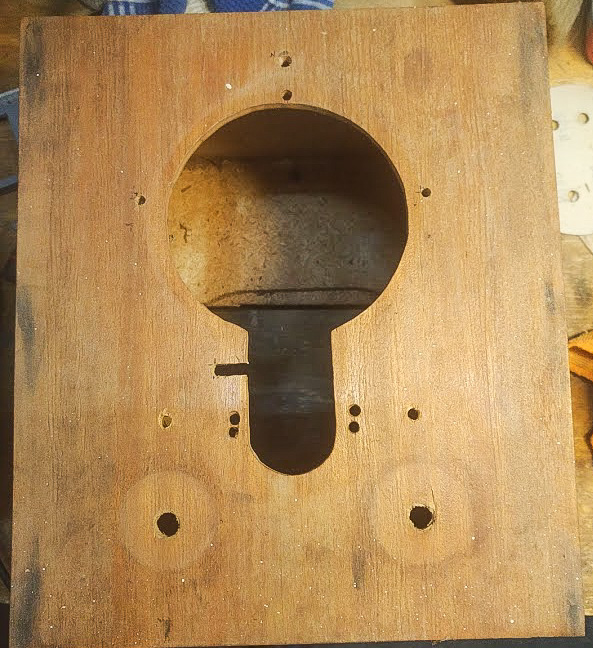
A few months ago, looking for new used tech, I’ve found a, let’s say, not very good looking radio. It had a VEB-Stern Berlin electrics, which was not functional anymore. This was perfect for me, since I don’t take usable devices from collectors. The radio was probably from the 50’s and it seemed like it was made out of leftovers by hand. The wood was probably one from a construction site and the veneer was also looking like it was made out of plywood.
Steps
With high-quality materials, it isn't hard to put something together, however this was basically build from scratch. And I wanted to keep the idea of "building something from scratch" and try to concentrate on the minimalistic design. I don't doubt that this was once a good looking radio, before all the dispersion paint and dirt.

I thought to myself:
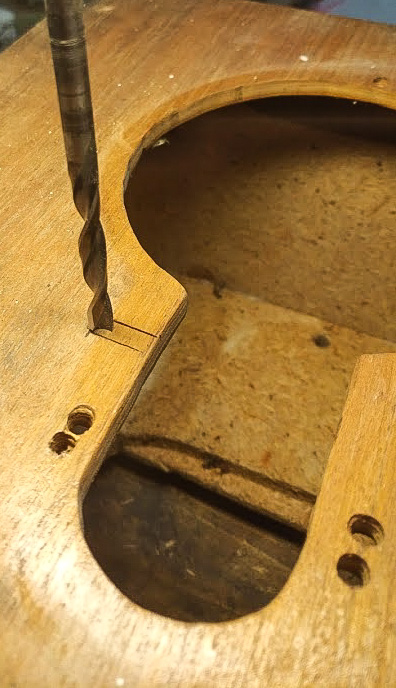
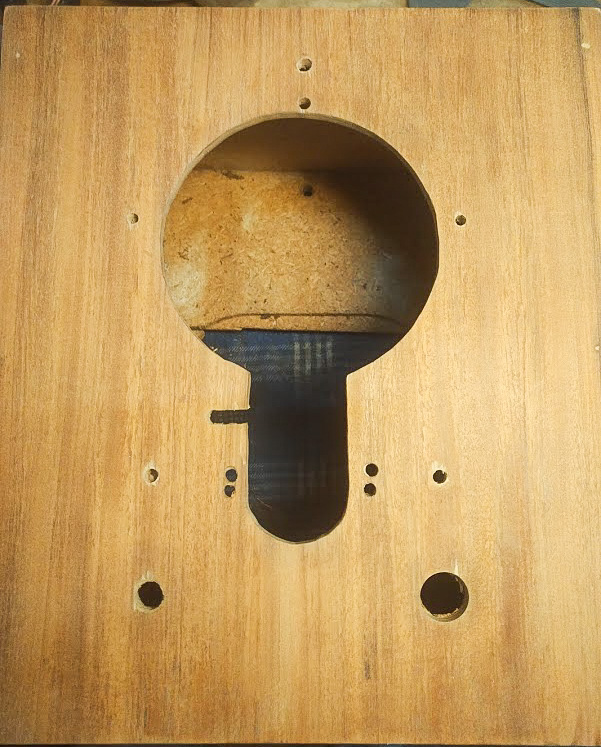
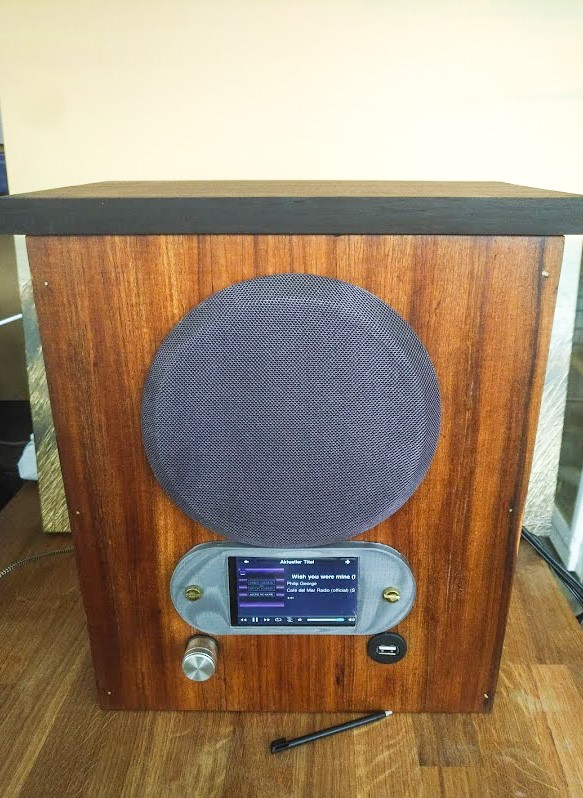
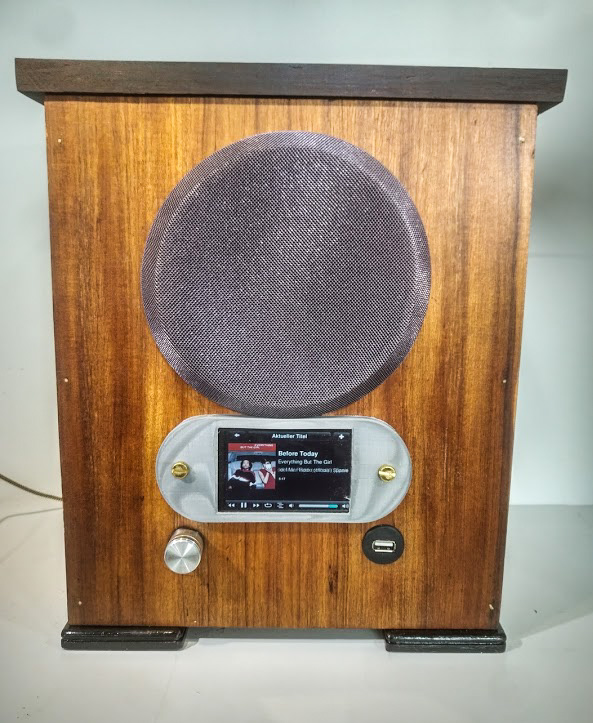
The round speaker cutout should be left as it is, to keep the face of the radio.
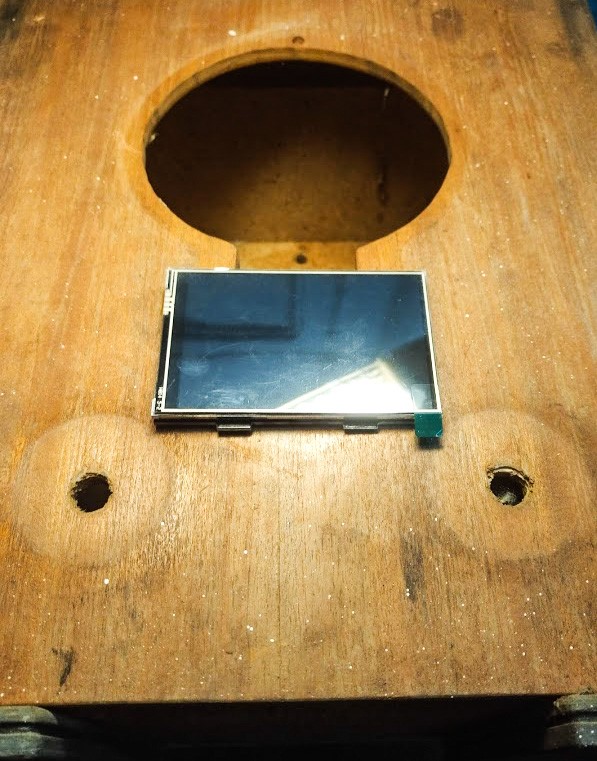
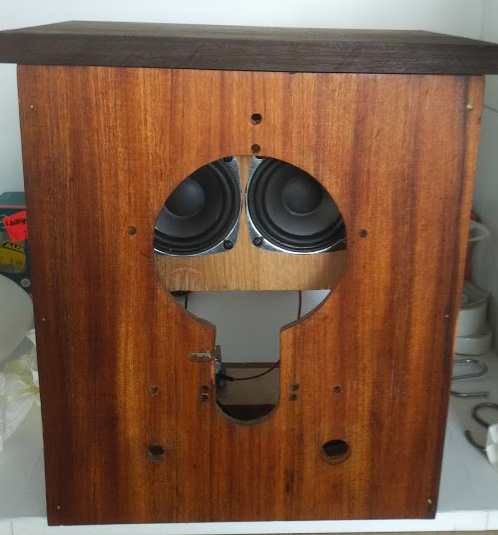
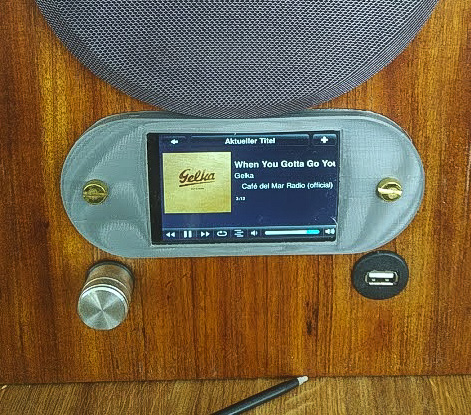
Instead of the scale, I was going to put in a 3,5'' TFT touchdisplay, aswell as an USB port on the right, while keeping the volume control on the left. This is how the device was going to be brought into the 21st century, while keeping its roots. And, most importantly, it will be operated with Max2Play, what else?
4
To make everything hold together, the display needs a frame, so let's get into drawing:
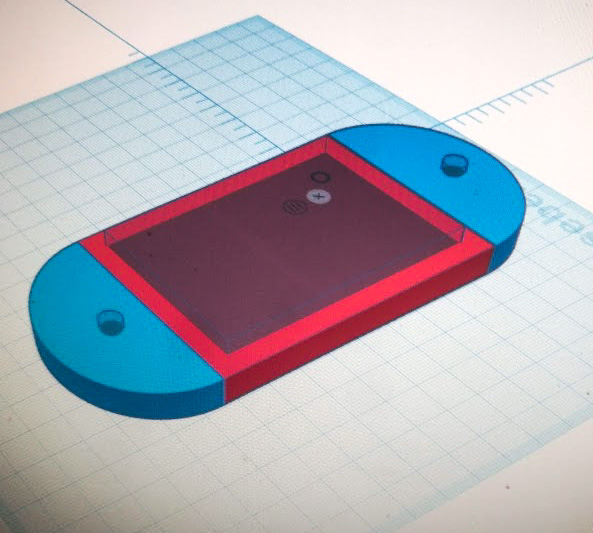
The size and roundings were selected like this, so the alignings would form a straight line from left to right and from top to bottom. I've also decided to go for the round design, since all the dominating elements are round and this way it will fit the theme perfectly.
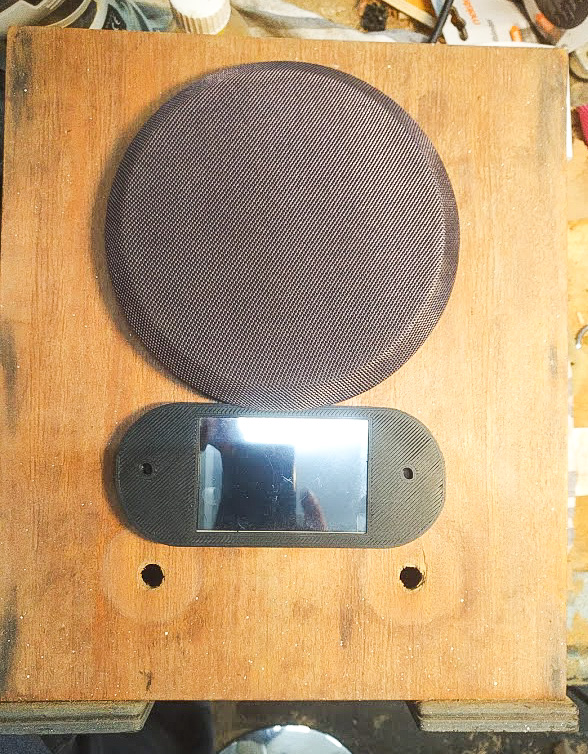

Next step was to put in the USB speakers and top it off with a fitting lid. The idea was to supply the radio solely through USB, so it can be used everywhere at anytime, even with solar power for sustainable application.
6
The amplifier is placed on the left, so it can be connected to the volume control. The speakers themselves are sitting on a board, which will be later filled with sheep wool.
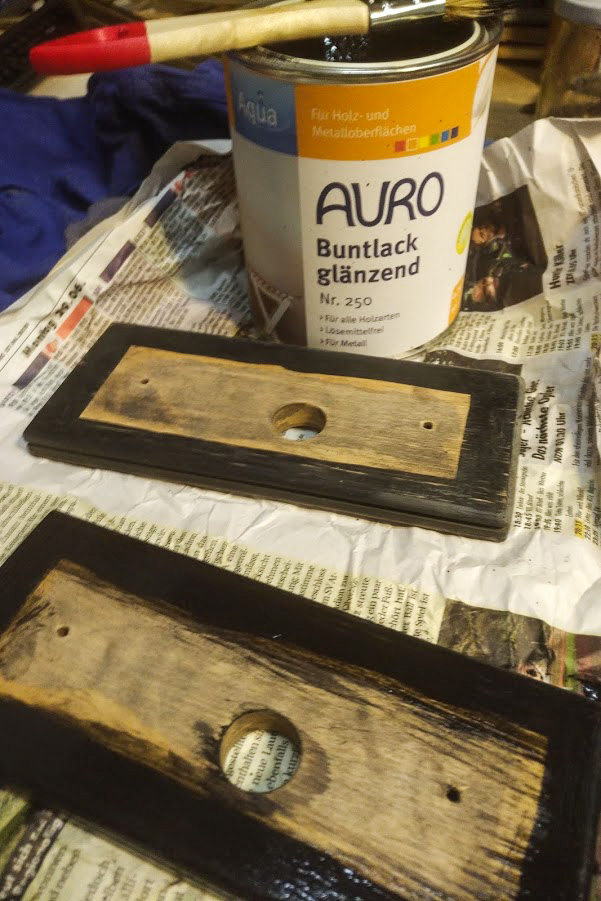
The board is made out of pressed and cooked bamboo, called chocolate wood. After the cutting, it was sanded and oiled aswell.


