Dear Max2Play Community,
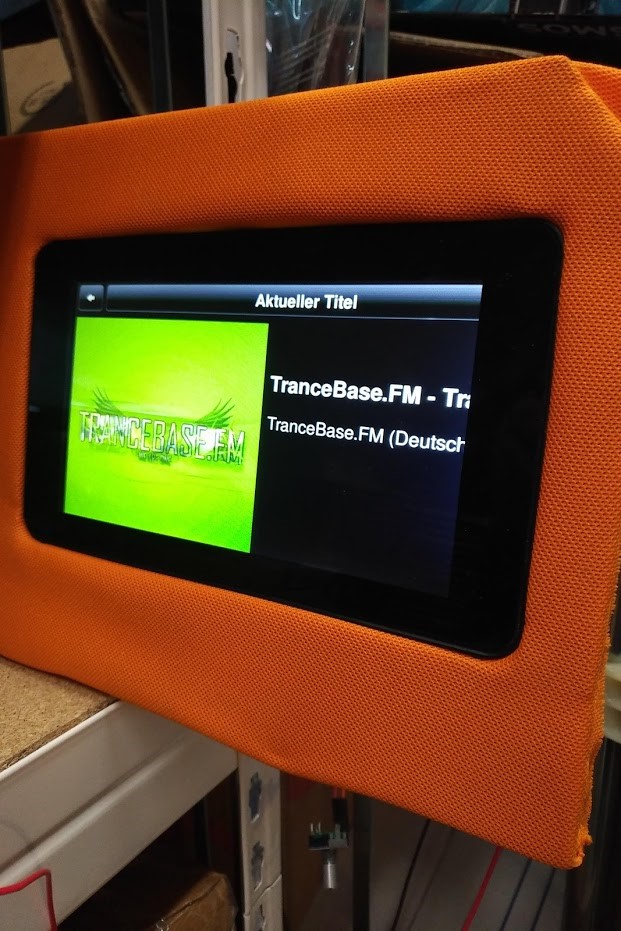
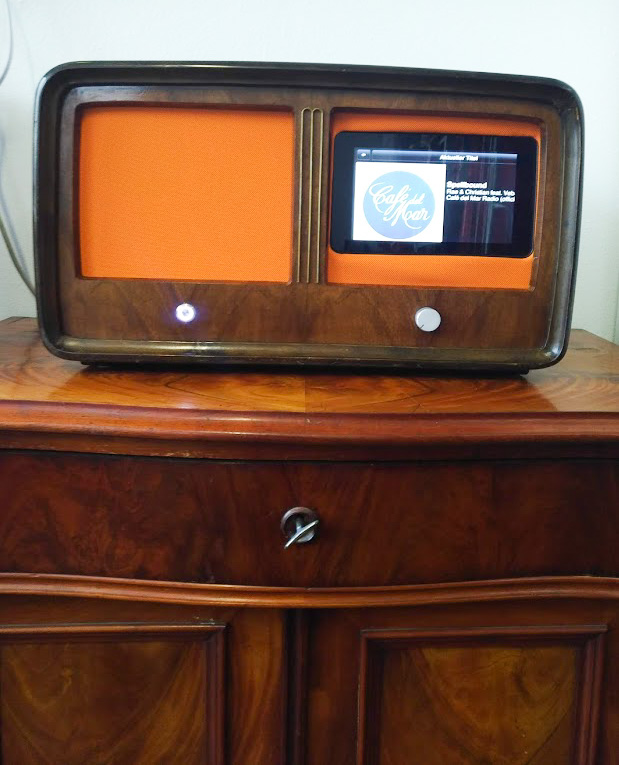
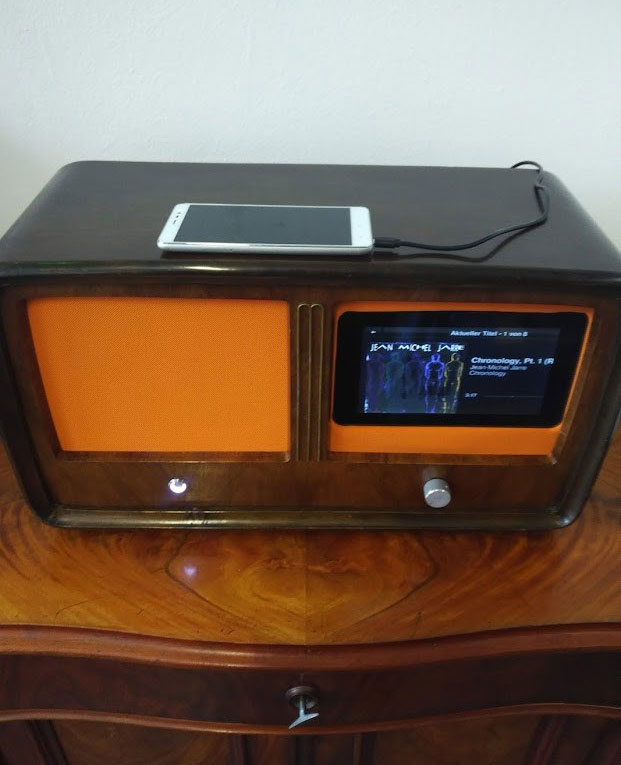
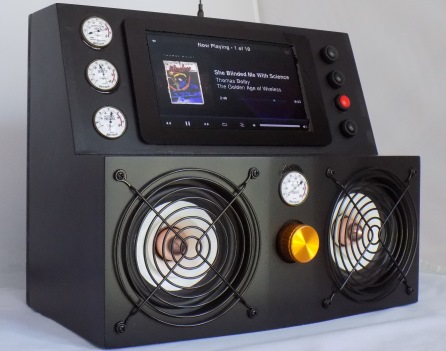
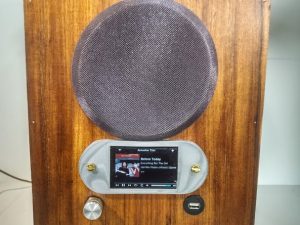
Today I would like to introduce you to Jörg Baltschun’s wonderful radio touch display project. Mr. Baltschun has processed a dusty, gutted Antikradio as a fancy dwelling for a full-fledged Max2Play touch display bundle. He describes his process in his workshop, other software facilities, as well as the background to his project and how he got the idea. Further insights and upcycling projects by Jörg can be found on his website MoRobo.
Background
In Fall of 2018, I had a day dream while driving on the A7 Autobahn. Don’t panic, I always drive on auto pilot. The question was: Why do modern hardware devices always have to be so unattractive looking and be full of plastic components while old hardware, like tube radios always look great but don’t offer many features? I also noticed that our tablet, which I got for our smart home, was constantly being used by my wife to read the paper but never for its smart home control.
Why not put these smart things into nice furniture and put entertainment back into aesthetically pleasing housings?
My idea was sparked: Smart technology in old furniture and devices. That was around August of 2018. With this idea in my head, I flew to New York with my wife and met a furniture restorer at the Steuben Day Parade. After a few beers and a few more cigarillos, I told him about my dream job for the future: High Tech Restorer.
„Jorg, i tell you, Jorg, that is the future, you should definitely do this!“
Ok, back home I thought I should probably get started with old tube radios since cabinets and closets are much bigger and tougher to store at home. A few hours on the internet were spent to find the right multiroom system with smart home features.
I found an open-source solution which required quite a lot of shell programming and seemed too complicated. That was the direct competition to Max2Play.
I found Max2Play right afterwards, immediately spent 1 to 2 hours on their website and thought: Leipzig, these guys are from Eastern Germany, I’ll just call them! I previously had some positive experiences with companies from the region.
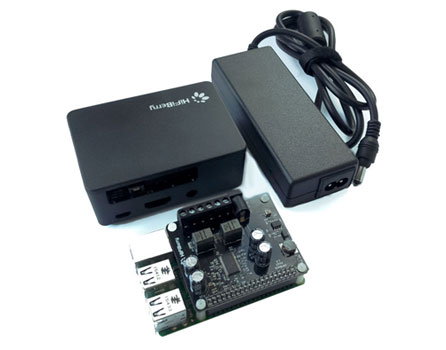
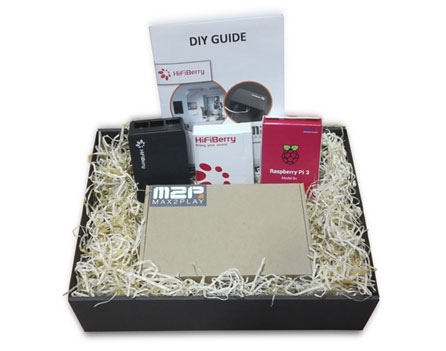
After a longer telephone call with detailed purchase advice, I decided to go for the 5 Year License, a HiFiBerry AMP2 and a rotary encoder.
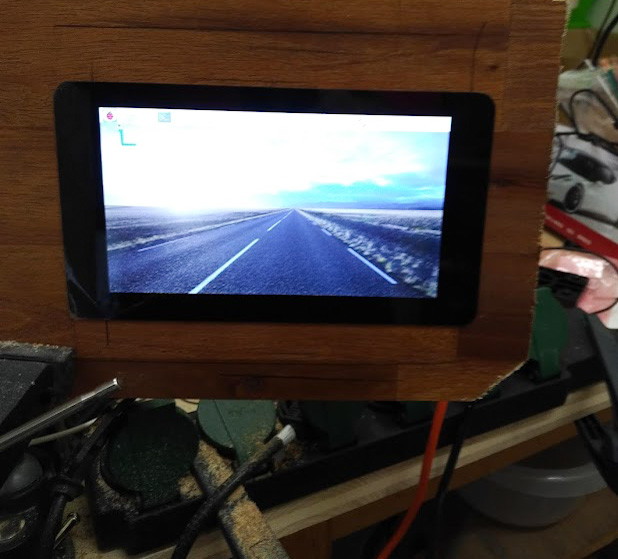
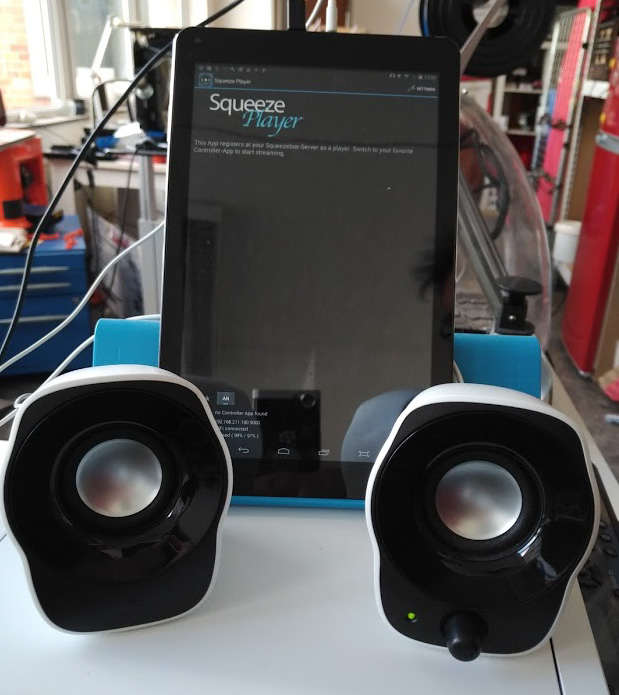
I already had a Raspberry Pi 3 and the 7 inch Touch Display at home.
That was, almost, everything I needed.
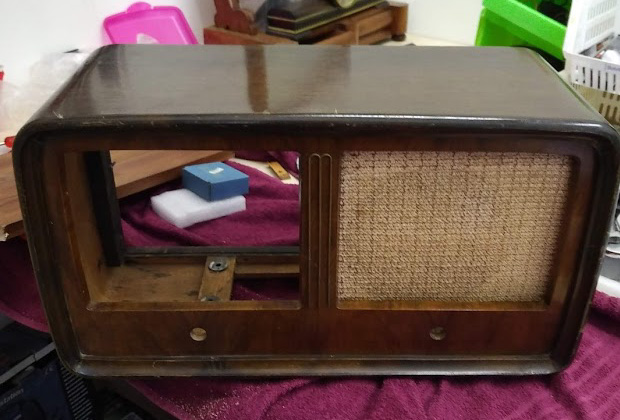
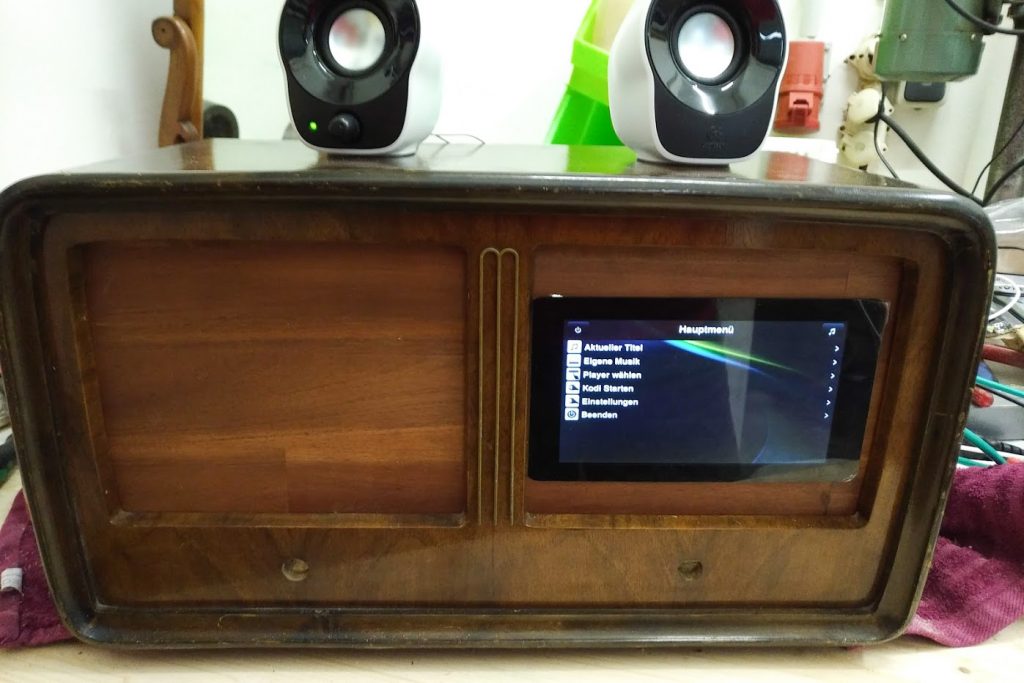
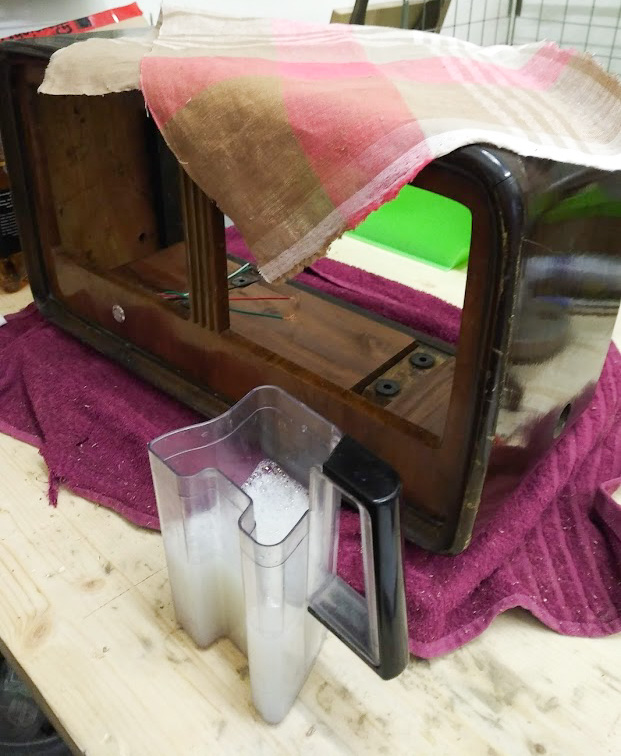
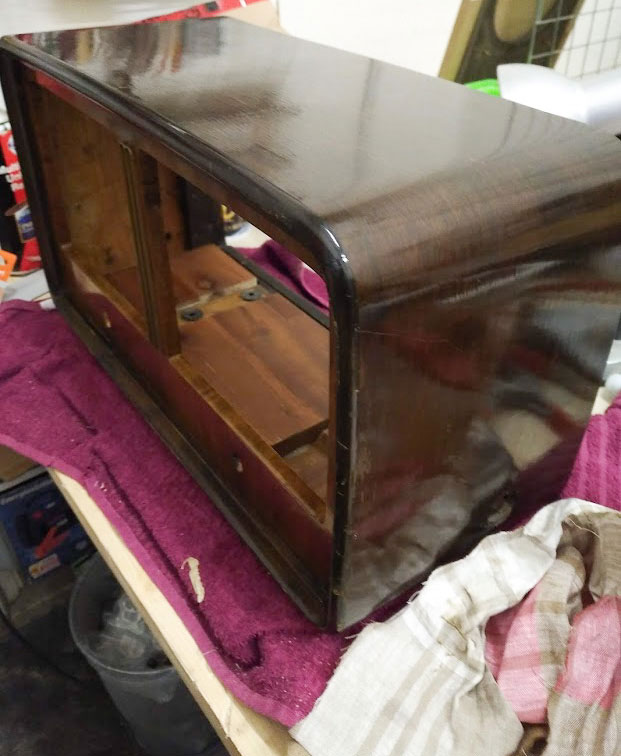
All that was missing was the housing which I was able to get at an auction for good price albeit in a desolate state of disrepair. There was actually nothing left from the components inside of the radio. My maxim here is always: Don’t destroy anything that still works. Therefore I only choose completely defective devices for my projects.
A few days later, the radio housing arrived.
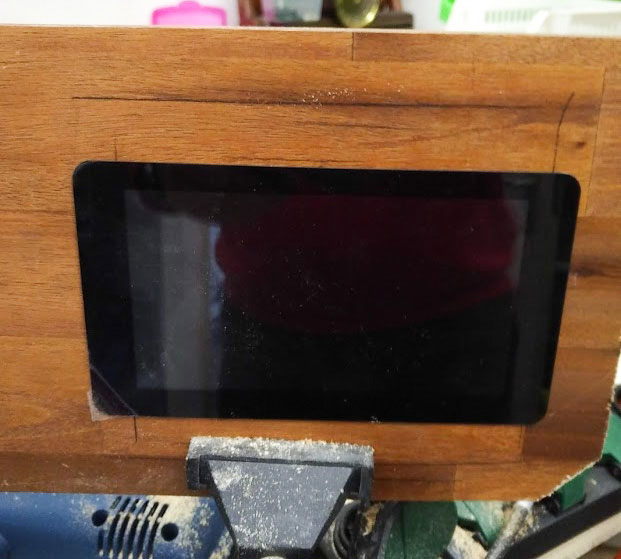
I consciously chose this type of build and hoped (since there were no dimensions given) that the 7 inch display would somehow fit inside.
Setup

5
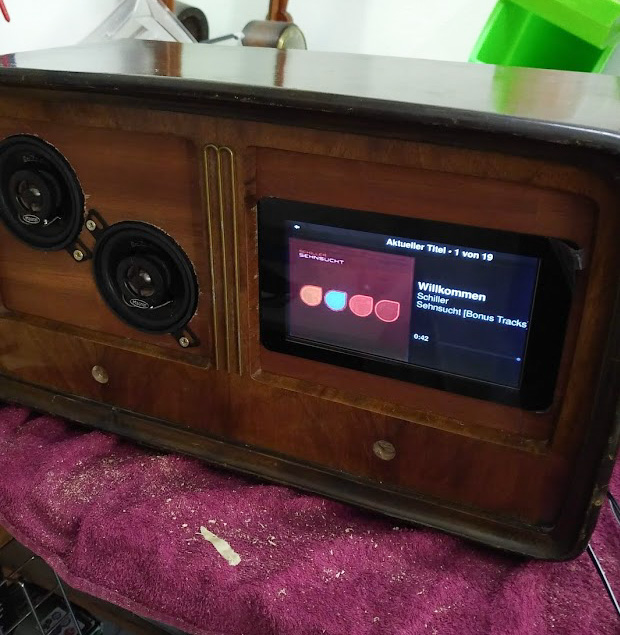
After an intensive crash course on: „How do I get round holes into a piece of wood?“ I customized the speaker element: Magnat Car Fit 87 - 8cm coaxial speakers. The decision for these speakers came mostly due to their dimensions and simple installation, however, they also sound very good. This was also point at which I set up the HiFiBerry sound card.

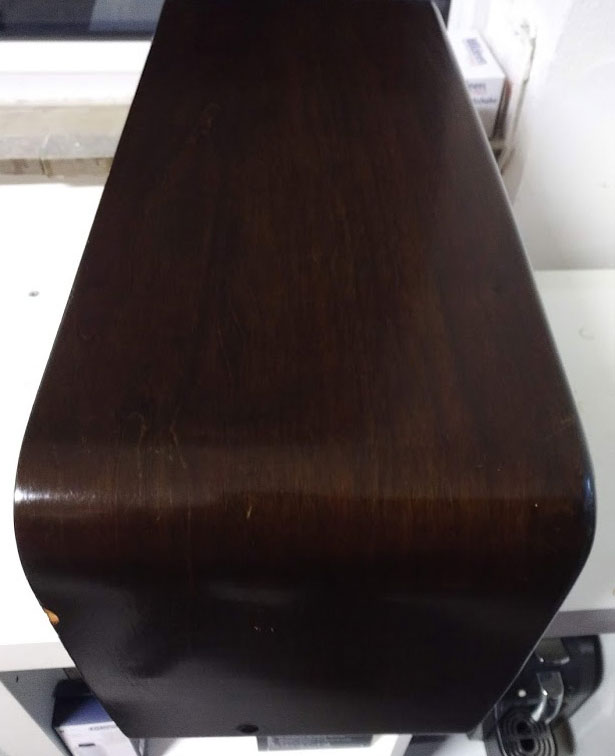
Disclaimer for anyone looking to try this themselves: Shellac treatment can make you go insane. I recommend looking at the videos by Antik Greef on Youtube. You can learn a lot from there. However, two things I did not know, I want to share right now: 1. Isopropanol ages very fast, you can throw it out after about a year. 2. If you went overboard with the shellac, you can correct this by polishing with pure Isopropanol afterwards. I had made a lot of mistakes at this first attempt and had to repolish a lot. That is not an irrevertable error, just a lot of additional labor to fix afterwards.
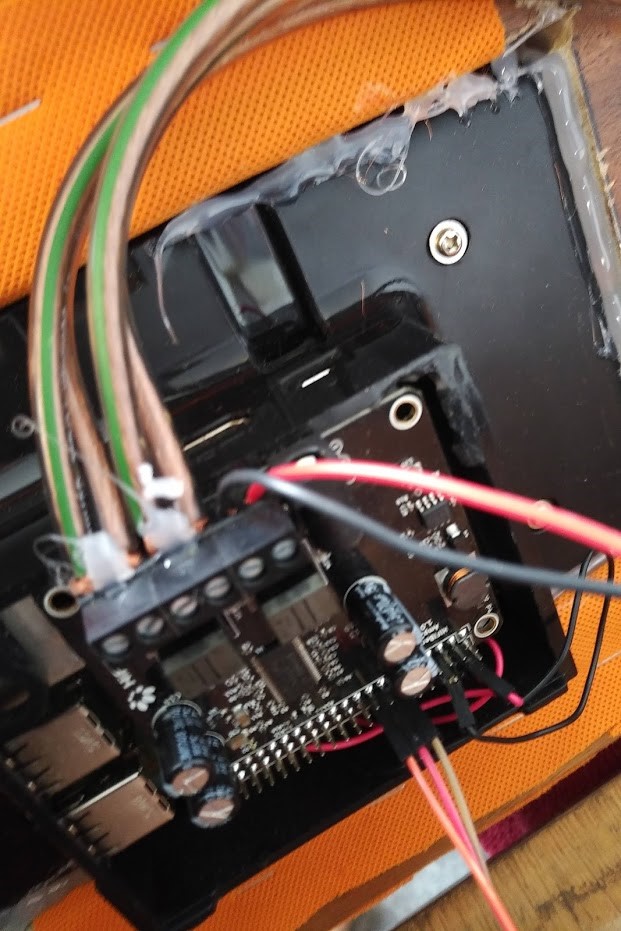
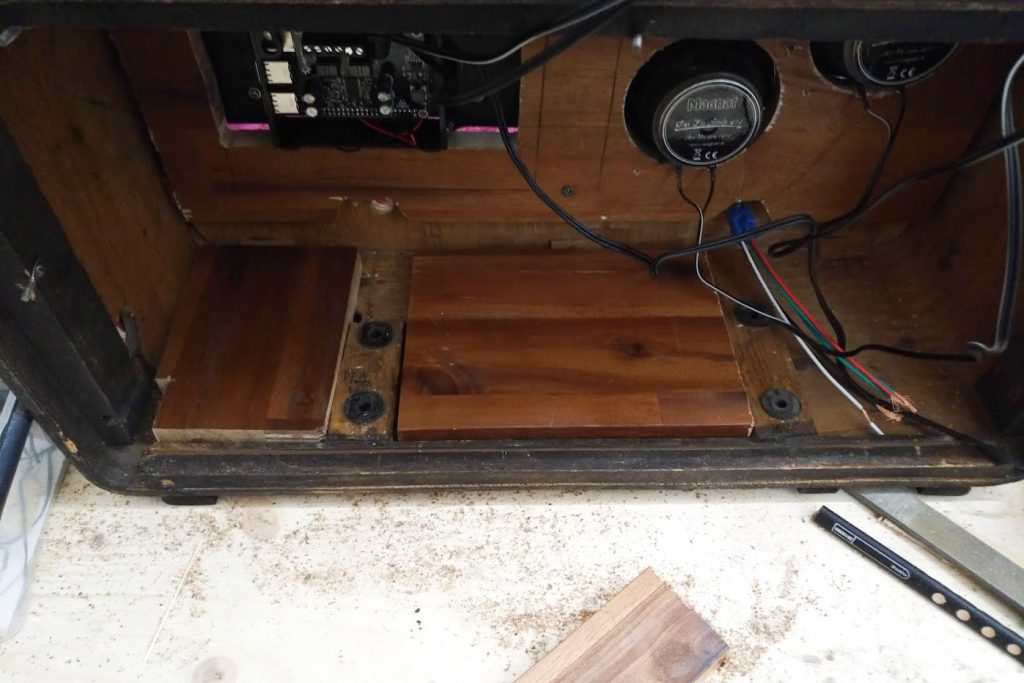
Here you can see the 2,5qmm Sommer Cable 225 MKII - SC-ORBIT that fared very well in the reviews I have read. It's definitely better than the cables that came with the speakers. The power is sourced through the HiFiBerry AMP2 which makes its power supply a little bigger. Unfortunately, it was so big that I had make sure to safely affix the port and that no open circuitry could touch the amplifier so as not to cause a short circuit and damage the whole hardware. Some thinner cables might have sufficed but that would not have been enough of a challenge. Here, you can also see the connection to the rotary encoder, a great addition with Max2Play.
9
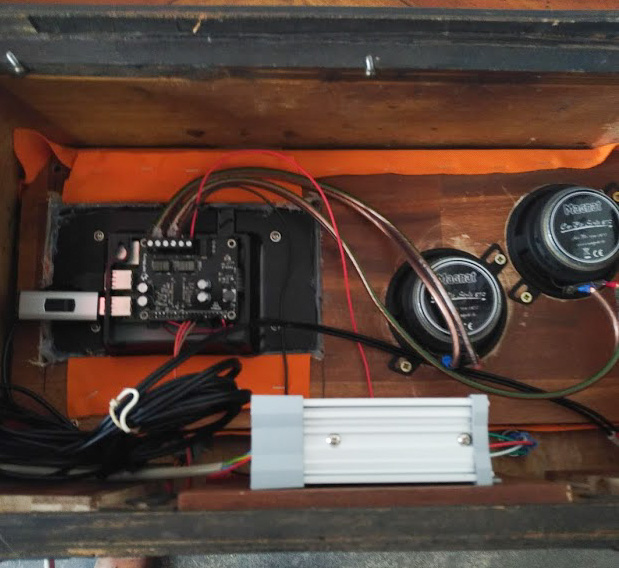
Now, let's have a look at the housing with its circuitry inside:
The silvery object is an LED 12 volts power supply, enough for the AMP2, the Pi has a 32GB USB drive connected. Obviously, I can always upgrade to an HDD or SSD in the future. The extremely long, black cable belongs to the extrnal USB port that pets you charge your phone, connected another USB drive or do anything else USB-related. To make sure not to ruin the housing unncessarily, I only occupied the existing holes in it. The base plate was affixed to the existing holes with spax screws, making it reliably attached.

Conclusion
When reading this, one might get the impression that everything was set up within a couple of days. Actually, I spent weeks on the project, sometimes I didn’t find the time to work on it, sometimes I got stuck trying to figure out a specific component but in the end, this became my absolute favorite radio and it has encouraged me to go on building many other great things with Max2Play.


