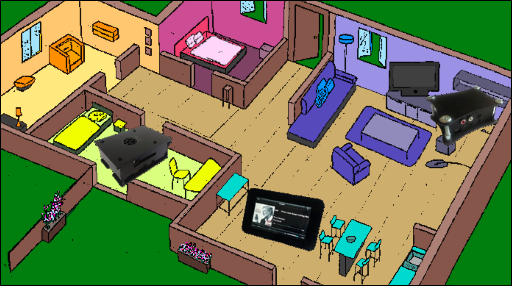
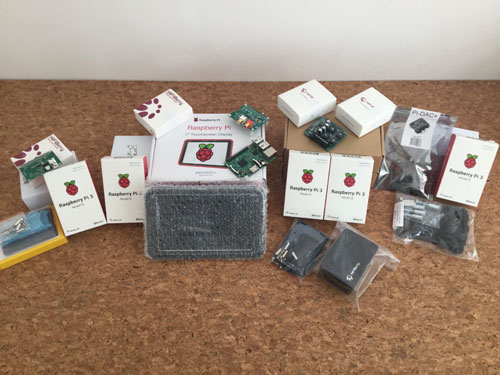
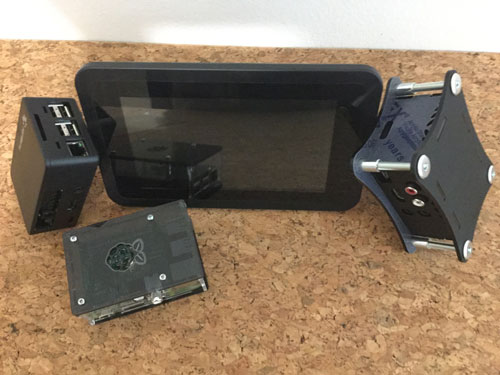
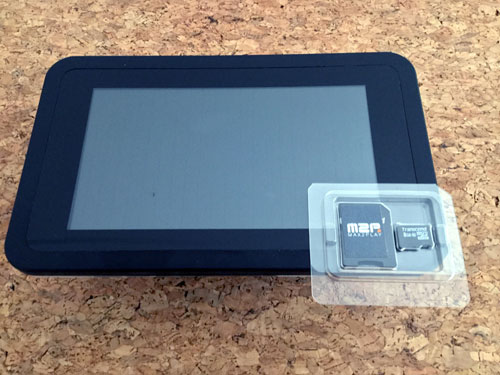
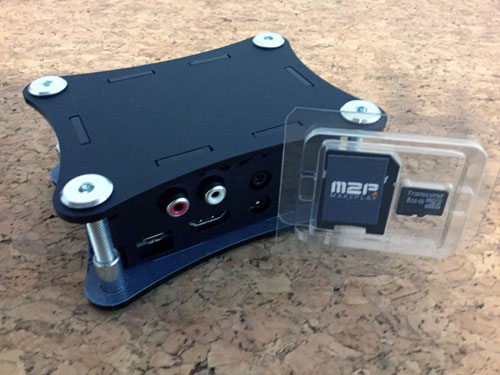
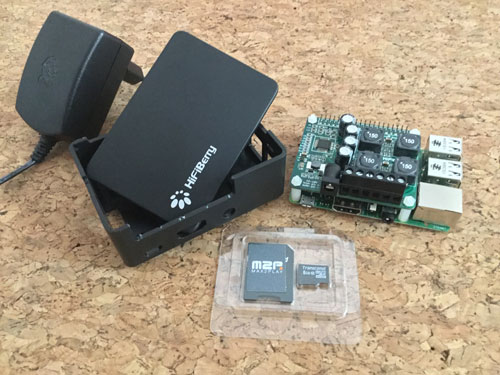
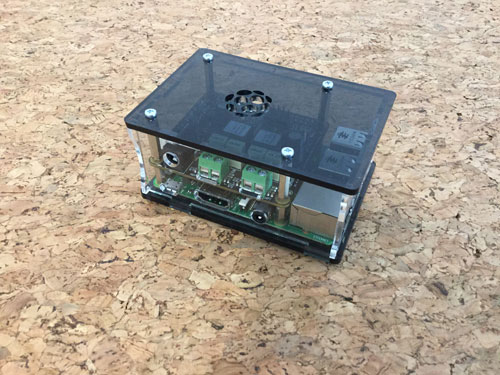
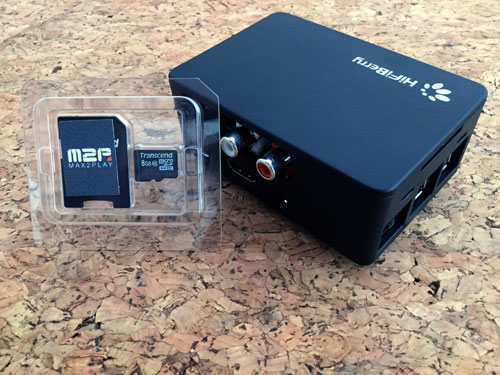
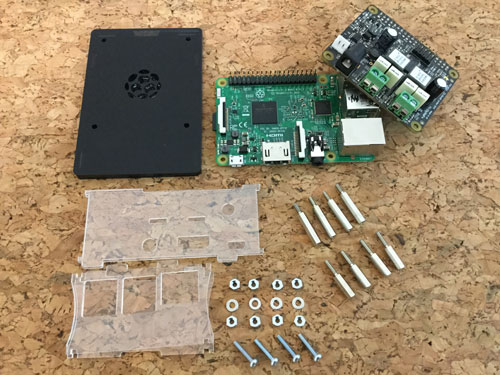
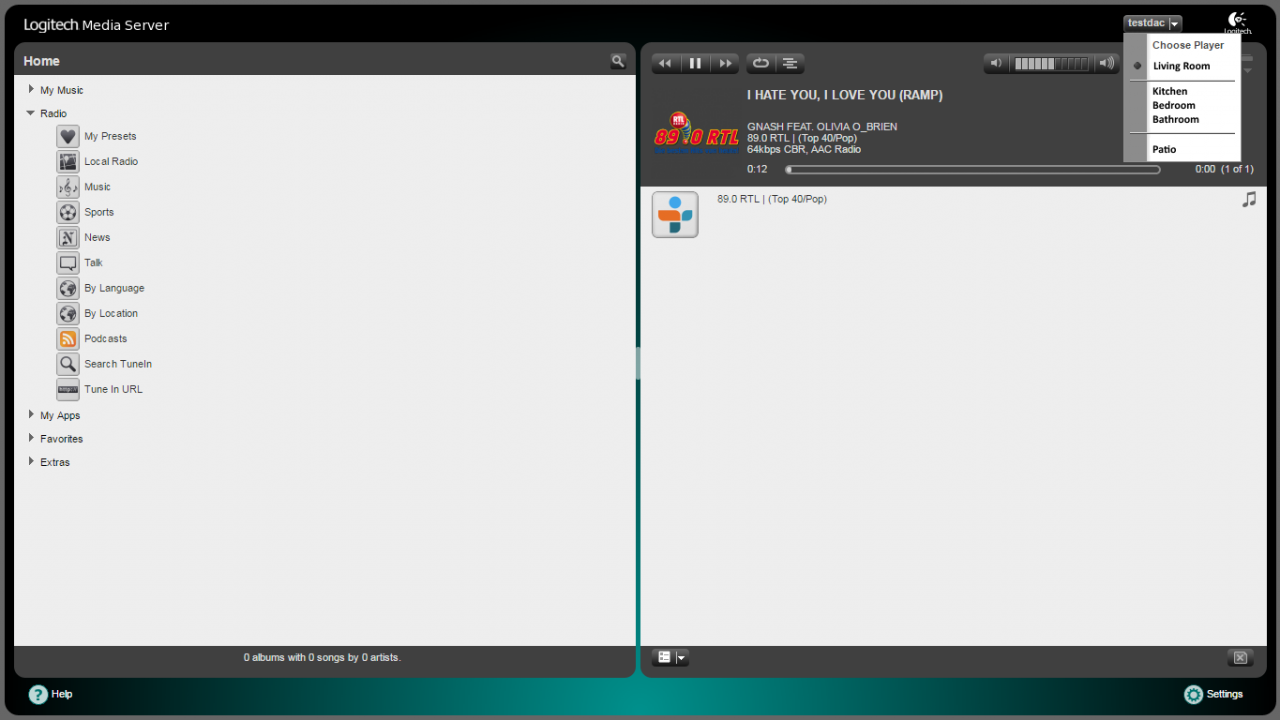
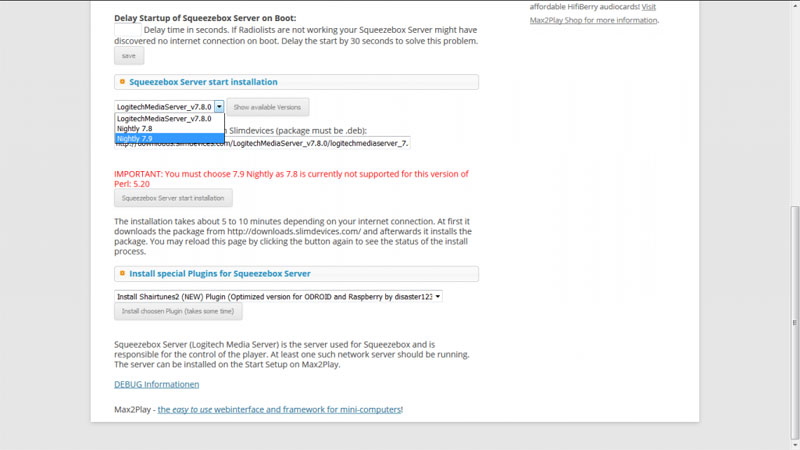
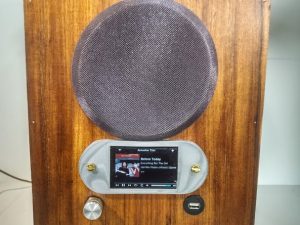
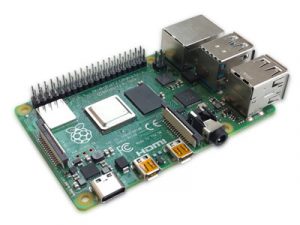
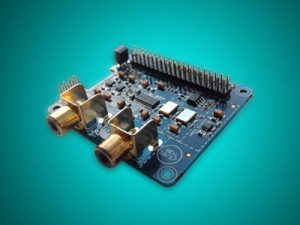
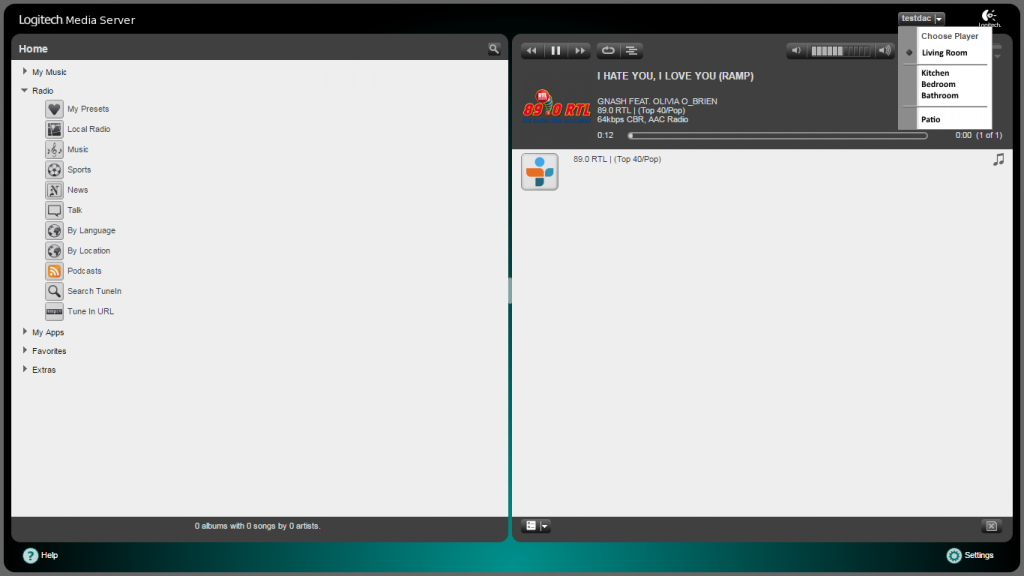
Update 2020: Below the article, you can find some great new features that we added to Max2Play since this tutorial was published. Explore these new opportunities to expand your Max2Play multiroom system even further. I want to show you how to create a Multiroom Audio Solution with Max2Play, Raspberry Pi and high-end sound cards. In doing so, two aspects are most important to me: It should be reasonably priced and I want to be able to access it from anywhere in my local network. In this example, I want to be able to play music in five different rooms. This should work synchronized and simultaneously. Naturally, you can also apply these examples to other living situations. Since additional wiring in the house is not an option in a renting situation, I aim to use as few cables as possible and thus decide to control the system via WiFi. Components for the project Builded Max2Play Devices IQaudIO with 7" Touchscreen Display HiFiBerry Digi+ Bundle IQaudIO DAC+ Bundle components IQaudIO DAC+ Bundle HiFiBerry AMP+ Bundle components HiFiBerry AMP+ Bundle HiFiBerry DAC+ Please note: This is a presentation of my personal setup. Max2Play can be utilized in a modular fashion to your liking. You can play music as well as videos. It is also possible to use one device with sound card periphery for multiple rooms (using the MultiSqueeze Plugin). Max2Play supports Kodi (an open-source home theatre software), AirPlay (for Apple devices) and the Squeezebox Server software supports simple integration of internet radio and music streaming services like Spotify. Here, you can see the rooms and the devices I used for them: The total price for all five rooms is ca. 1000 €. The exact price is naturally dependent on the devices used and complementary articles added. In comparison, a Multiroom system from a retailer like Sonos costs ca. 2300 € for 5 rooms. For a Multiroom Audio Solution installed by an electrician with internal wiring, the costs would be up to at least a five figure amount. I will now prepare the devices. The requirement for getting the individual high-end sound cards is their respective ports. I need one optical output (HiFiBerry Digi+), two RCA outputs (HiFiBerry DAC+ and IQaudIO Pi-DAC+) and an amplifier to power my passive speakers (HiFiBerry AMP2/ IQaudIO Digi-AMP+). What is required: Every room will have a Max2Play bundle. It includes the necessary hardware and the Max2Play Image. AV system with optical Input Here, I will use the HiFiBerry Digi+ Bundle. The HiFiBerry Digi+ soundcard has got a optical and a coaxial Input. AV system with RCA input and Touchscreen Control Here, I will use the Raspberry Pi 7“ Touch Display Bundle including the IQaudIO Pi-DAC+ as the sound card. Especially in the kitchen, touch screen control can be very beneficial. AV system with RCA-Input Here, I will use the HiFiBerry DAC+ Pro Bundle. The HiFiBerry DAC+ pro soundcard has two RCA outputs. In both the bedroom and on the patio, the HiFiBerry AMP2 Bundle will be utilized. This sound card is an actual amplifier for the use of the passive speakers. Consequently, this HiFiBerry requires its own power supply, included in the package. I decided on the 8 GB SD cards since I store my music collection on a NAS. For additional charges, the bundles can also be customized with special additions; e.g. a larger microSD card or a different sound card. You should make sure which ports are required for the products before purchase. If questions on this subject should arise, I would recommend the Multiroom-Audio Configurator. This is the manual for installation and setup of the Squeezebox Server. This manual is only necessary for one Max2Play device (in this case, „/Livingroom/“). I recommend a device with a central location in the apartment. Now, all that is missing, is the correct software to use the players. This is the job of Squeezelite. Squeezelite comes preinstalled on all Max2Play Images. These settings also have to be done on the device with the Squeezebox Server. Head to the Squeezebox Server device (here: „Livingroom/“) and open the web administration. You can already select items like radio stations. When the server is running, you can see the individual players in the top right corner and select them to use and configure (see image). Finally, everything is set up and the administration is accessible in the browsers of all your devices. The Max2Play devices do not require any further configuration. The Squeezebox Server is usually accessible through the port 9000 (e.g.: „Livingroom:9000/“ in the URL bar). You also have the option to control the Server with Remote Apps like iPeng 9 (iOS) and Squeezer (Android). These Apps also offer a simplified design, optimized for mobile devices. Now it is also possible to set up Spotify in Squeezebox Server. but for this we recommend the triode plugin for Squeezebox Server. How to use this plugin in the Squeezebox Server you can see here: This is a text block. Click the edit button to change this text. Bluetooth 2.0 – In- or Output Home Automation with Squeezebox Spotify Multiroom Hardware Control Plugin Beta Simple home automation commands with API examples and openHAB New step by step instructions for your own multiroom audio setup Introduction
Initial Situation


Rooms & Devices
Room
Setup
Bundle incl. Max2Play-Image
Costs
Living Room
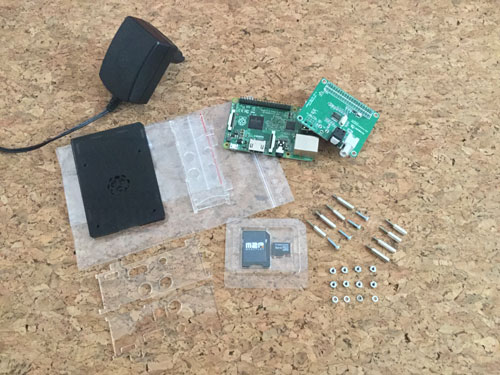
AV System with optical Input
HiFiBerry Digi+ Bundle
ca. 130€
Kitchen
AV System with RCA-Input and Touchscreen Control
7″ Touch Display Bundle
ca. 335€
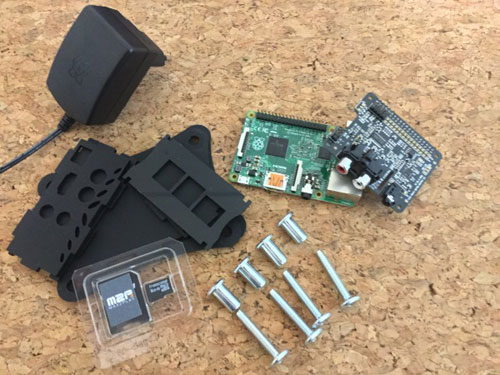
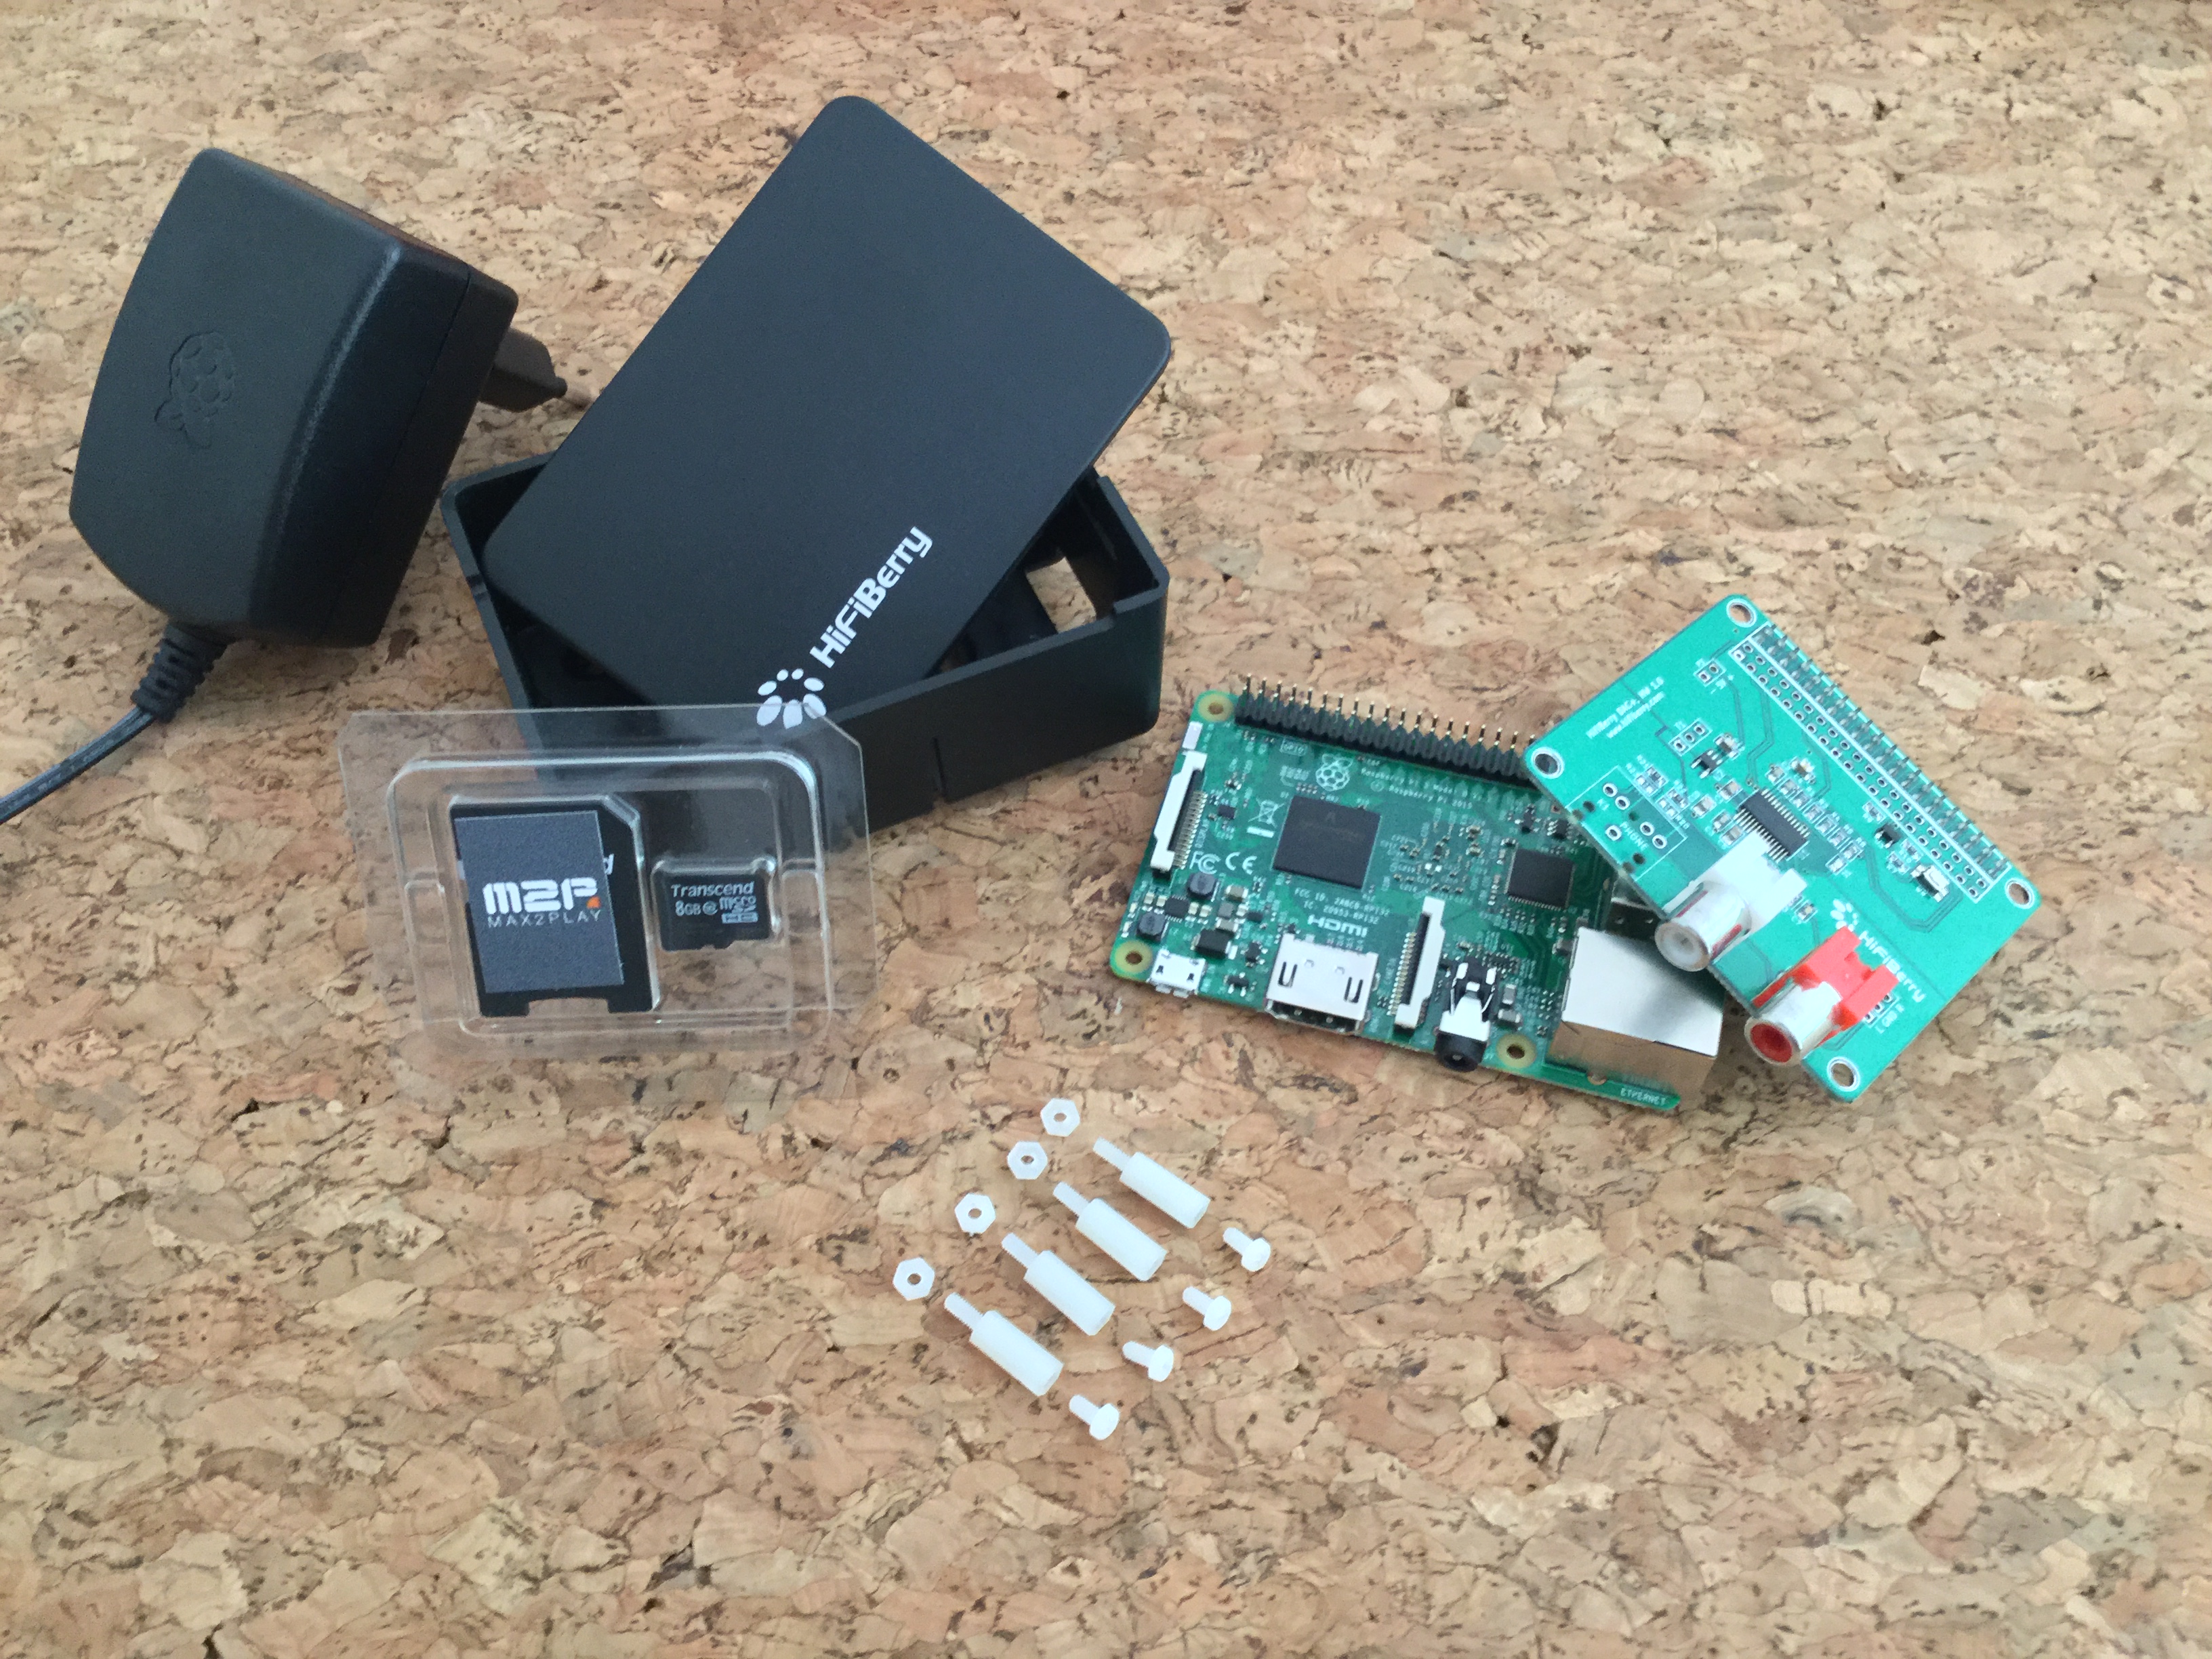
Bathroom
AV System with RCA-Input
HiFiBerry DAC+ pro Bundle
ca. 130€
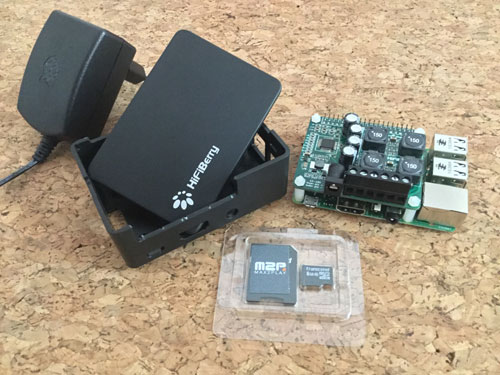
Bedroom/Patio
A pair of passive speakers
HiFiBerry AMP2 Bundle / IQaudIO AMP+ Bundle
ca. 163€ each
Preparation
Note: Some of these bundles are currently also compatible with the Pi 4.
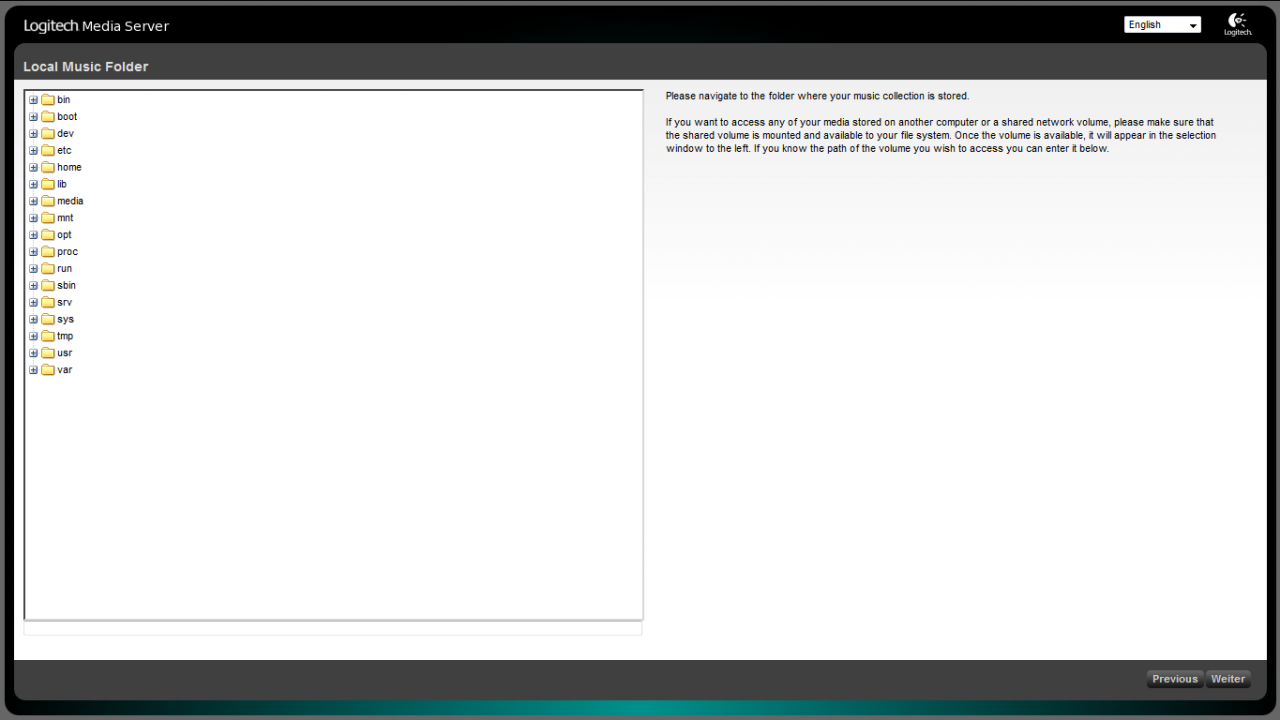
If local music files or external music files (within the local network) should be added, I recommend this video:
Update 2018
Use Bluetooth either to pair a Bluetooth speaker as an additional player in your multiroom system or to pair your smartphone or tablet for direct audio input to any and all players in your Squeezebox Server with a special channel.
Our head developer shared some great use cases to integrate the open Squeezebox system into any existing home automation interface in a detailed article. The example applications he shares are his bedroom and bath audio systems under Max2Play Premium.
Thanks to the efforts of MHerger from the slimdevices forums and his Spotty Plugin, any Max2Play Squeezebox Server now comes with a direct integration for Spotify on all connected players, including a fresh integration of Spotify Connect. We recently updated our HowTo on Spotify to reflect this new feature.Update 2020
We recently started developing a plugin that combines all possible hardware controls and their Max2Play integrations, such as infrared, rotary controls, buttons, smart remote and the like. We are always looking for other helpful and compatible solutions to implement later.
A new HowTo, in which we show you an example of how you can automatically start the playback of your Squeezebox server as soon as your smartphone connects to your WiFi when you get home and how it can be stopped as soon as your mobile phone disconnects.
A series of articles for setting up a 3-zone multiroom system for your home. A different type of sound card is used for each room. The articles describe how to add new functions and applications to your Max2Play system. It also shows step by step how to set up both hardware and software for each zone.

Related Articles

1 Comment
-
Hi Christoph, I really appreciate this post to build own multiroom audio system. It include few cables to control the system. AV system with optical input, AV system with optical input, AV system with RCA input, AV system with RCA input are best devices.

