Max2Play on the Go! A Simple Setup for all Media Center Features
Hint: Check out our video tutorial
Our main ideas of a perfect mobile media center are:
- watch videos or listen to your music anywhere (only power supply and a monitor/projector for videos required)
- easy control with your smartphone
- simple setup for non-programmers
- great sound and video quality
With a Raspberry PI 2 and a HiFiBerry Amp+ together with an SD-Card with Max2Play, you already have everything you need together! This small tutorial shows how to easily set up Max2Play to get everything working. You do not need any knowledge of Linux or programming and just 5 minutes of time to set this up!
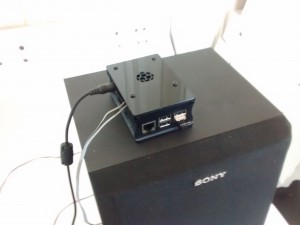
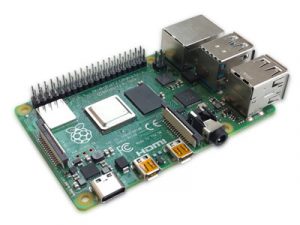
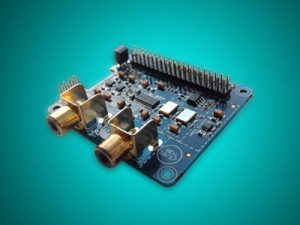
1. First of all, you need a Raspberry PI 2, a WiFi stick and, for high-quality sound, the AMP+ by HiFiBerry.
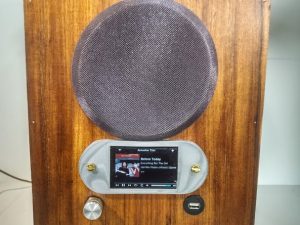
These parts can be ordered with in a bundle sale on our Max2Play Shop with a beautiful case included. With this setup you just need to connect any passive speakers to the Amp+.
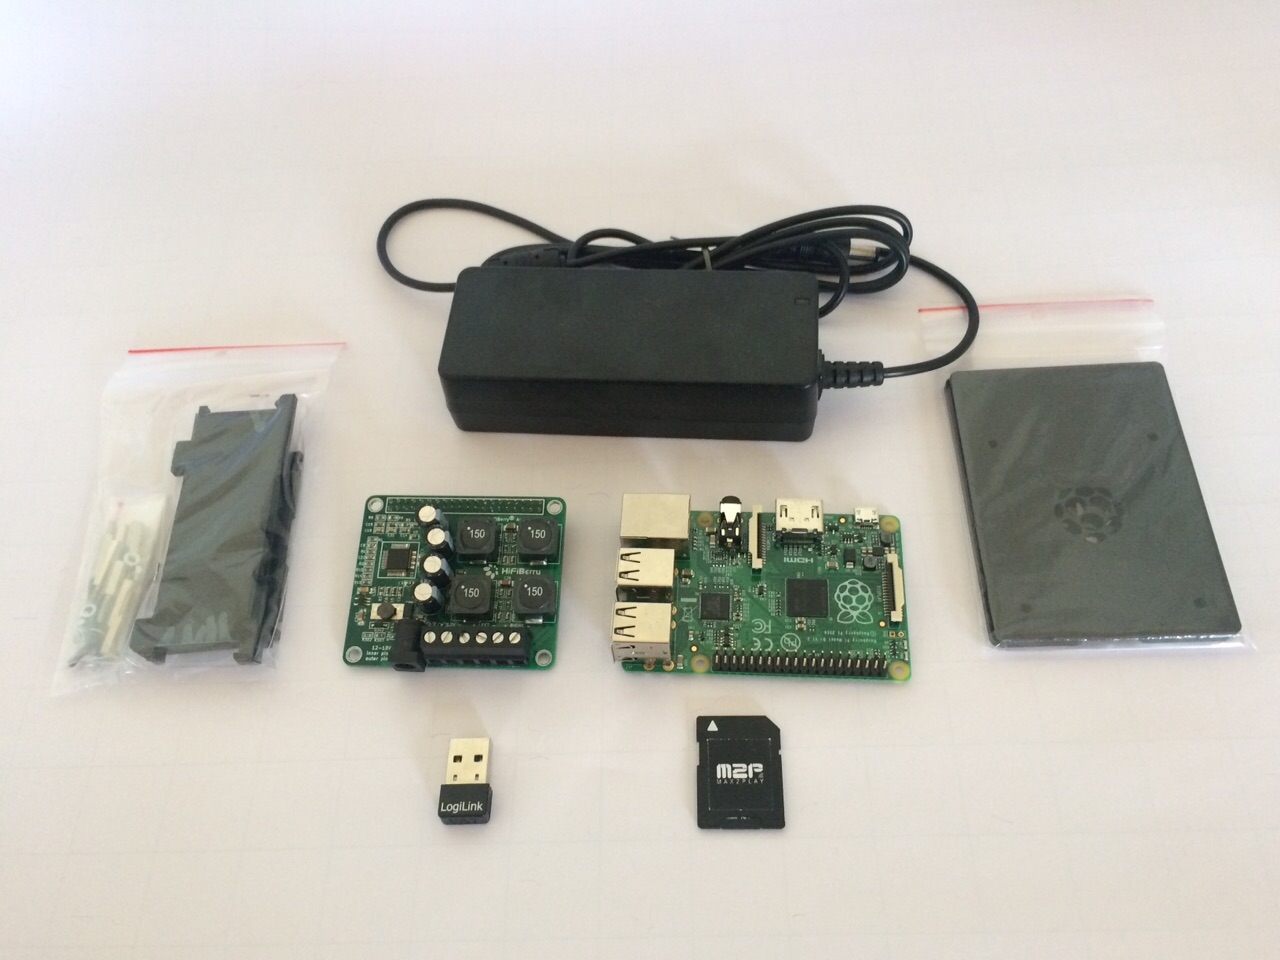
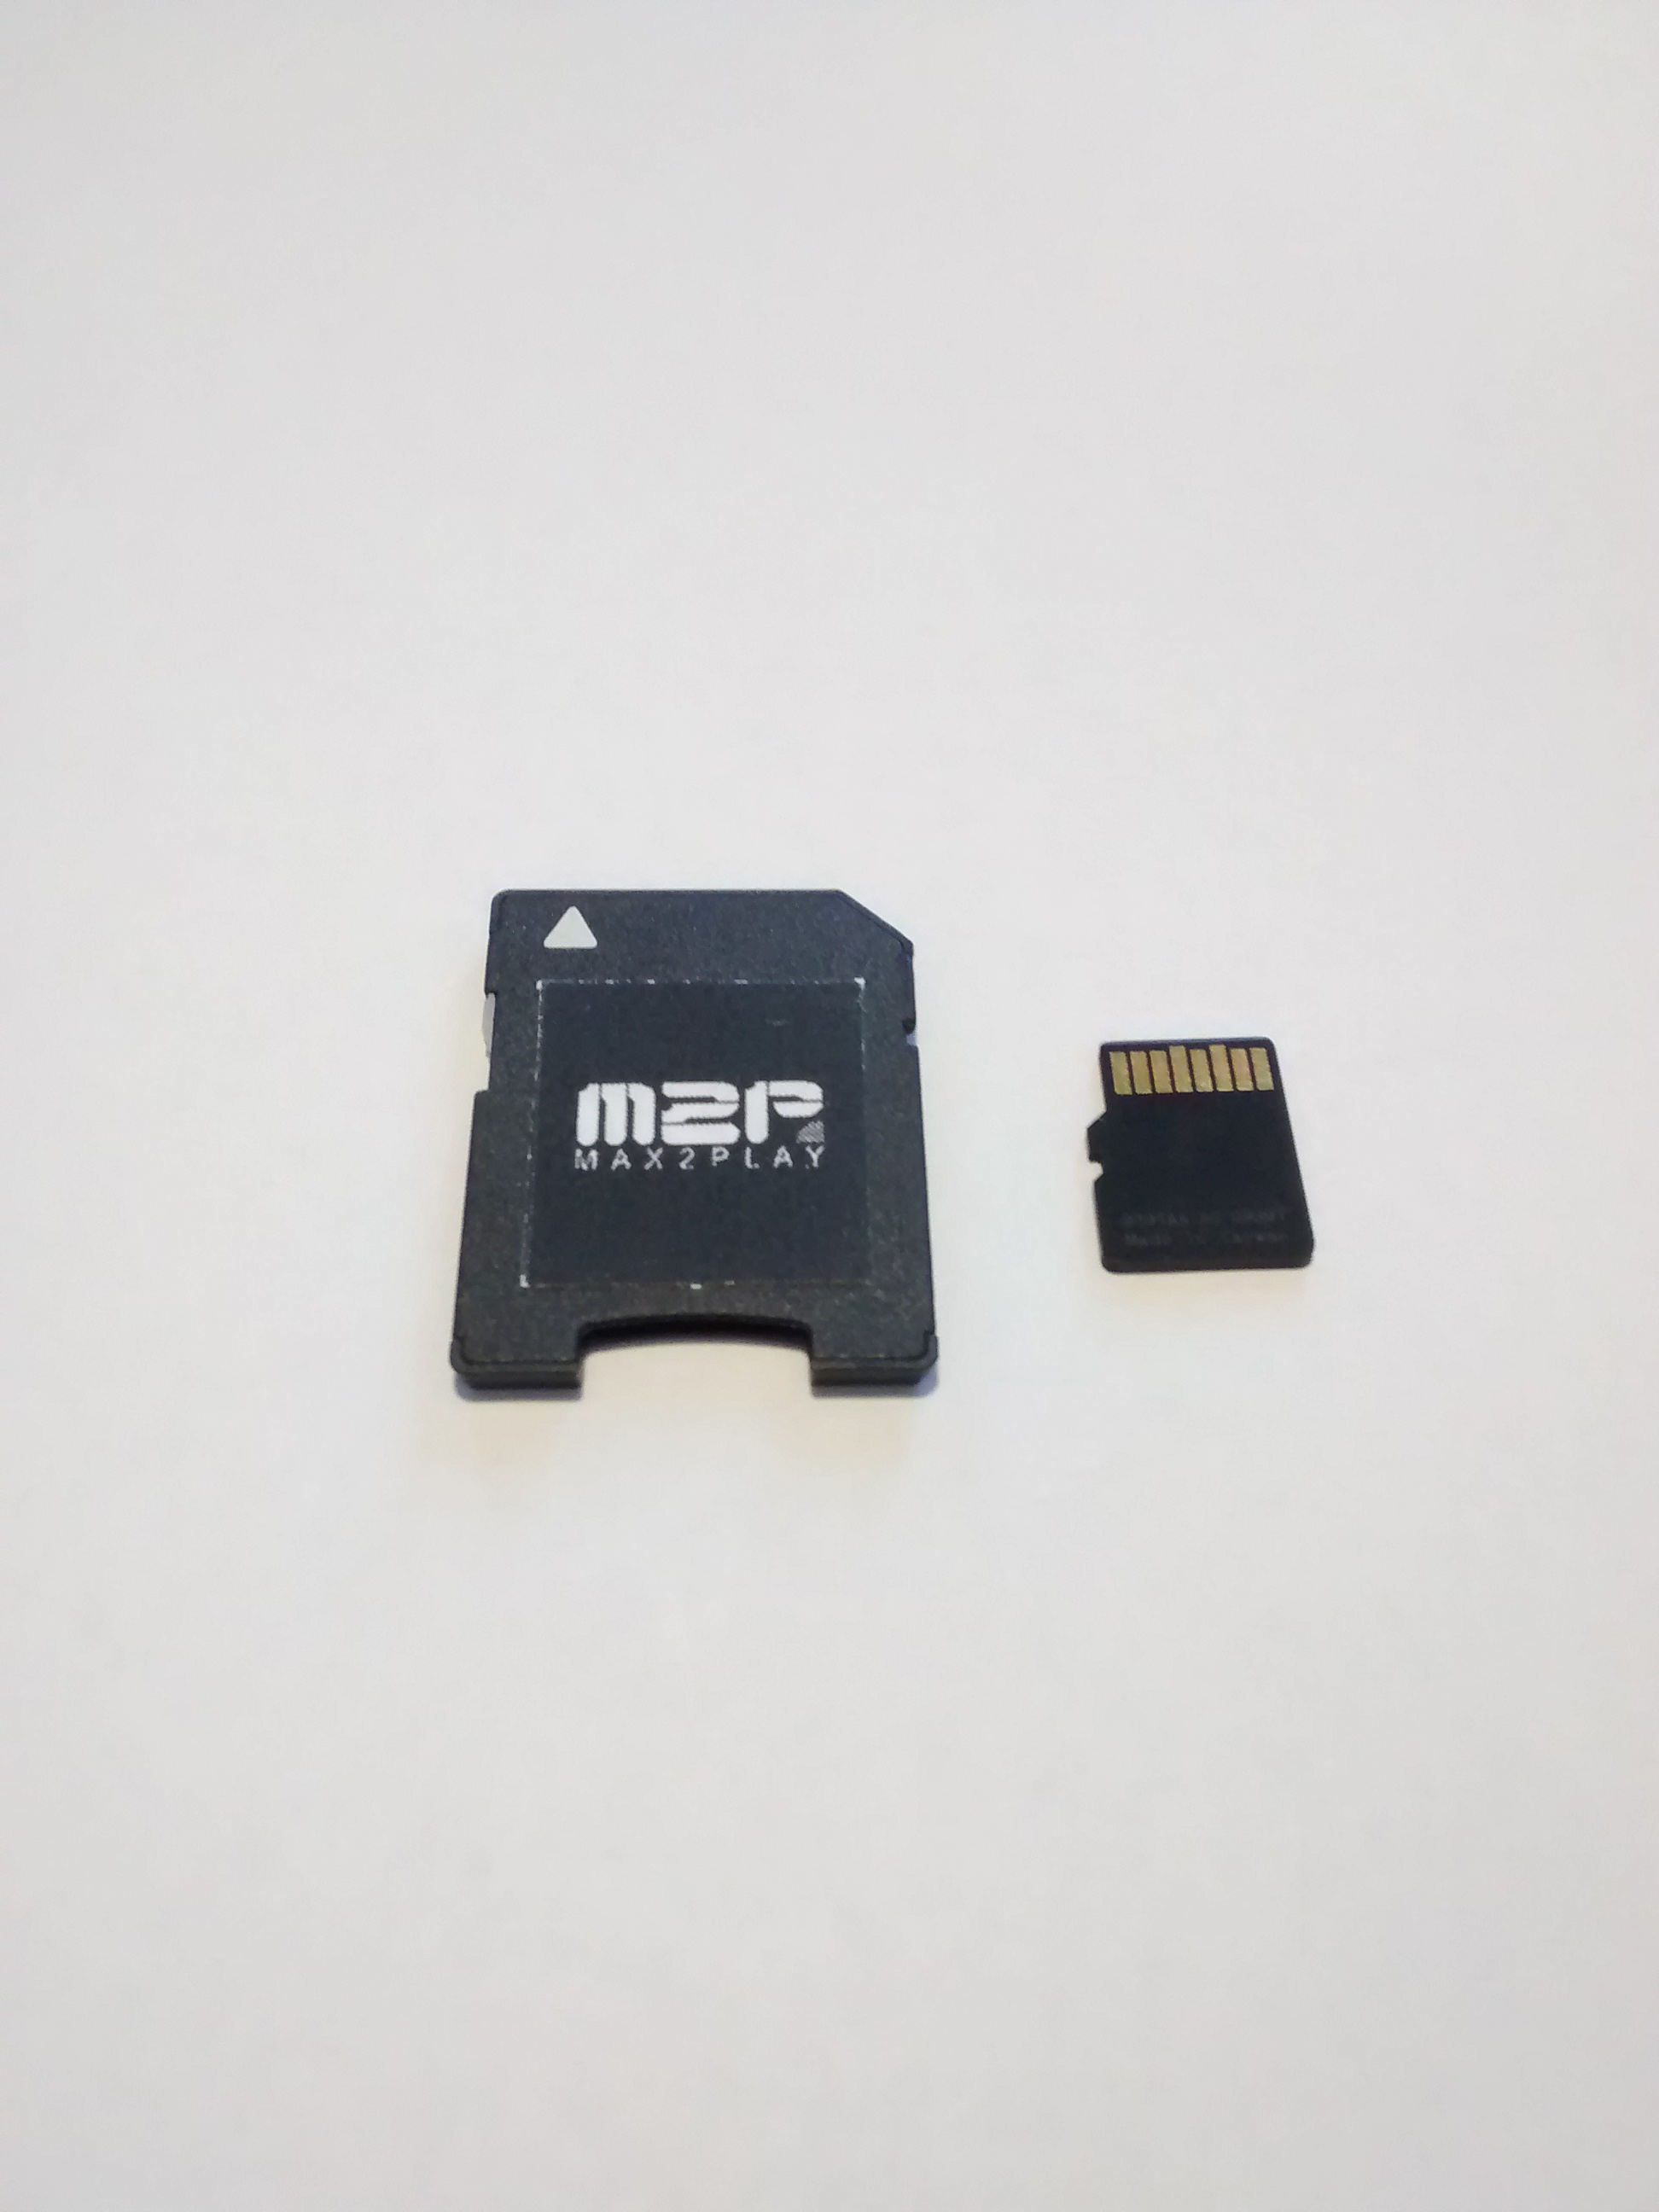
2. Secondly, you require an SD card with Max2Play (HiFiBerry Version recommended).
Either you order a already burnt and preconfigured SD card from our store or you burn the image yourself with the downloads from our website.
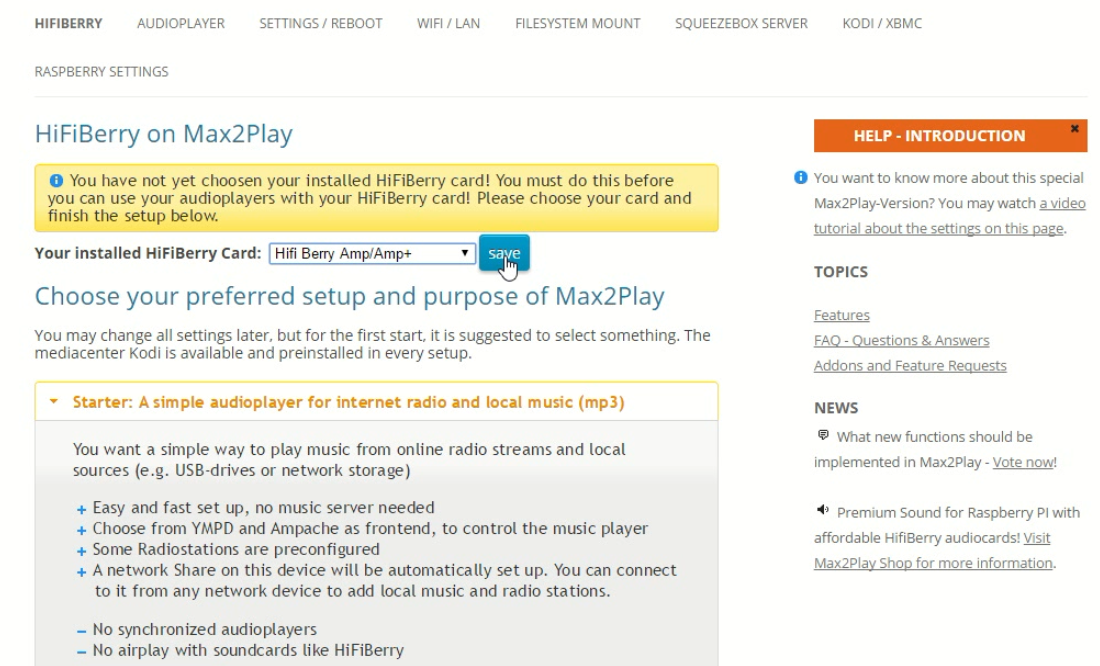
3. Since we are using the HiFiBerry Version of Max2Play, all we need to do to set up our sound card is to select it on the start page and click „save“.
The system adjusts automatically to the perfect settings for the Amp+ and is ready for application after a reboot.
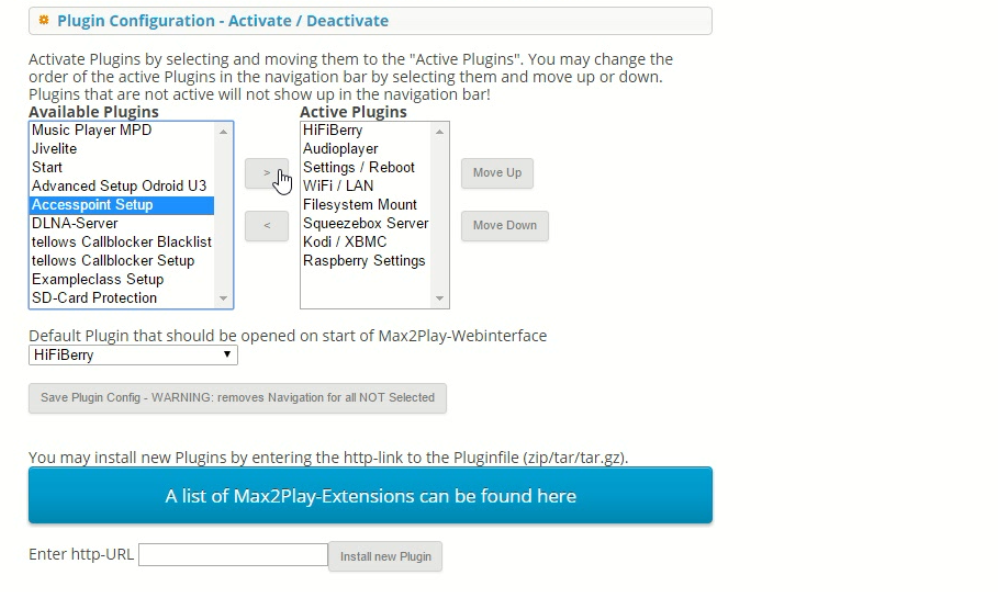
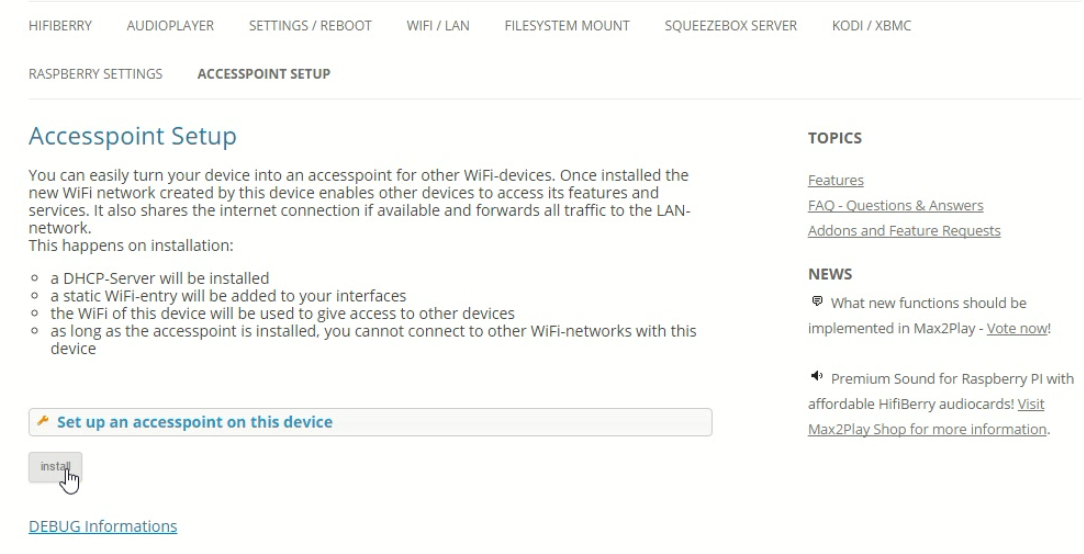
4. Now the Accesspoint has to be set up.
For that, you need the Accesspoint Plugin which you can find on our website’s feature list and install in the web interface in the „Settings/Reboot“-tab.
5. The Accesspoint Extension automatically detects the WiFi Stick.
Once the addon is in the menu, it only takes one click for it to detect the WiFi Stick, configure it and set up an access point for all other WiFi-enabled devices in the area. Just reboot after the installation and the Accesspoint is set up.
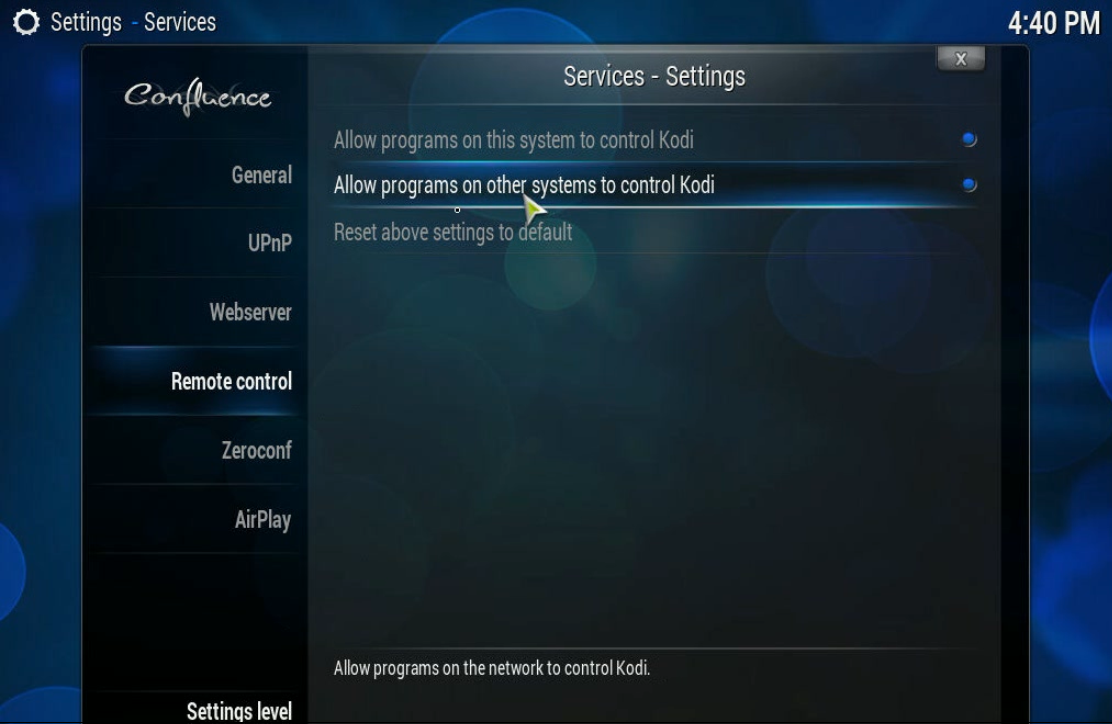
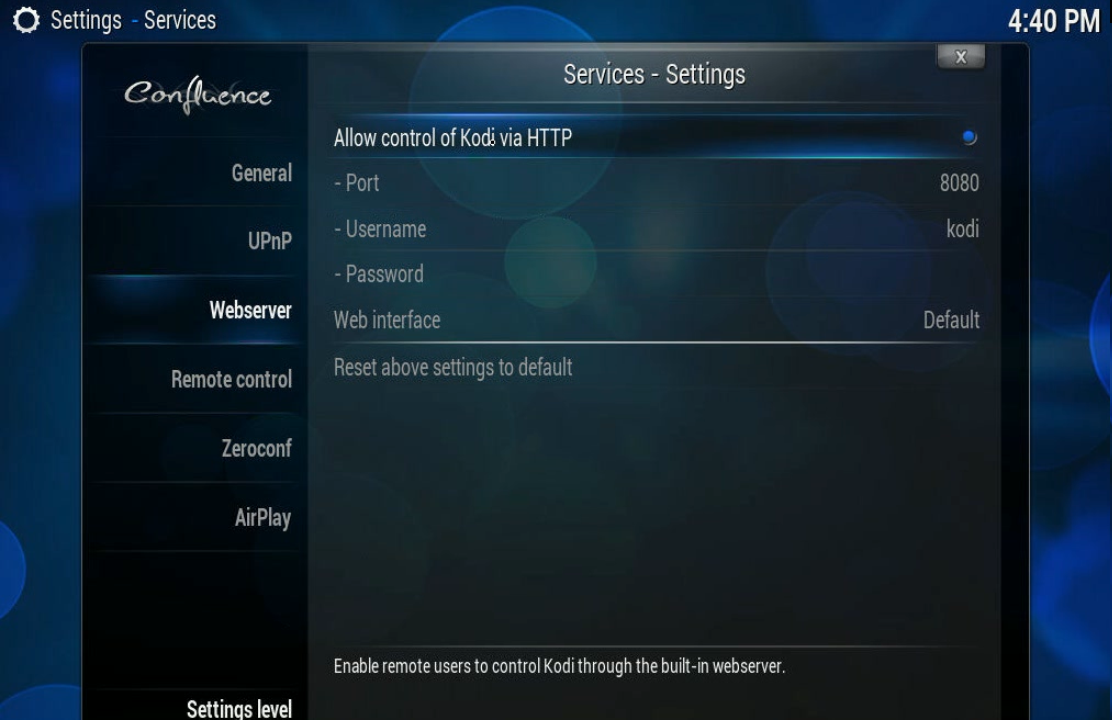
6. In the next step, Kodi only needs a few settings changed to be accessed from other computers, tablets or smartphones.
Under System -> Settings -> Services, the Remote Control and the Webserver options need to be enabled. Just make a tick under „Allow programs on other systems to control Kodi“ and „Allow control of Kodi via HTTP“. You can also enable Airplay functionality under the Airplay-tab.
7. Now you can use your smartphone’s browser to access the web interface (type in „http://max2play/“ as the URL) and use one of the great Kodi-Apps like Yatse and Kore on Android or Sybu and the official Kodi App for iOS to control the media center!

Optional Squeezebox: Set up Squeezebox-Server or MPD to play music without Kodi
Optional Squeezebox: Use Squeezer or iPeng to control Squeezebox Server
Related Articles
2 Comments
-
Hey, what’s that for a controller. What is the name?
Thanks Ingo-
Hello Ingo,
What do you mean by controller? The controller is your device of choice, it can be your smartphone, a tablet or a normal PC. With Android and iOS devices, you can control Kodi with on of the multiple free controller-apps and with your PC, you can control Max2Play through its Webinterface. You can also just connect a mouse or keyboard directly to the Raspberry and control Kodi with that.
I hope that helps you.
Sincerely
Heiner from Max2Play
-
