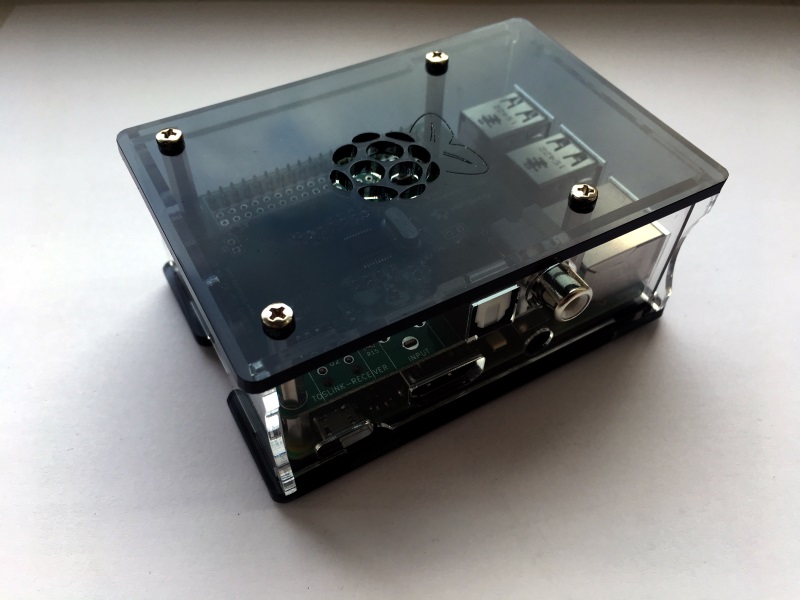
In this post we will walk you through the assembly of the transparent case for the Raspberry Pi with HiFiBerry DAC+, DAC+ light, DAC+ pro, Digi+ or Digi+ transformer.
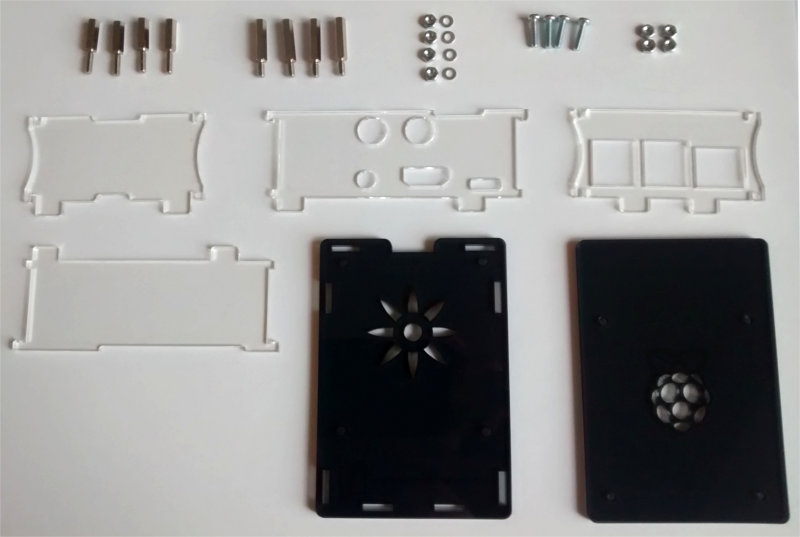
Scope of delivery
- Case for Raspberry Pi 2 or 3 and HiFiBerry DAC+ und Digi+
- 4x spacers (16mm)
- 4x spacers (12mm)
- 4x screws
- 4x washer
- 8x nuts
Is required in addition:
- Raspberry Pi 2 or 3
- HiFiBerry DAC+ or Digi+
- SD-card with preconfigured Max2Play
- Power supply with not less than 2.5A
Open the bags and unpack the parts. Make sure to remove the protective layer from the plates, they stick to the surface so try peeling them off on the edges. When you are done, your parts should look like the right image. The HiFiBerry DAC and Digi have different sound plugs. Therefore two different pieces for the case are delivery. You need to pick the one that fits with your sound card.
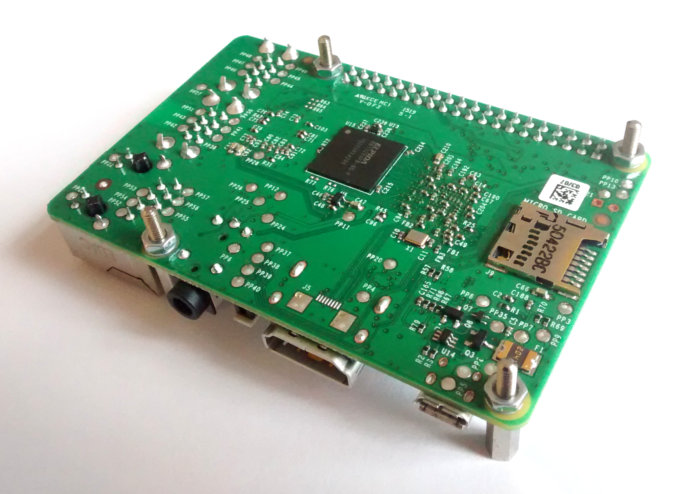
Step 3
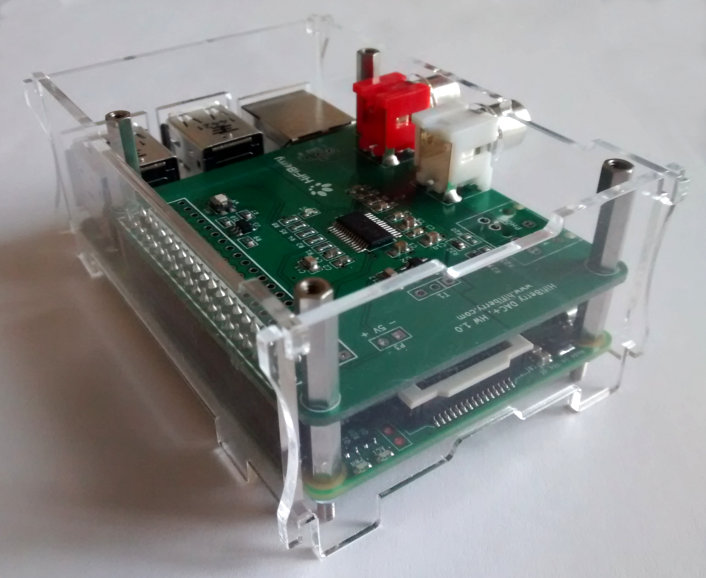
Take the first side plates with the recesses for the connections and attach the side plates to the device.
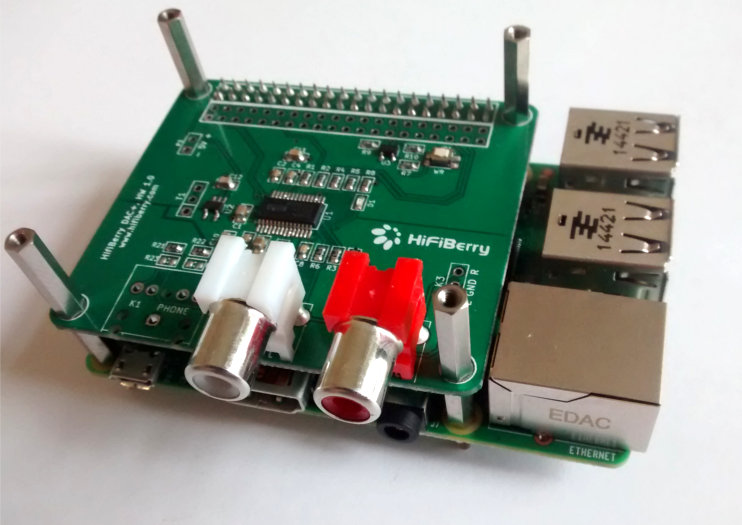
Now we need to add the other side plates and snap them into place. Be careful not to apply too much force, they should fit together very easily. To make sure they are all attached at the right side, check if the holes from the bottom plate fit the construction so far.
Step 4
If all parts fit into the bottom plate, add the plate and affix it to the Pi with the four remaining nuts.
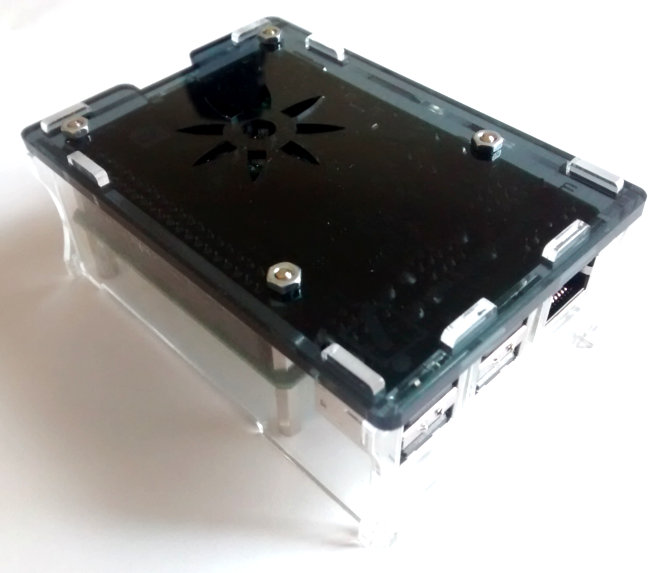
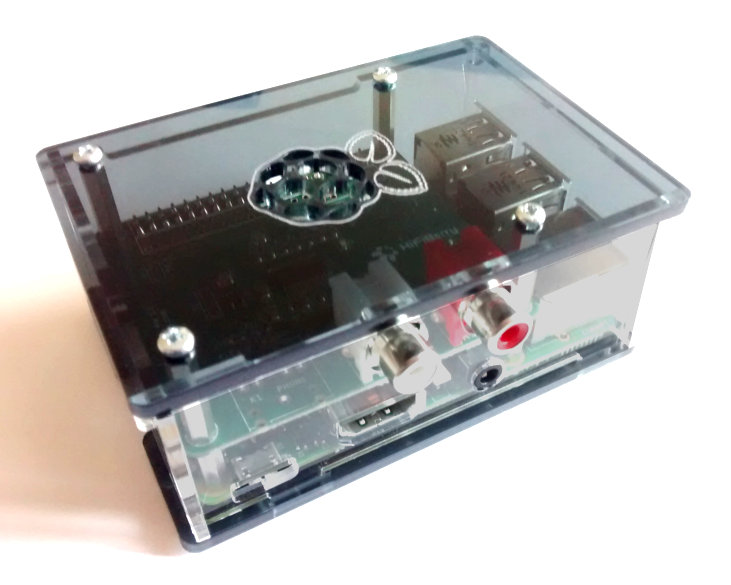
Now all that’s missing is the top plate. It needs to be fixed on top with the four included screws that go into the threads on the big spacers‘ surface.
Your case is now fully assembled!


