Audiophonics

Getting started with Audiophonics

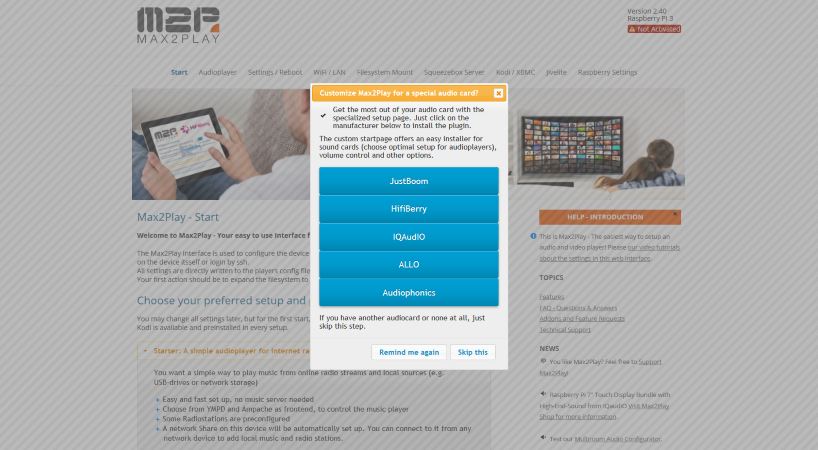
Max2Play is the easiest way to control your Raspberry Pi. The web interface is user friendly and helps to manage all your settings and addons. Without keyboard, mouse or display the Raspberry Pi can be controlled using only your web browser with Max2Play on your PC, Mac, Tablet or Smartphone. The screen automatically adapts to the device size and works with the applied web browser language. The many plugins and constant developments allow you to use a variety of additional features.

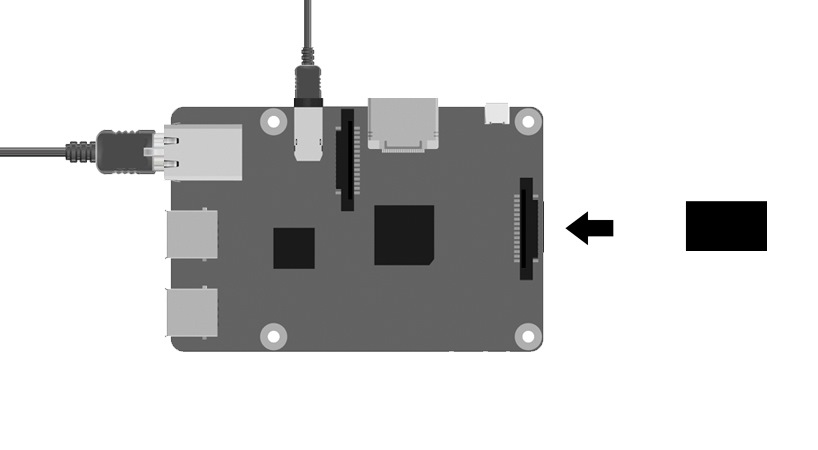
To set up Max2Play on your Audiophonics setup you need a assembled Audiophonics kit and a micro sd card with preinstalled Max2Plax Default Image.

1

Step 1

Insert the micro sd card with the preinstalled max2play default image, connect the Pi via LAN cable or WPS to your network, plug in the power supply, press the power button and access Max2Play by typing „max2play/“ into your browser on any device.
2

Step 2

At the first start of Max2Play you will be asked which sound card you use. Choose Audiophonics and wait until the basic settings have been taken.
3

Step 3

Now you can select your specific sound card, click save and select one of the preset audio configurations (Starter, Advanced, Simple AirPlay), that suits your needs.
4

Step 4

To achieve a smooth shutdown, you have to install the power button here and give the autostart box a check. After a reboot, the button should be stop flashing and lit continuously.  If you use an Winstar OLED Display, you can also install it here.
5

Step 5

Now go to Settings/Reboot, insert your license code or e-mail, if you have a premium license coupled to your e-mail adress and click „save settings“. On this page you can also update Max2Play, to get the newest version. Now you are ready to start listen to your music with the audioplayer of your choice.

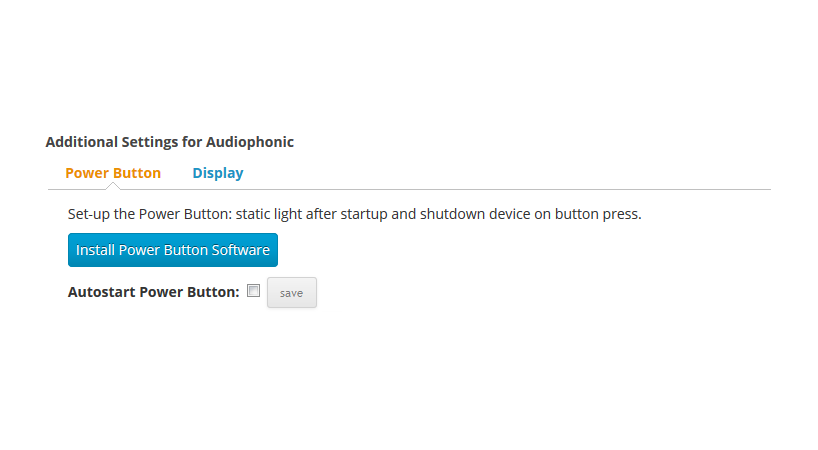
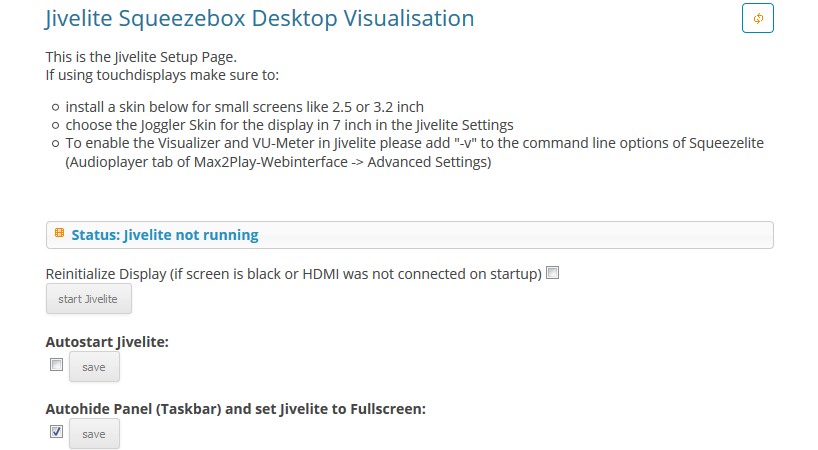
Use of a 7 inch touch display

The touchscreen is supported by Max2Play Out of the box. But if you want to use Max2Play as a Squeezebox Server with visualization, just go on following the steps:

6

Step 6

All you need is our Jivelite addon. Jivelite comes preconfigured when the license is active. Here we just need to give autostart a check, click install and wait a few minutes until we get the message to reboot again. Select the Joggler Skin on the touch panel after the reboot and you we can already start to play music.
7

Step 7

As mentioned above, the touchscreen is supported by Max2Play Out of the box. But if you want to make additional settings, like removing the courser, you need our RPi display plugin. We have to add it to the plugins section(under Settings/Reboot) by copying the source URL from our plugin page.
8

Step 8

Once we have done that, we just need to select our 7 inch screen in the new RPi Display Plugin and click install.
9

Step 9

As can be seen in the picture, the display can be adapted to your own needs.