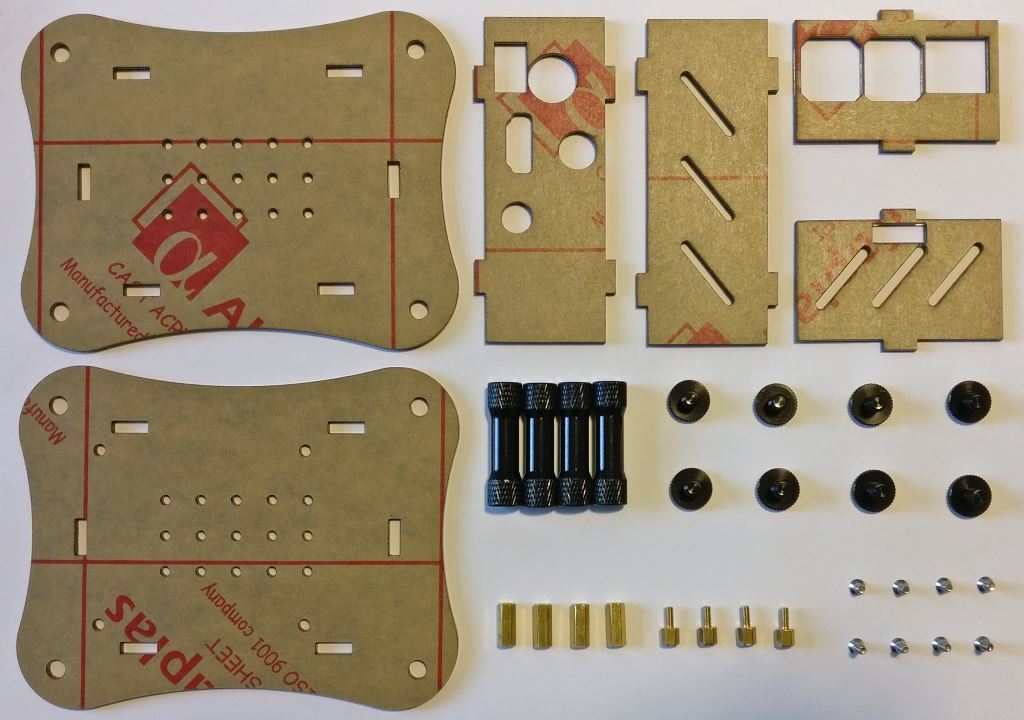
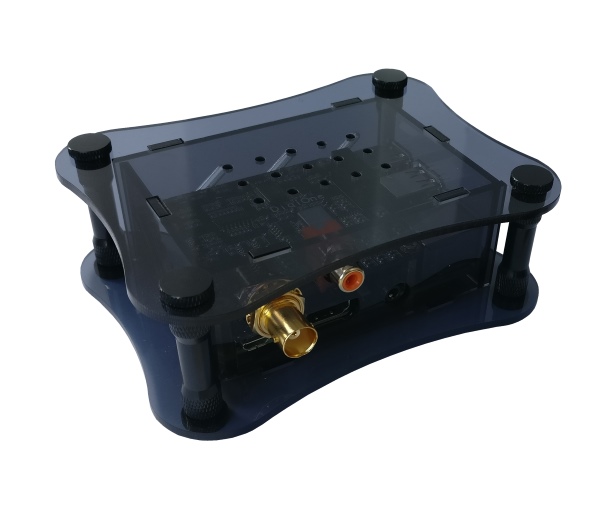
Here, we will explain how to assemble the Allo DigiOne case. You can find the bundle with all necessary pieces in our shop.
On the bottom of this page you can also find a video by Allo on how to assemble the case.

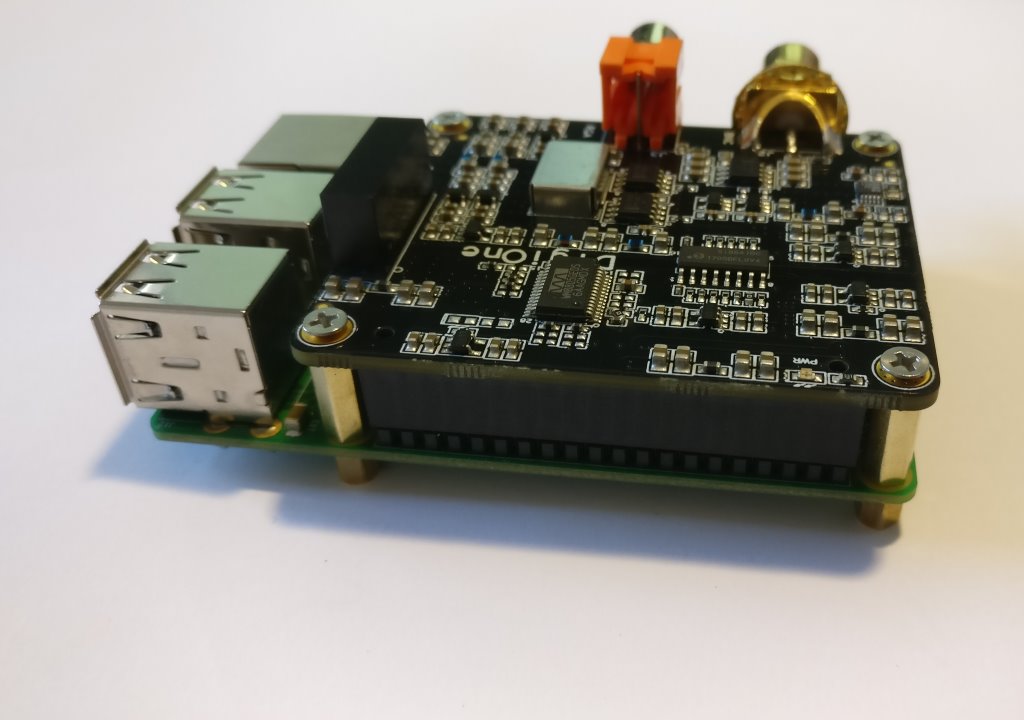
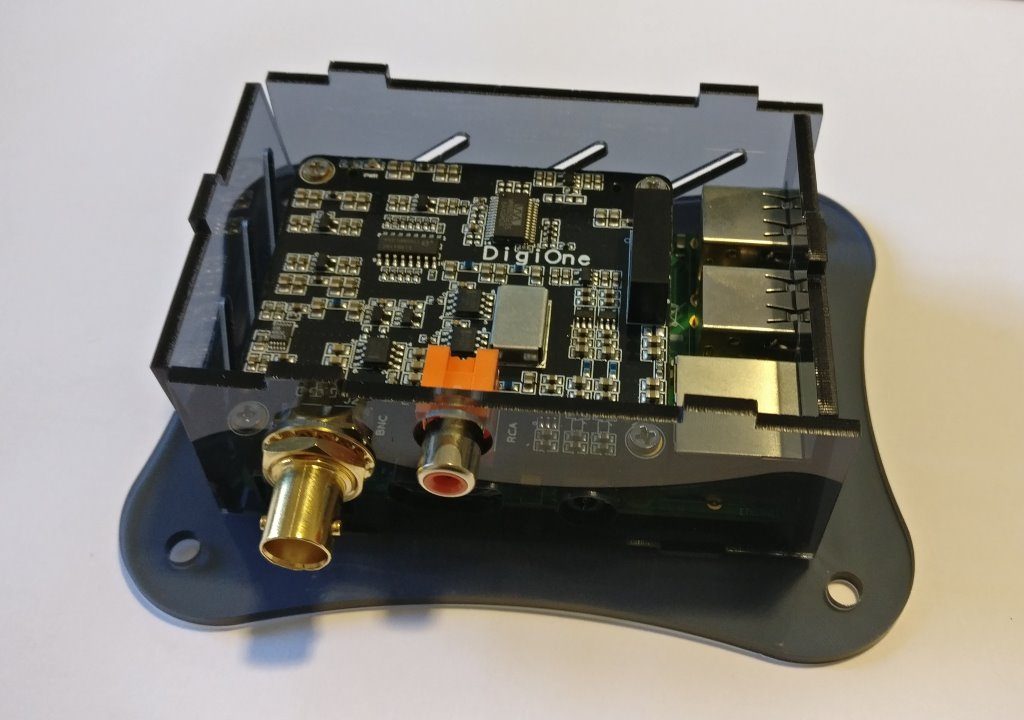
Step 2
For the next step, the DigiOne has to be attatched to the Raspberry Pi. First, the 4 spacer screws have to be inserted into the 4 holes of the Raspberry Pi from the bottom. Then the four spacers need to be attatched to the screws. Now the Digi can be attatched to the Raspberry Pi and then be secured with the 4 long screws.

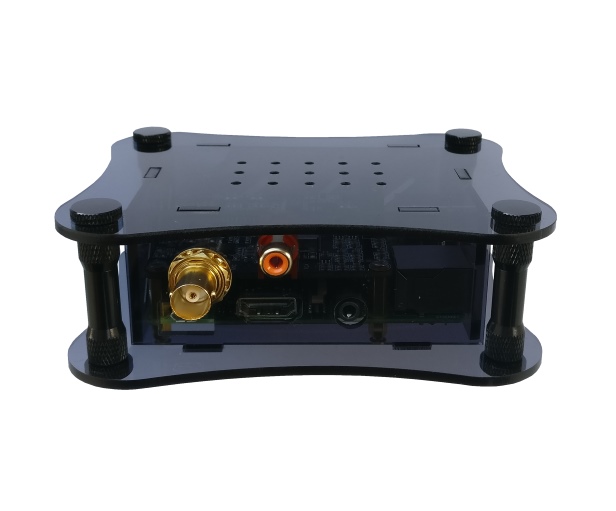
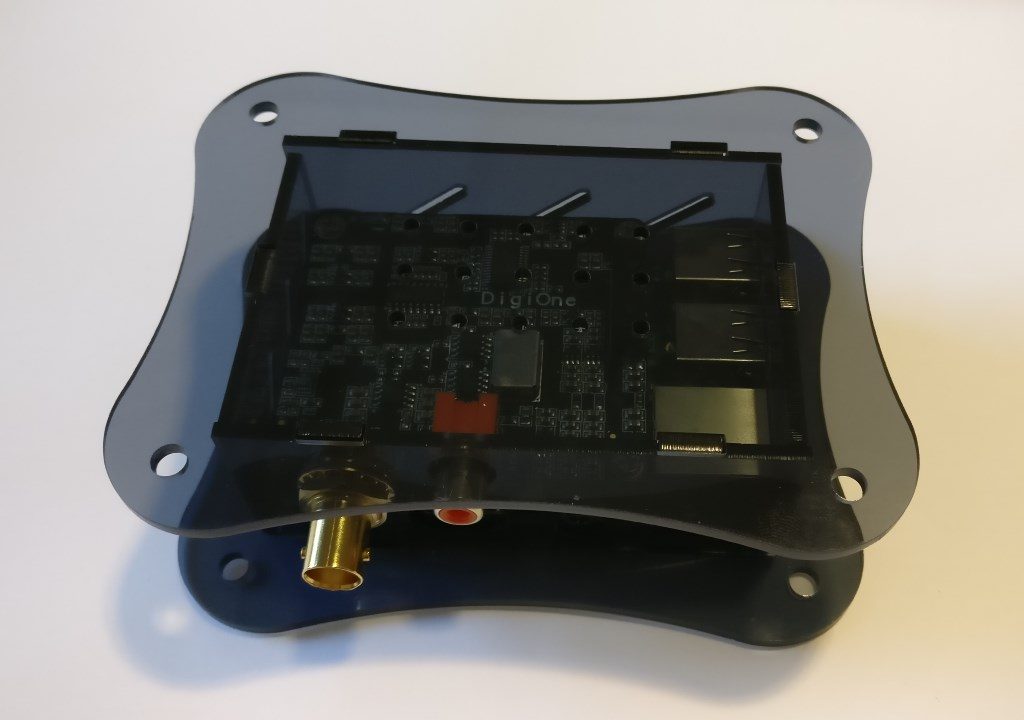
Step 5
Finally, the upper case plate is placed on top and can now be connected with the bottom plate using the black metal spacers and screws.

