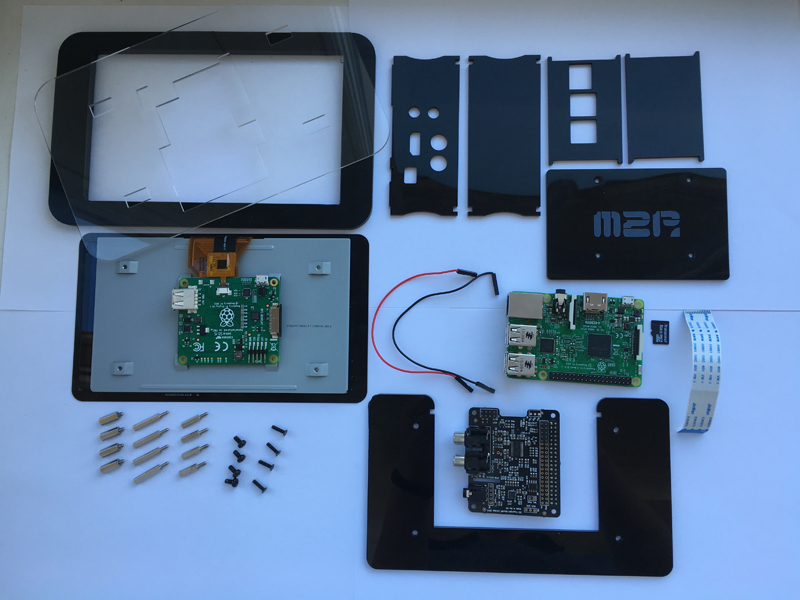
We will show you how to plug together the 7 inch Touch Display Case for Raspberry Pi and a IQaudIO sound card. This case is only available in black and we deliver to you all necessary components (incl. flat ribbon cable, jumper cable and spacers). You can buy this bundle in our shop.
Scope of delivery
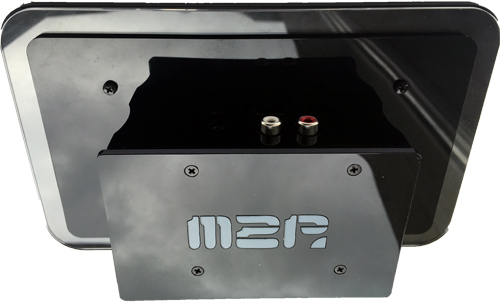
- Case for 7 inch touch display and IQaudIO sound cards
- 4x spacers (12mm)
- 4x spacers (18mm)
- 4x M3 screws
- 4x countersunk bolt M2.5
- 2x anti slip foots
Is required in addition:
- 7″ touch display with adapter board
- 1x flexible flat cable
- 4x spacers with short thread (12mm)
- Raspberry Pi 2 or 3
- IQaudIO DAC+ or IQaudIO DigiAMP+
- SD-card with preconfigured Max2Play
- Power supply with not less than 2.5A – we recommend 2 power supplies for enough energy
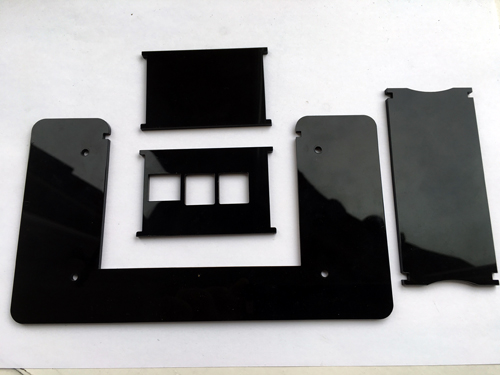
Open the bags and unpack the parts. Make sure to remove the protective layer from the plates. Only not the protective layer of the Max2Play-Logo. If this is removed then the letters are not longer in white. With the image on the right side you can check, that you having all components.
Step 2
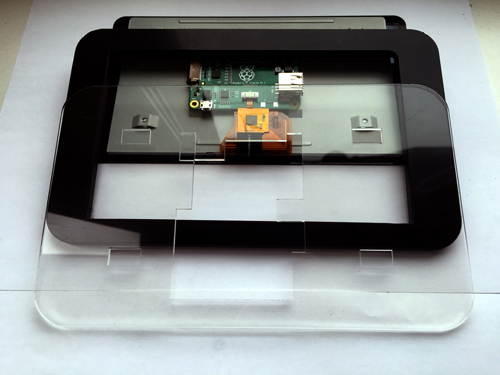
Put the transparent plate and the frame on the display (left image). The adapter board of the display must be guided by the recess of the transparent plate (right image).
Step 3
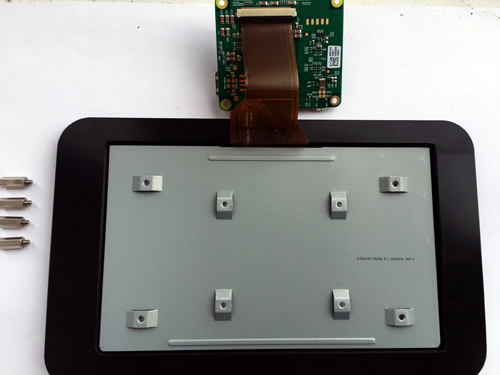
Now you can screw together the display and the case. Use the spacers which were screwed on before (12mm with short screw threads – see image).
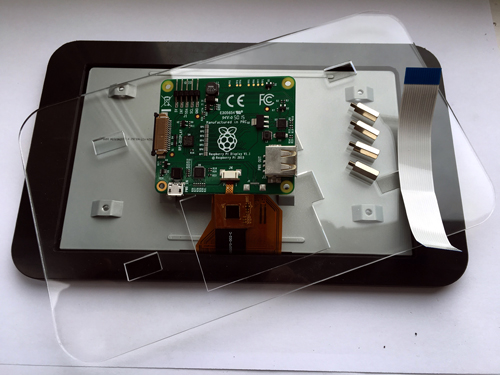
Then, mount the flexible flat cable and the jumper cable on the adapter board of the display. Plug the jumper cables into GPIO-pin 1 and 4 of the display adapter board (see image).
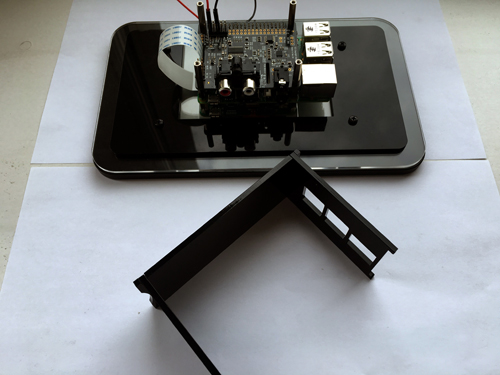
Step 4
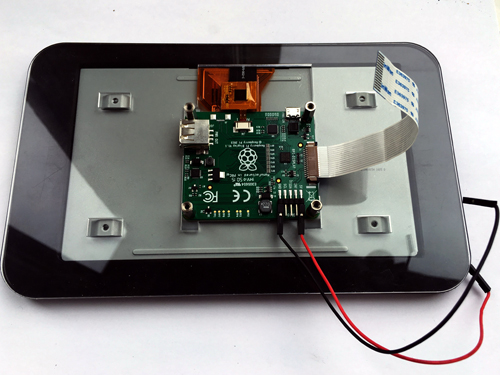
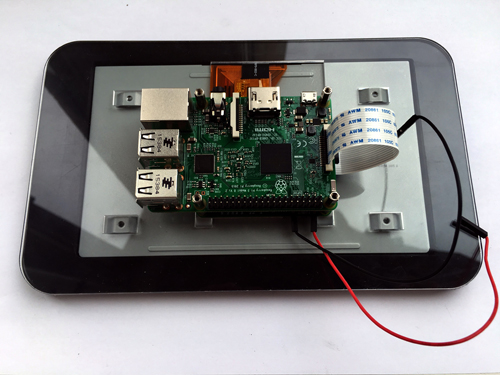
Now take your Raspberry Pi – here it does not matter whether it is a Raspberry Pi 2 or Raspberry Pi 3. Now Screw on these with 12mm spacers on the adapter board of the display. Then connects the flexible flat cable with the Raspberry Pi (see left image).
Attention: At this step you should plug in the SD card into the Raspberry Pi. Later it is not possible to plug in or out the SD-card without unscrew the case.
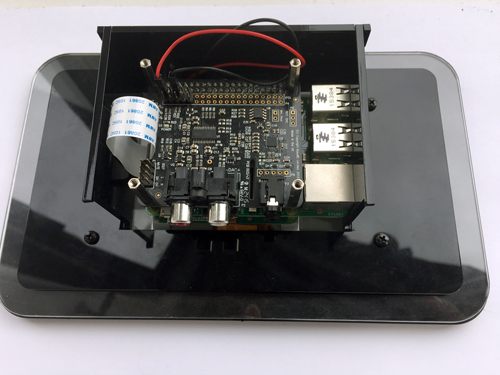
Step 5
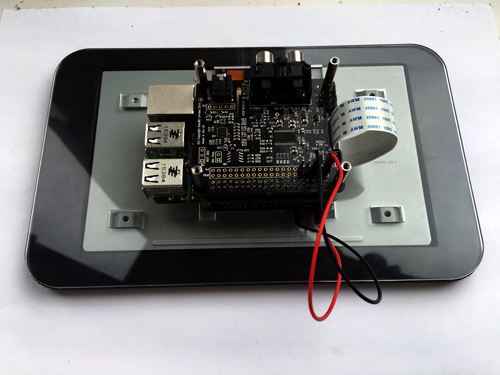
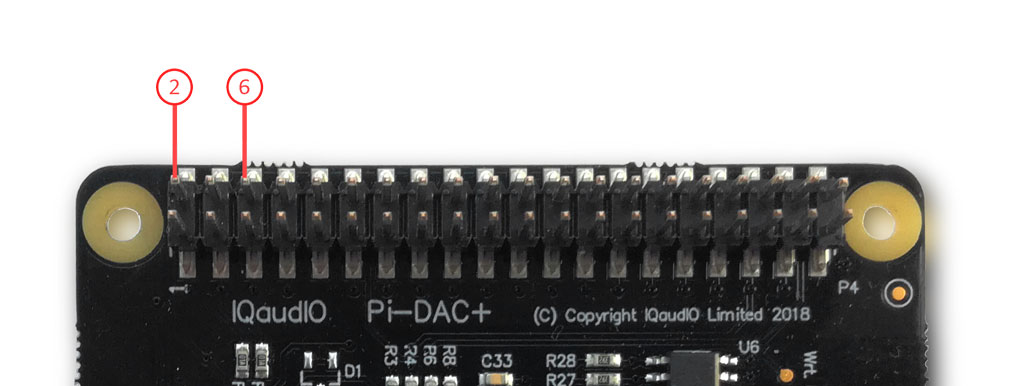
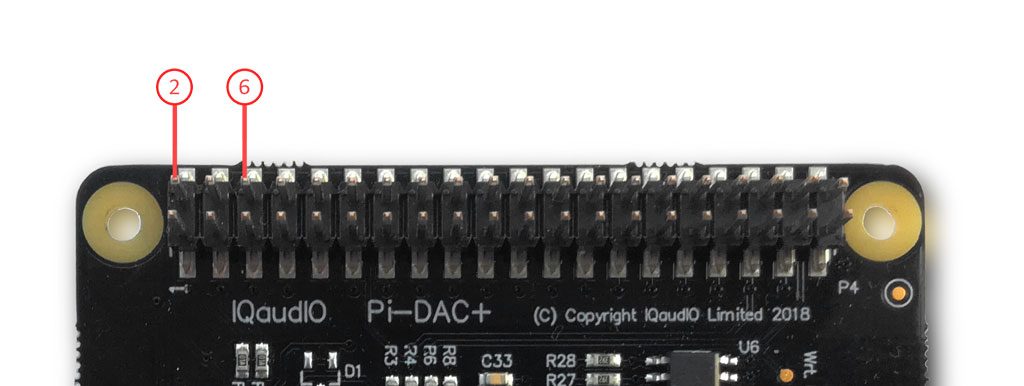
Now set the IQaudIO (here DAC +) on the Raspberry Pi and bolted with the 18mm spacers. These are needed to reach enough distance so the GPIO pins of IQaudIO must not be bent. Only plug in the jumper cable (here Pin 2 and 6 – see left pictures).
For the IQaudIO DigiAMP+ you have to use the 5th and 8th GPIO pin. You can use this article in the Max2Play Wiki for help.
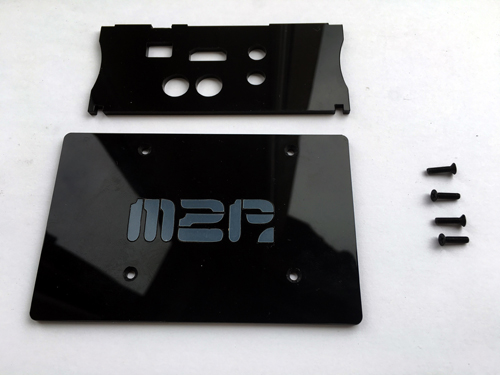
Step 6
Note: Please be careful at this point. If incorrectly attaching can quickly break the „hooks“!
Take now, as shown in the right image, the large black plate and 2 side panels and the case plate without cutouts for the ports. The large plate can now be attached and screwed on with the M3 screws.


