Come home and be greeted by your favorite music playing in the background! Fade-In and Fade-Out with just one button press! Automatically turn on your multimedia devices when activating the lights of the living room! These and many many more home automation setups become possible with API (engl. application programming interface).
An API is a set of clearly defined methods of communication among various components, in this case your Max2Play device and e.g. your Smartphone.
Our API-Examples are simple HTTP-commands that you can use to control your players. Besides simply running them in the browser, you can also integrate these commands into existing home automation software or context-task apps such as Tasker. Therefore, nearly endless possibilities open up. In this HowTo we will explain the key concept of API’s and how you can use them, based on easy to understand examples.
Step 1 – The Basics
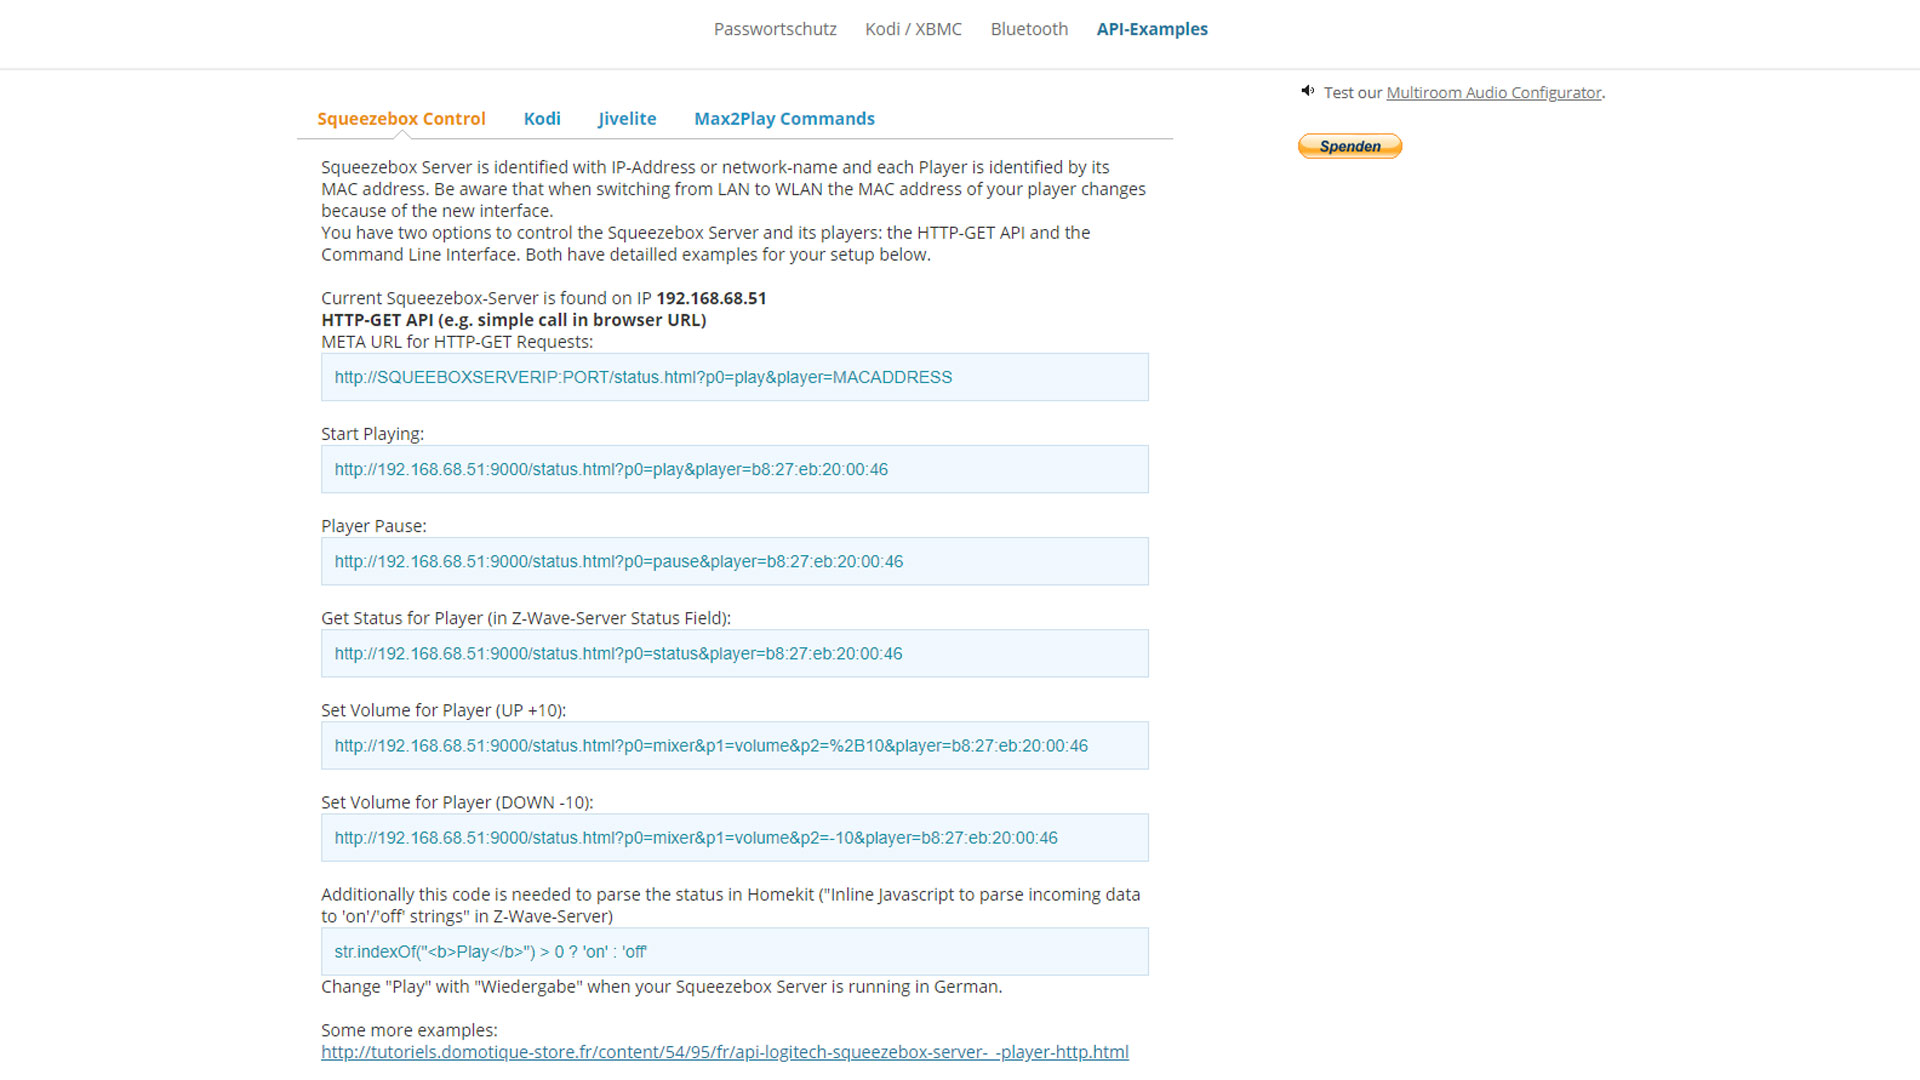
The API-Examples plugin page provides ready-made URLs for key control features of the Squeezebox, Jivelite, and Kodi services, as well as the Max2Play device itself.
The Squeezebox control tab displays the IP of the currently running Squeezbox Server. Underneath, in a drop-down menu, you can select the player of your choice and the URLs will adapt to that player. Now all you have to do is copy the URLs to the clipboard and you’re ready to use them as a shortcut in the application of your choice or integrate them into an existing home automation system.
Step 2 – Execution in the Browser
First of all, we recommend selecting a URL as in „Start Playing“ on the API-Examples page and testing it in the browser. Simply copy the web address and paste it into the browser bar. Make sure the corresponding service is installed and activated beforehand. Depending on the request, for example „action = start“ or „action = stop“, the corresponding command is executed.
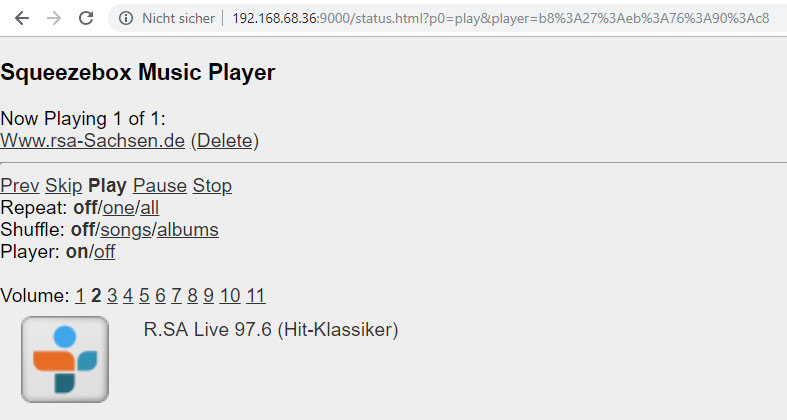
Consequently, a web page will open up, giving you further control options for the selected service. In case of the Squeezebox Server, it will look like this:
Step 3 – Home Automation
Software:
There are several open-source home automation tools you can use our API-Examples for. Have a look at this Overview of Home Automation Software implemented in Max2Play.
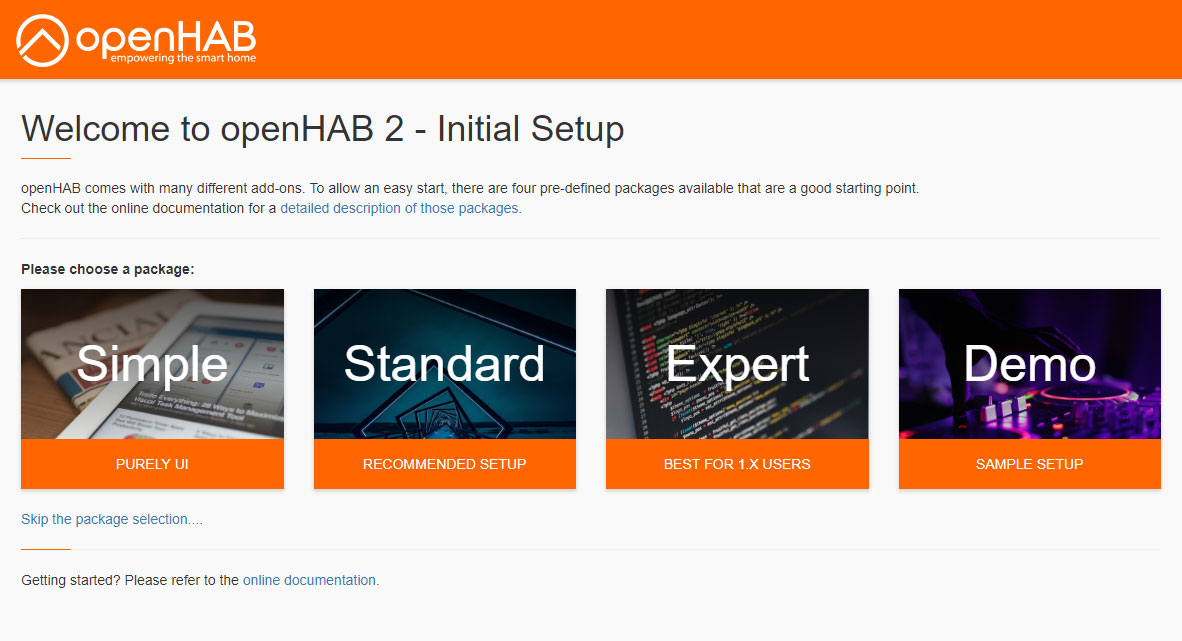
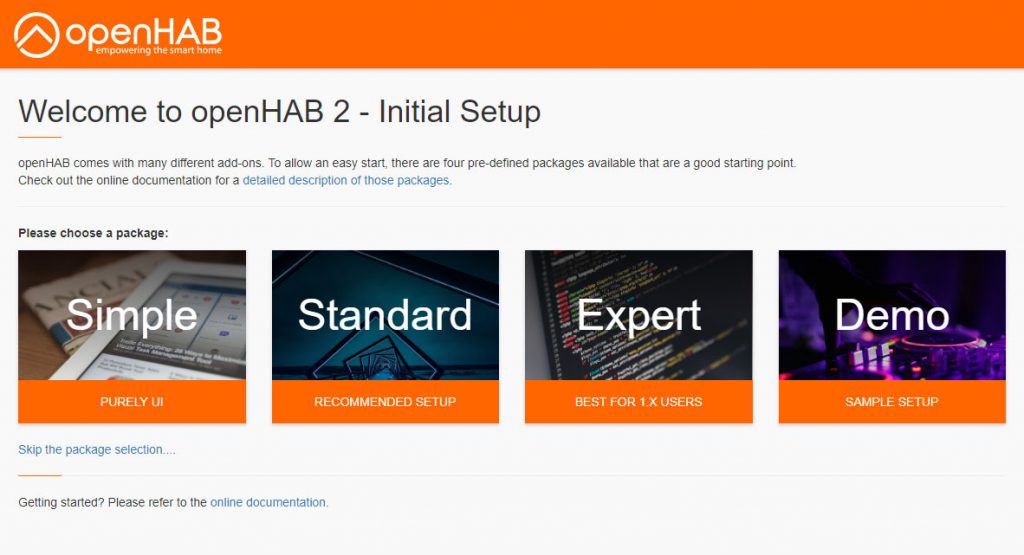
We recently added an OpenHAB Setup Plugin to the list, giving you the opportunity to install an OpenHAB Server on the Raspberry Pi. OpenHAB is an open source home automation platform, which can be used as the center of your smart home. For further information on how to configure OpenHAB read the offical documentation.
Hardware:
On the hardware side we recommend taking a look at our accessories offer. Depending on your hardware you can mount all kinds of buttons and sensores on your Raspberry Pi. You may connect your devices to a wall switch e.g. next to a door, making it very comfortable to start playback while entering a room. For more ideas on integrating your system into home automation, check out our Multiroom Instructable.
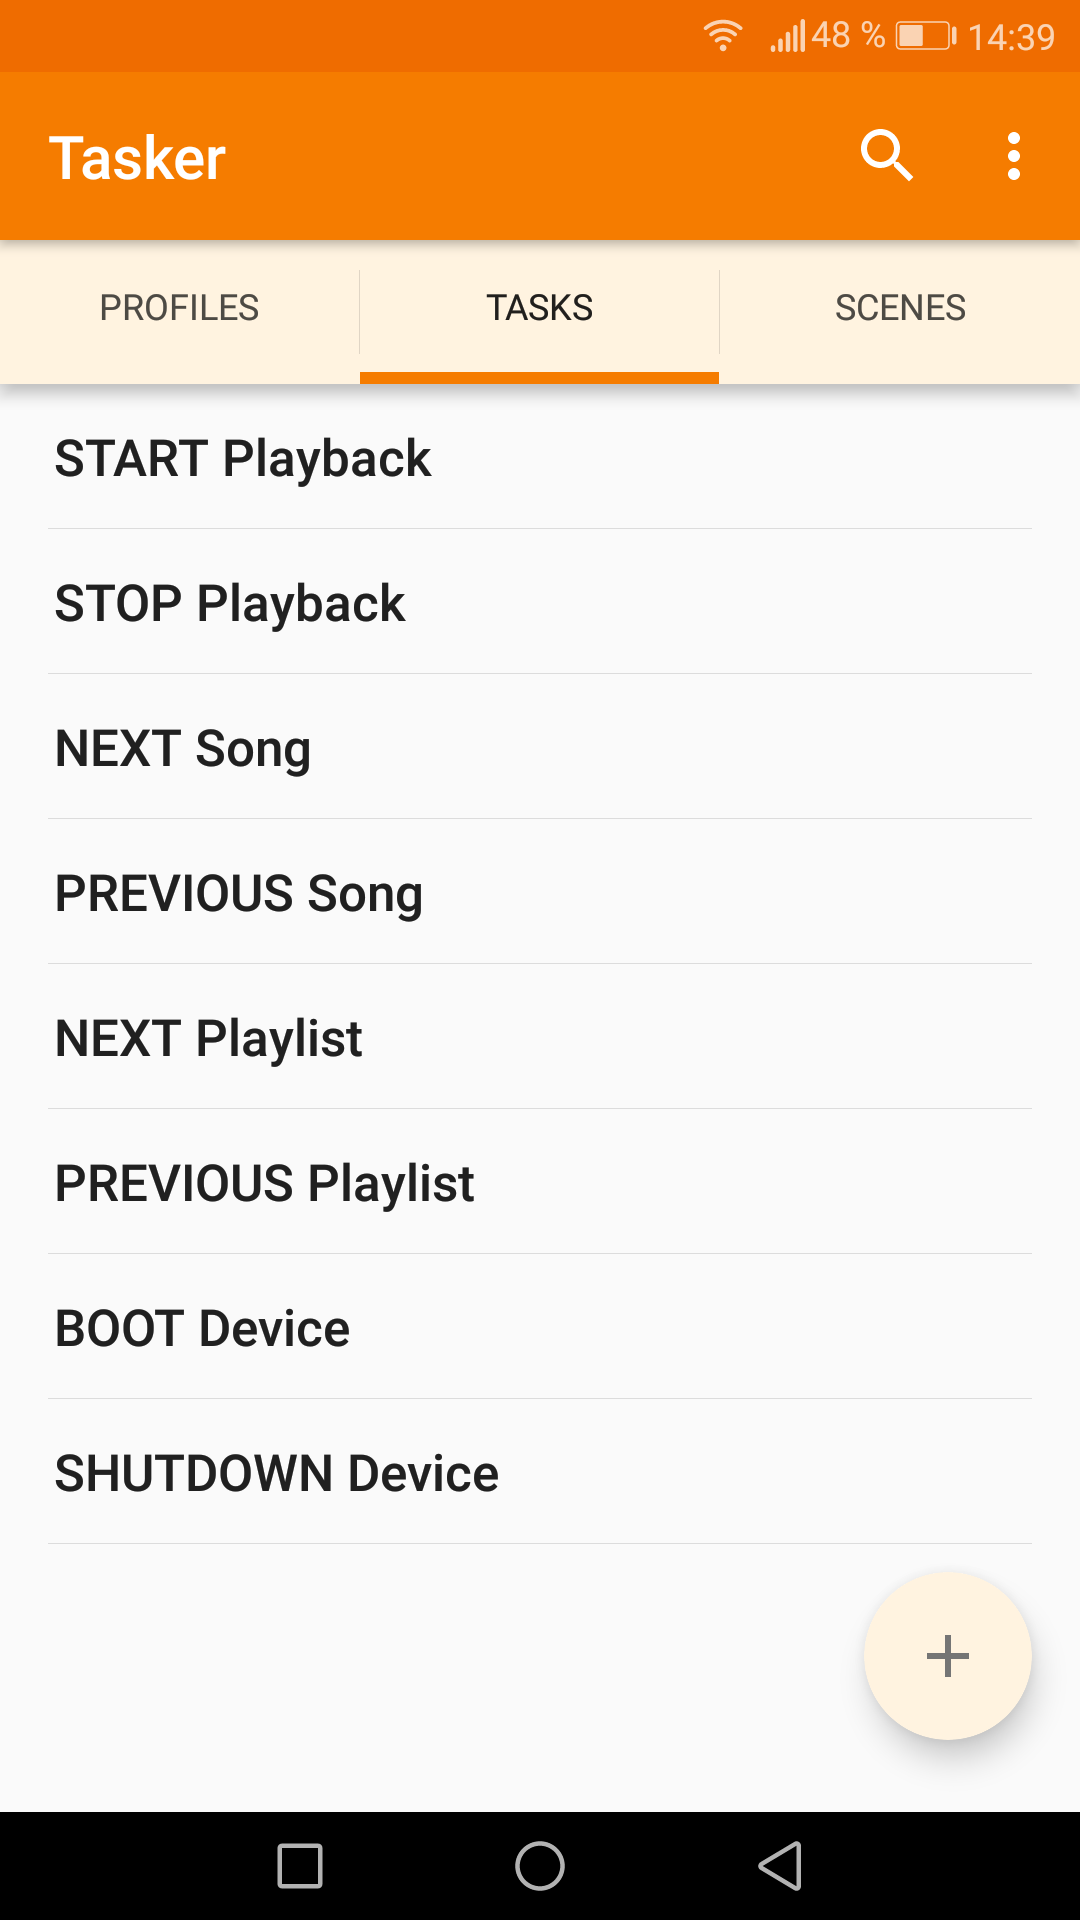
Step 4 – Tasker
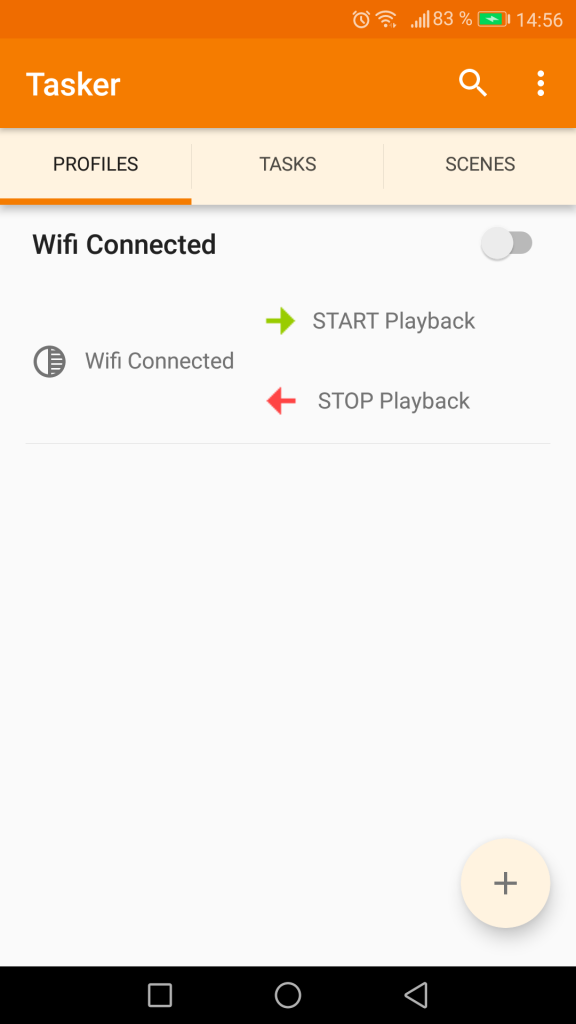
Tasker executes actions when several conditions met. There are a lot of If-Then relations Tasker can work with, e.g. ‚display a pop-up message when it’s my birthday‘ or ’send a HTTP-Request to my home automation system and start playback when i come home‘. If you want to, you can link more than one condition to a task, to further limit or specify the automation. You may also add an exit task, defining what happens when all conditions are no longer active.
One simple example for this is shown in the picture below. If the condition that the phone is connected to the home wifi is met, the task „START Playback“ is executed and the corresponding HTTP-Request (=action) is sent to the Squeezebox Server.
More information about Tasker.

More about API
If you want to know more about home automation with Max2Play, check out our home automation overview.
More Squeezebox Server commands can be found here.
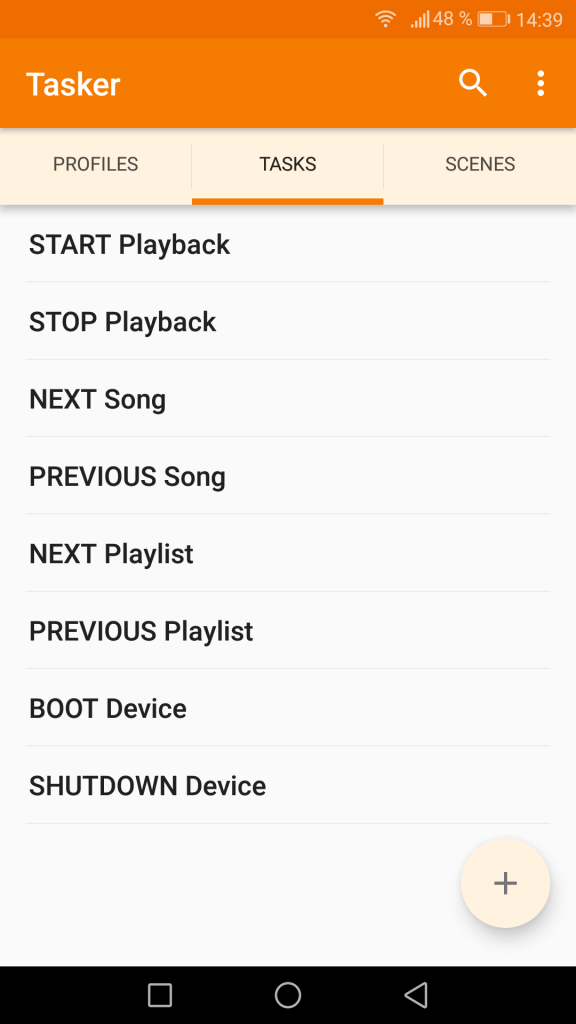
If you are interested in creating shortcuts for simple commands such as „start playback“ or „restart device“ on the desktop of your PC or home screen of your smartphone, you can go through our Wiki articles.

