In this article, we will show you how to assemble the black steel case V2 by HiFiBerry for the DAC+ with Raspberry Pi 4B.
Delivery Scope
- Case for Raspberry Pi 4B and HiFiBerry DAC+
- 4 short countersunk screws
- 8 short round head screws
- 4 spacers

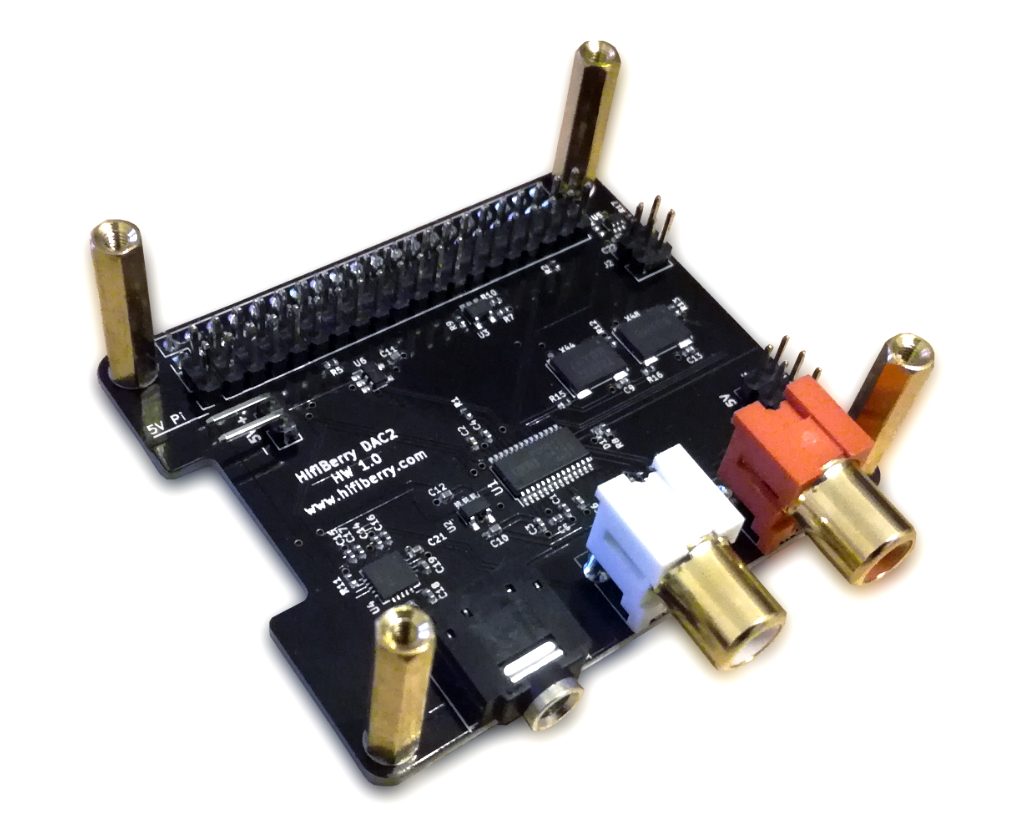
Step 3
Now the sound card is inserted into the cover plate so that the sound outputs fit into the recesses provided. Now screw the short countersunk screws from above into the spacers, which are attached to the sound card.
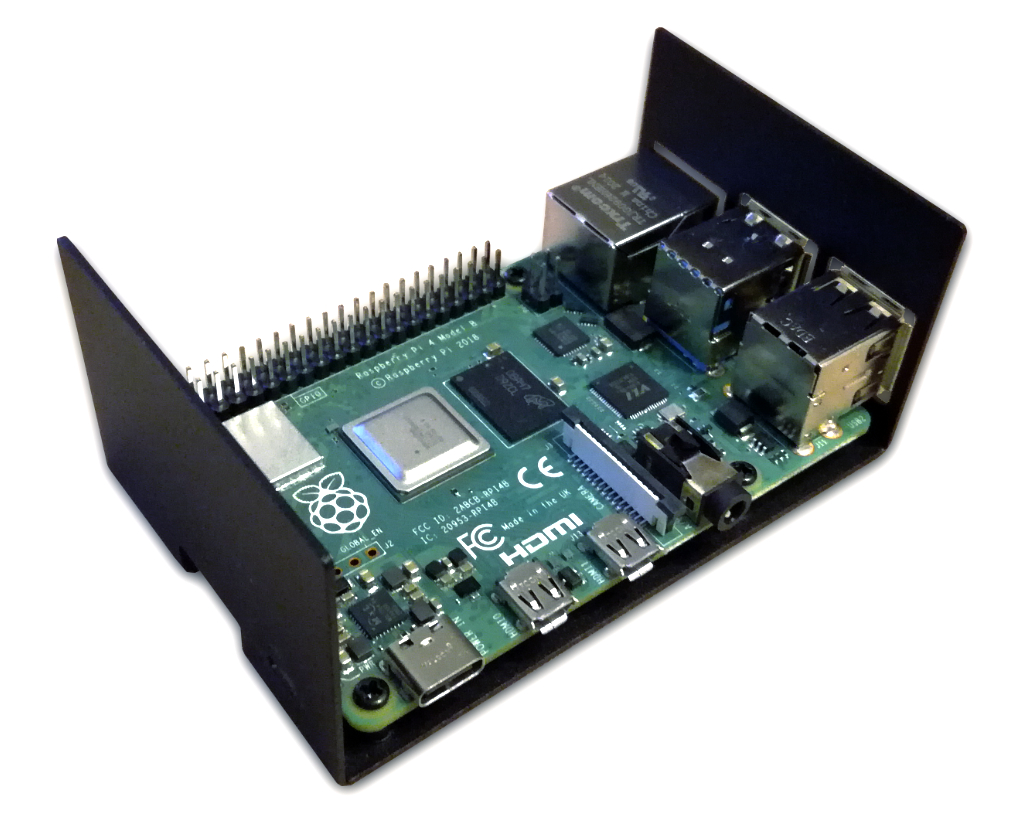
Then you can put the two case parts together. Careful with the GPIO pins of the Raspberry Pi! They have to fit exactly into the GPIO slot on the sound card. Do not exert too much pressure, try to bring both case parts together in a centered manner and pay particular attention to the 3.5mm jack connection of the Pi.
If everything fits, the connections of the Pi should snap into the recesses of the case.
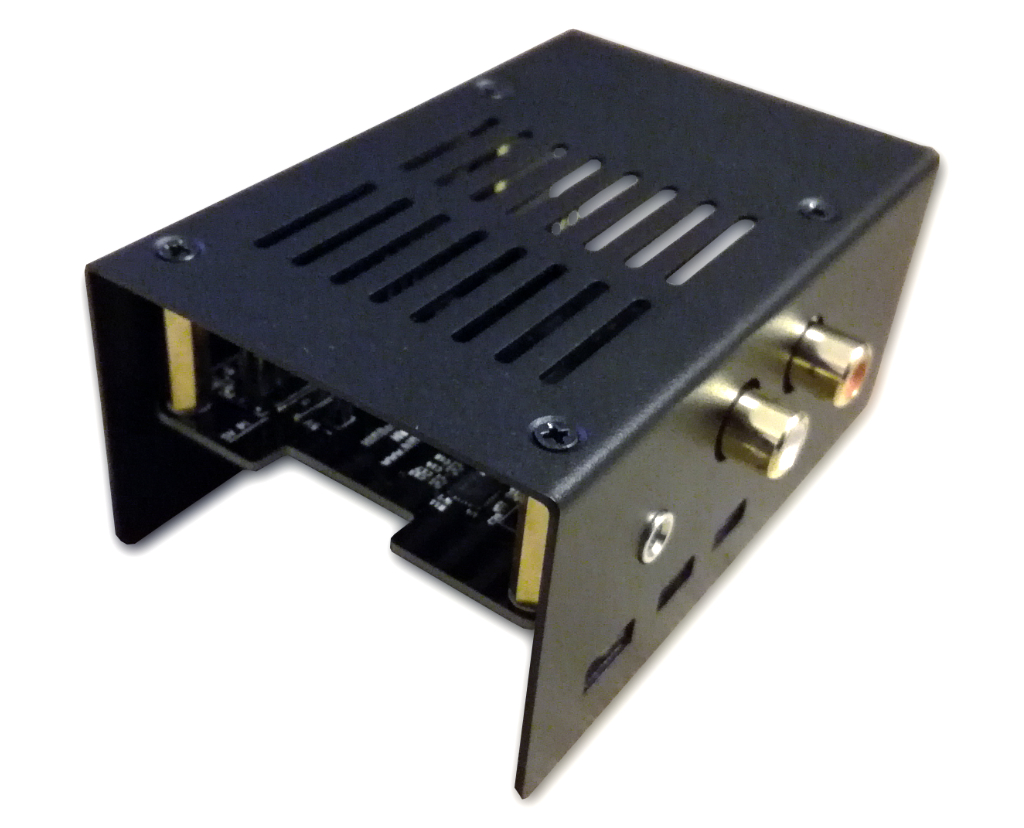

Step 4
This is what the case should look like, once it’s been assembled. The case convinced us especially with its robust material.
Here you can buy the black metal case V2 for the HiFiBerry DAC+.
Click here for all the other case assembly instructions.

