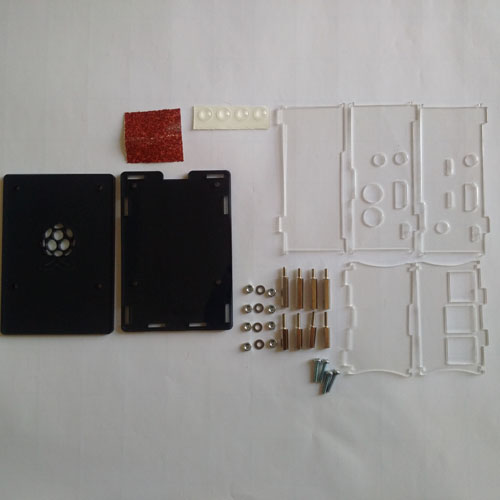
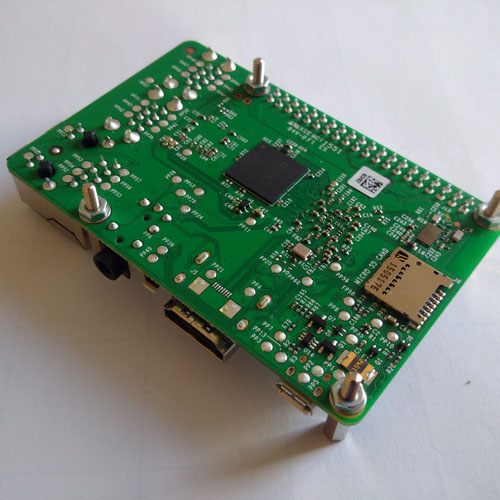
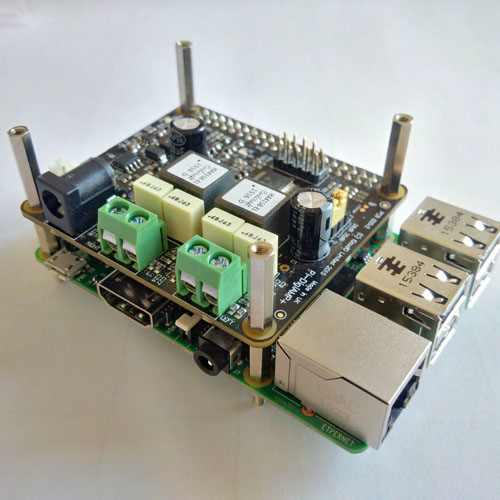
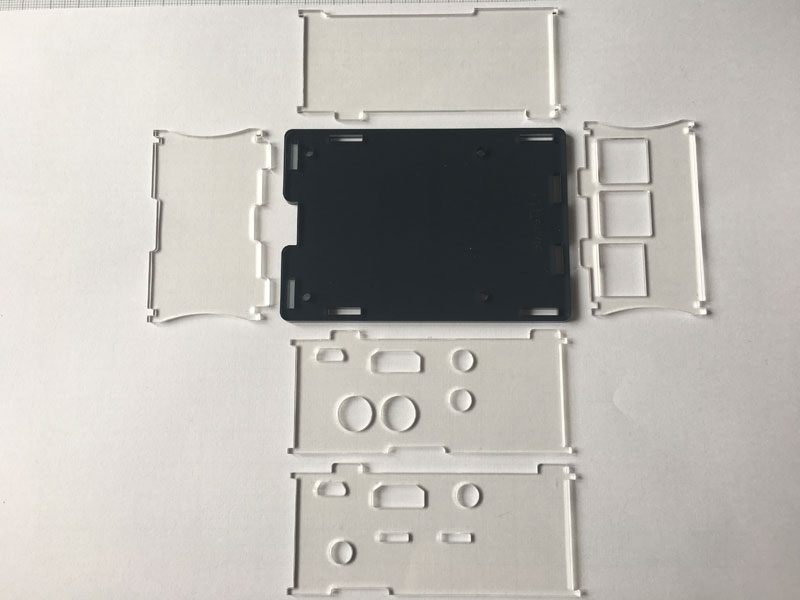
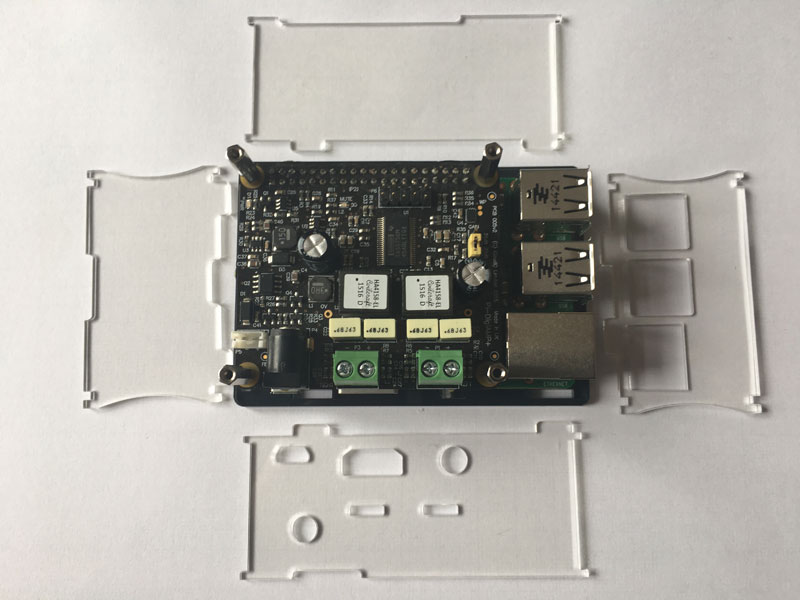
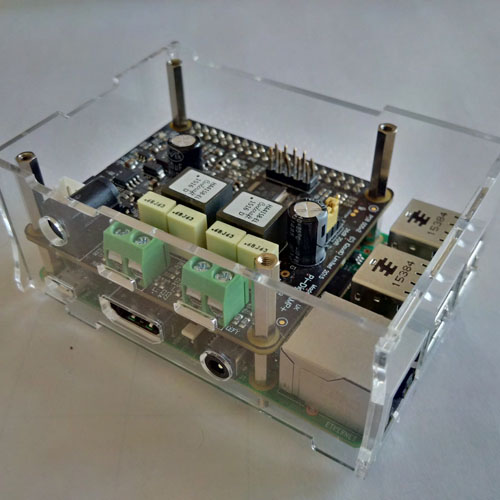
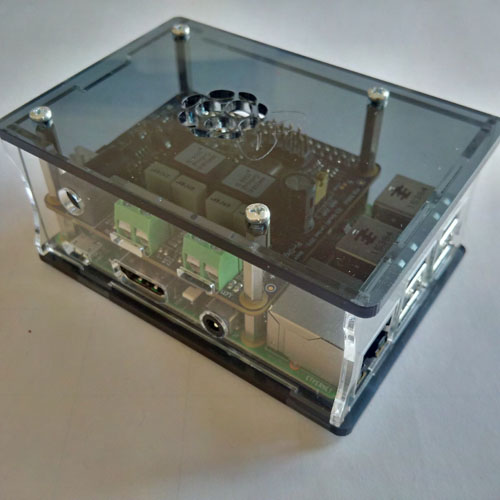
We will now show you how to assemble the case for the IQaudIO sound cards. Unpack the components and remove the protection film on them. They are sticking on either side of the individual plates of the device. Check if all components are there, you can cross-reference them with the picture on the right. In this step, the side panels are first attached to the device before assembling the case. A distinction must be made between IQaudIO DigiAMP+ and IQaudIO DAC+. There are different notches on the side panel for both sound cards. In this example, an IQaudIO DigiAMP+ is used. Attention: It may be that there is an overhang on the board of IQaudIO. This must first be removed with sandpaper. Do this in a careful way and take only so much away that the page is on one level. Now you can place the unit with the sides on the floor plate. Before the roof plate is screwed to the case, the cables of the loudspeaker should be connected to the IQaudIO DigiAMP +. It is then no longer possible to tighten the screws of the IQaudIO DigiAMP+. Step 1
Step 5
 English
 German