We will show you how to assemble the case for the Raspberry Pi 2 & 3 and HiFiBerry AMP+ cards. It is a black case and you can buy it in our shop.
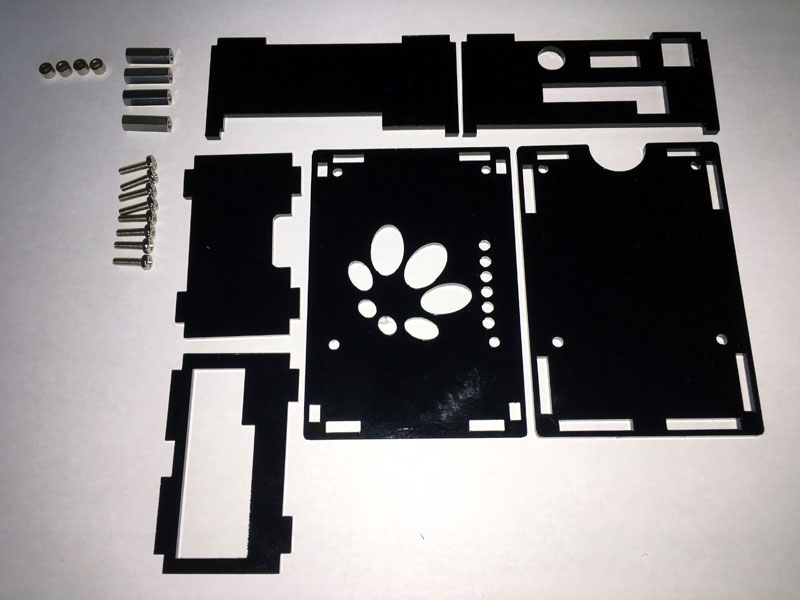
Scope of delivery
- Case for Raspberry Pi and HiFiBerry AMP+
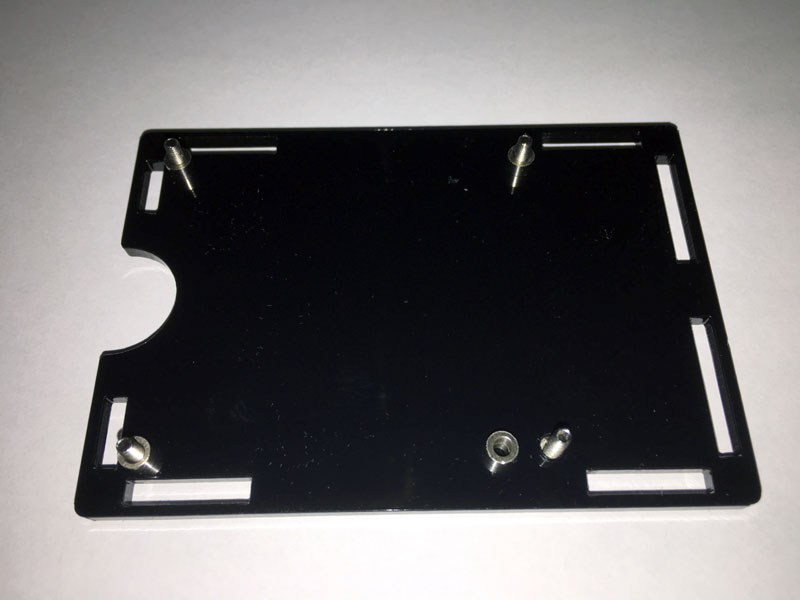
- 4x spacers (15mm)
- 4x spacers (3mm)
- 8x screws
Is required in addition:
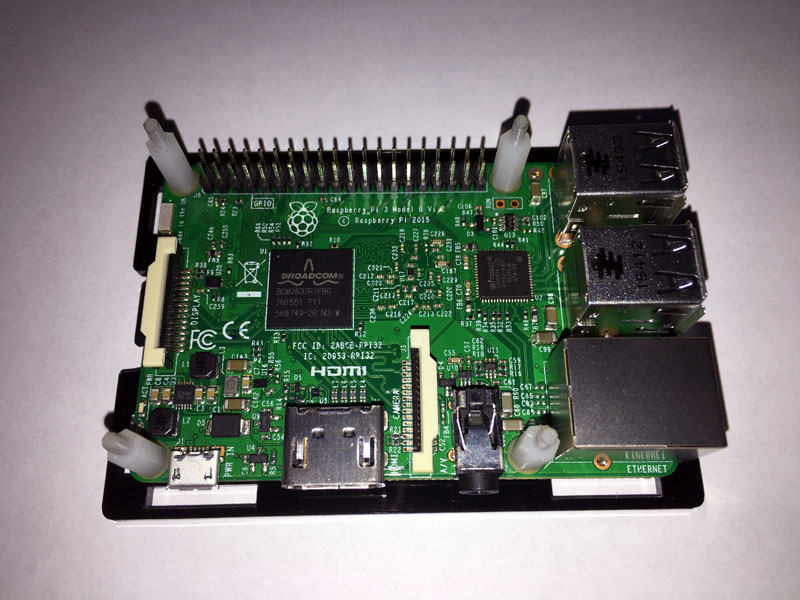
- Raspberry Pi 2 or 3
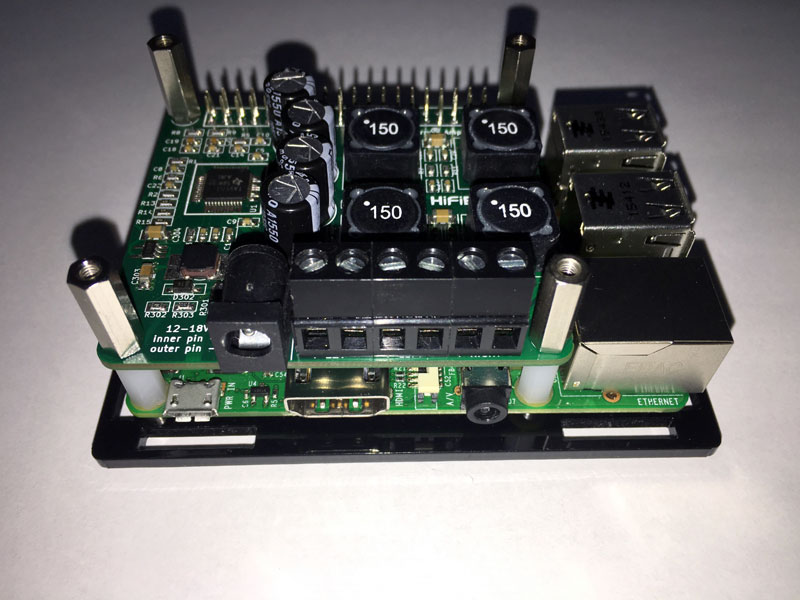
- HiFiBerry AMP+ (Included in delivery 4x plastic spacers (12mm)
- SD-Card with preinstalled Max2Play
- power supply for HiFiBerry AMP+
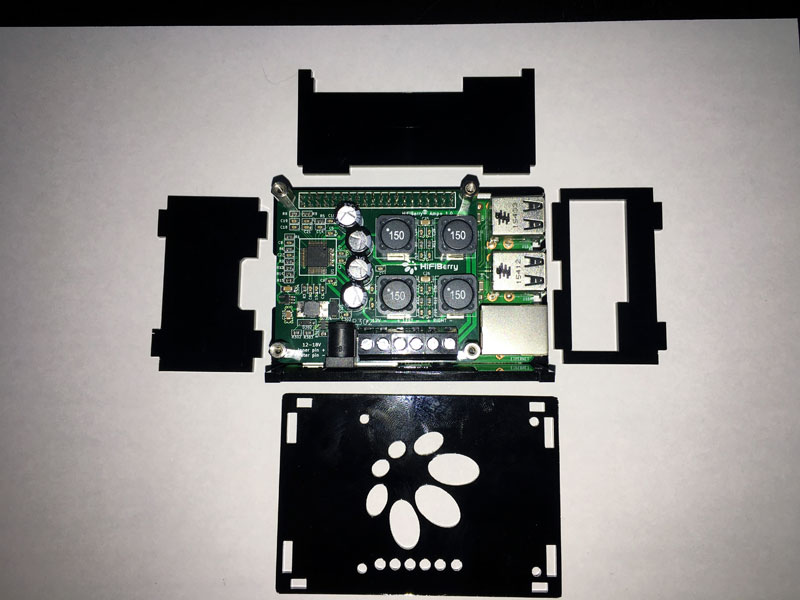
Open the bags and unpack the parts. Make sure to remove the protective layer from the plates, they stick to the surface so try peeling them off on the edges. When you are done, your parts should look like the right image.
Step 4
Now, the first side part of the Case have to be attached. Take the side panel with the recesses for the connections of the Raspberry Pi and the HiFiBerry AMP+. Put it carefully, because the parts are fragile.
Note: Now connect the passive boxes with the sound card. This is the last possibility for this. After closing the Case, there is no access to the locking screws of the HiFiBerry AMP+.
Step 5
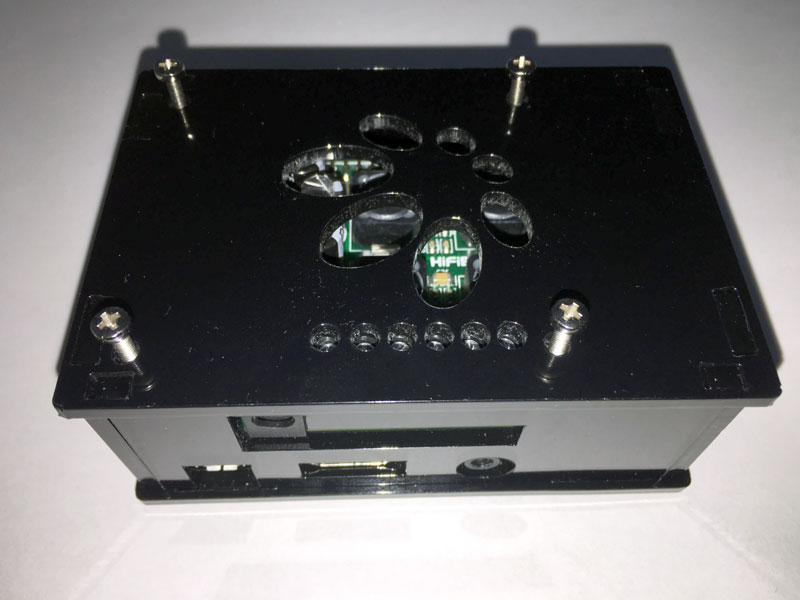
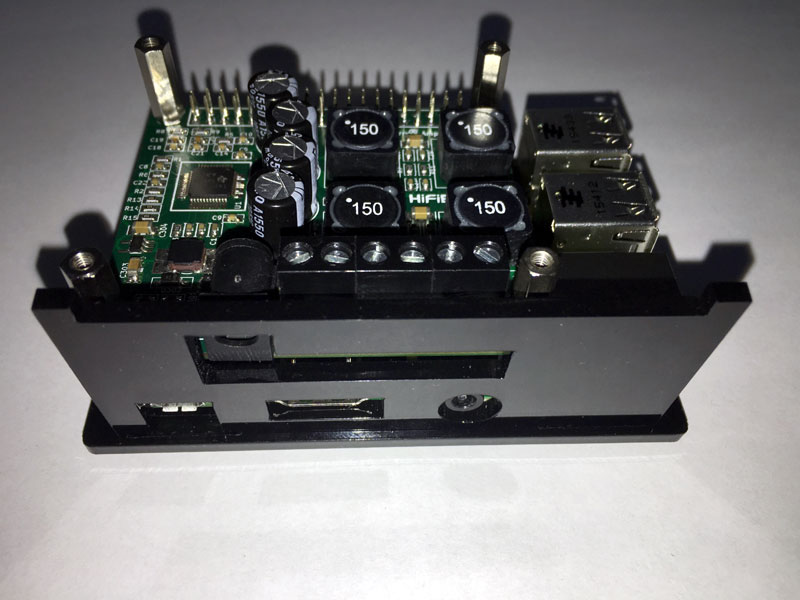
Now take the rest of the side plates. The side plates can be simply placed on the floor plate.
Note: The sides should fit easily into the gaps. Do not apply excessive pressure because the small plastic parts are fragile.
Take the cover plate with the HiFiBerry logo and place it on the side plates.
Note: The holes for the screws should lie directly over the spacers.
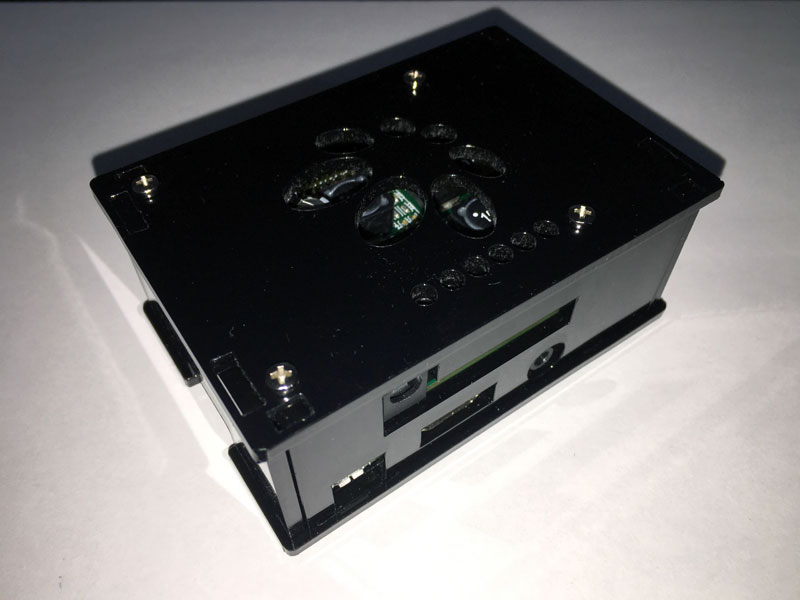
Finally, the four remaining screws are tightened. And the housing for the HiFiBerry AMP+ is ready.