Acrylic Case for Allo DigiOne Signature

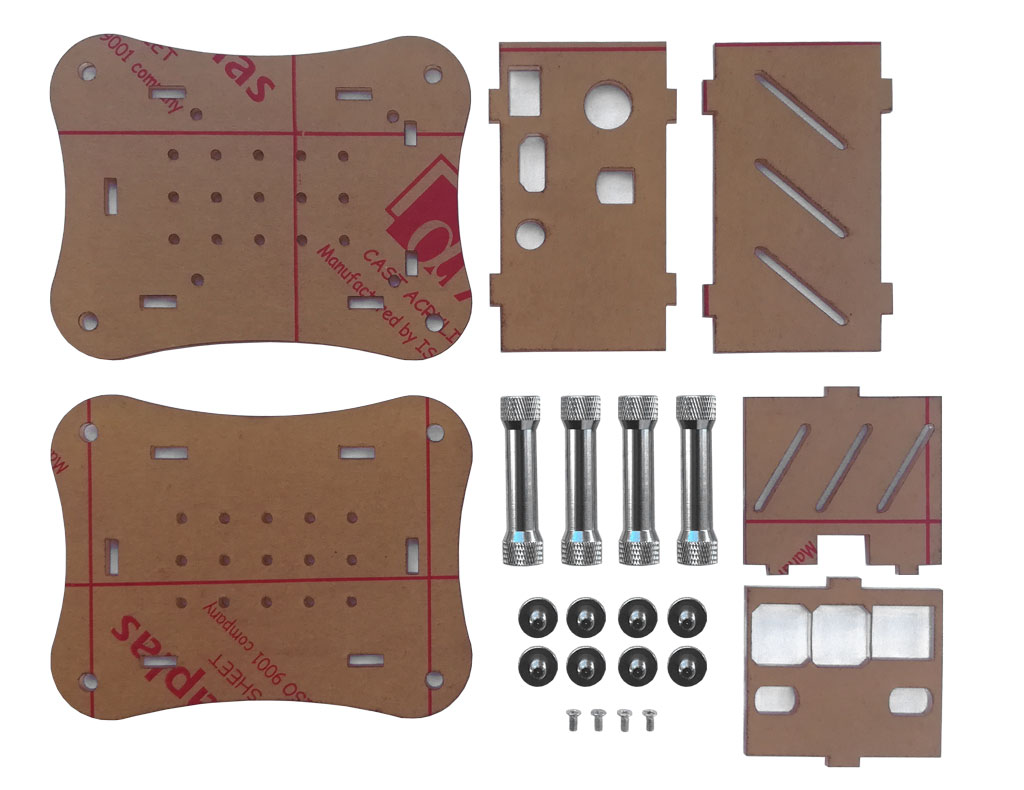
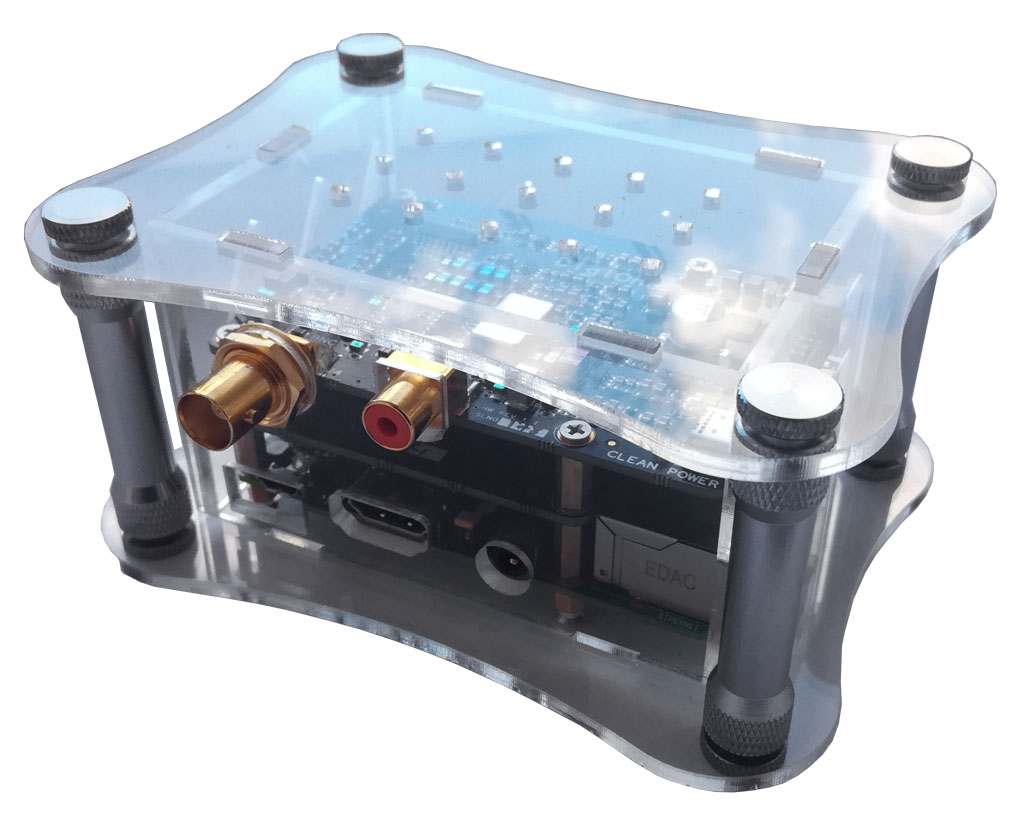
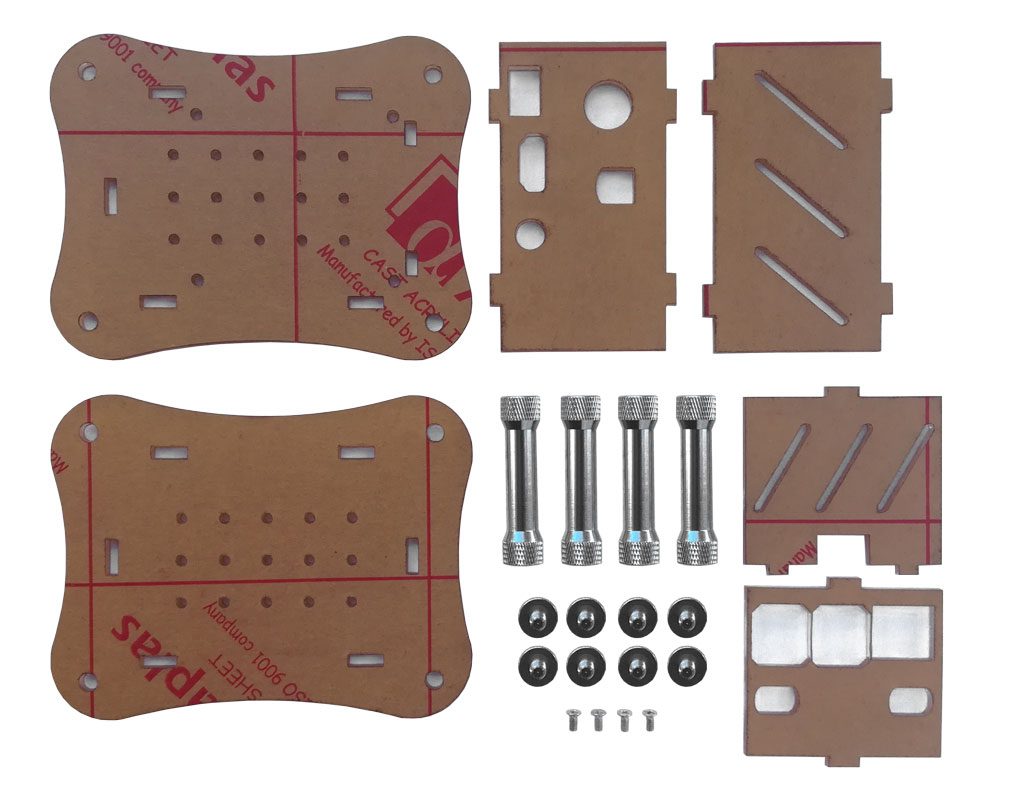
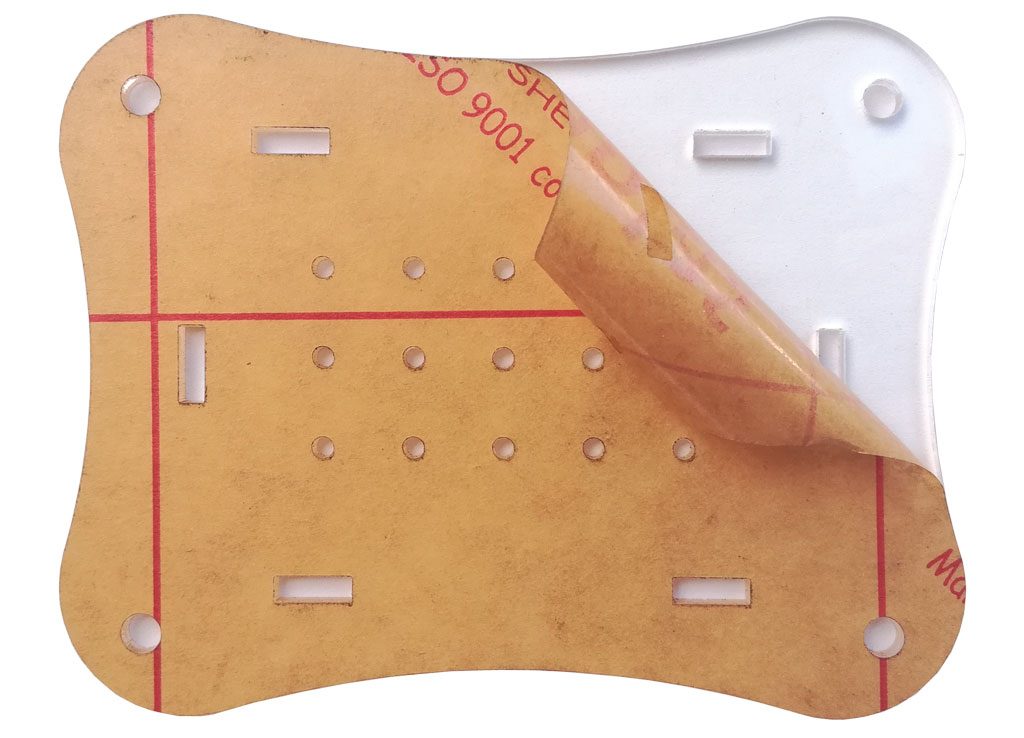
Here, we will explain how to assemble the Allo DigiOne Signature case. You can find the bundle with all necessary pieces in our shop.
On the bottom of this page you can also find a video by Allo on how to assemble the case.

Delivery Scope

  • 6 case plates
  • 4 big metal spacers
  • 8 metal screws
  • 4 short phillips head screws

Step 1

First, all protective films must be removed from the case plates.

Step 2

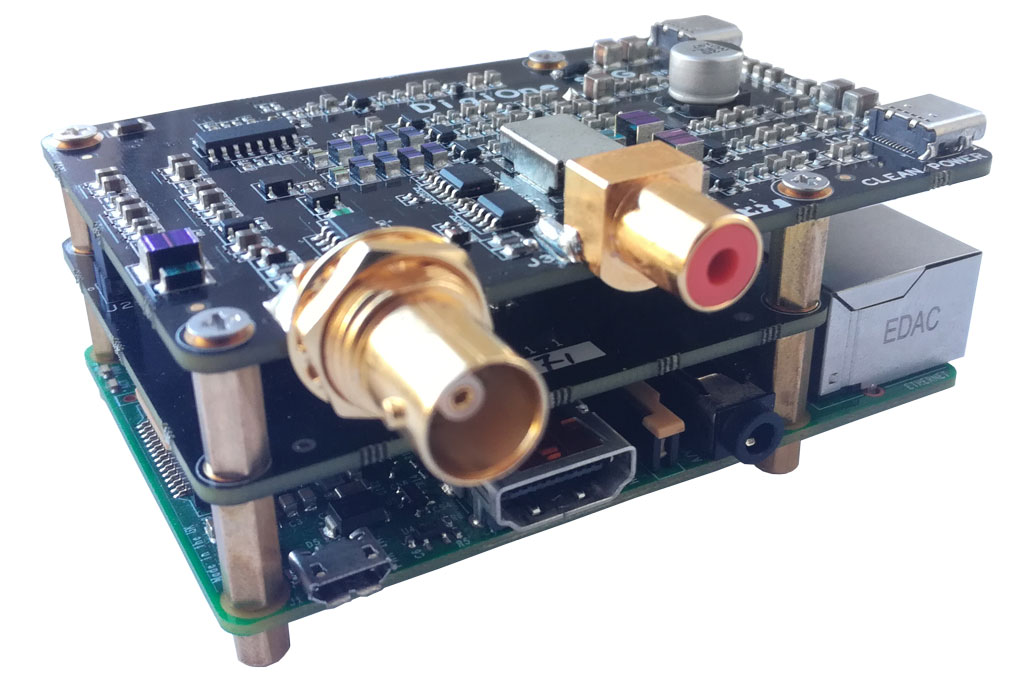
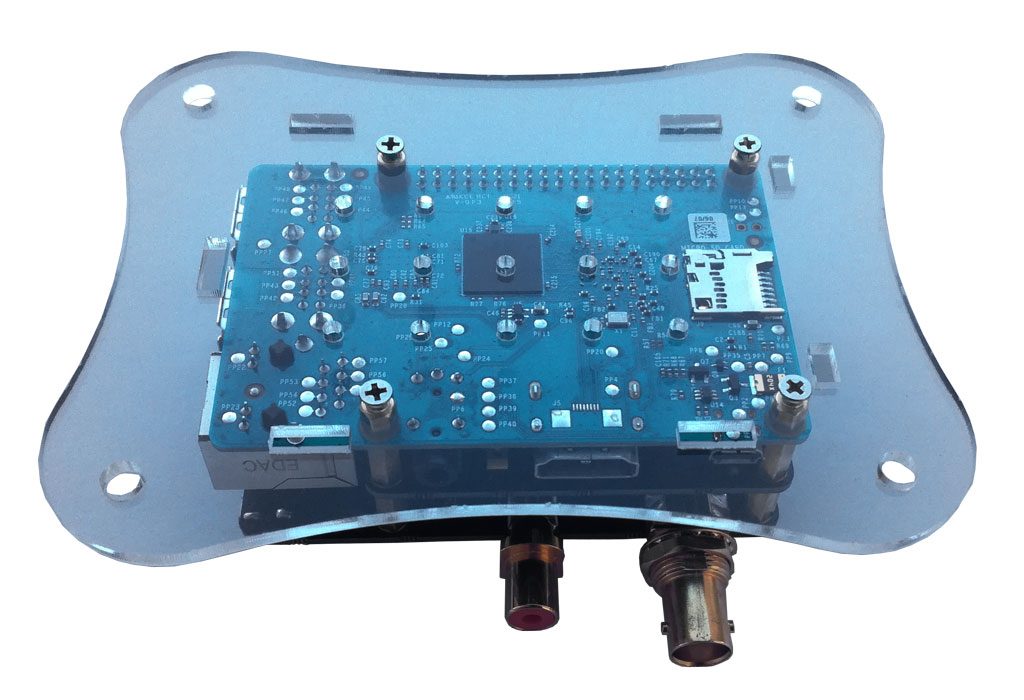
For the next step, the DigiOne Signature has to be attatched to the Raspberry Pi. First, the 4 short spacer screws, which are included in the delivery scope of the Signature, have to be screwed through the 4 holes at the bottom of the Raspberry Pi into the built-in spacers of the DigiOne signature.

Step 3

Now the Raspberry Pi with the DigiOne Signature is placed on the botom plate and attached to it from below with the 4 short screws.

Step 4

The side panels of the case can now be plugged into the holes from the bottom plate. Notice, that the golden nut and washer of the DigiOne must be unscrewed first and afterwards screwed on again from the outside of the side plate.

Step 5

The upper case plate is now placed on top.

Step 6

Finally the upper and lower plates can be connected with the help of the big metal spacers and the remaining screws.